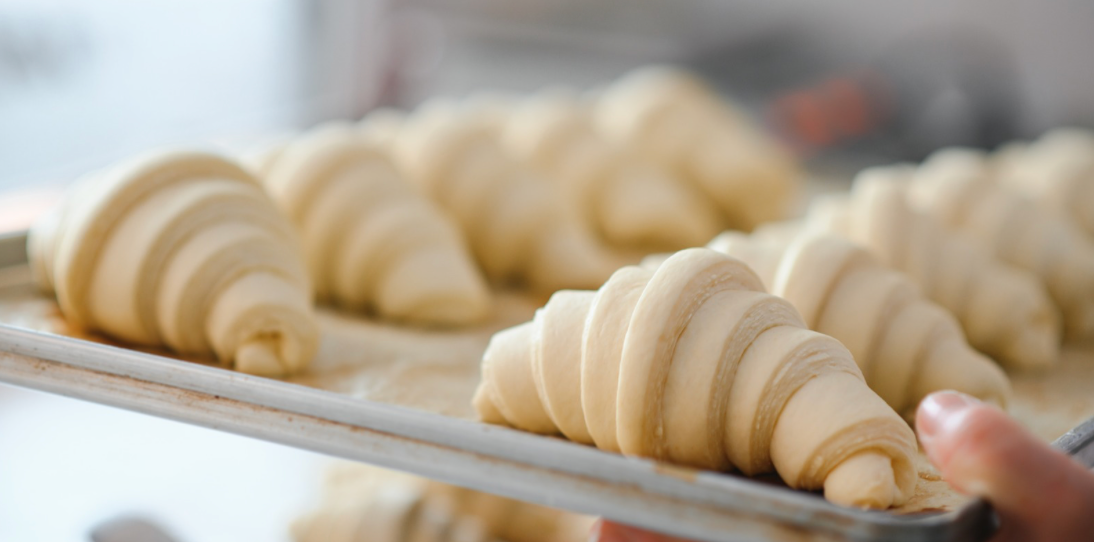
If you’ve ever spent a Saturday morning laminating dough — rolling, folding, chilling, repeating — you know just how much precision (and patience) goes into making those perfect flaky layers. The butter needs to be just right: pliable enough to roll out without shattering, but firm enough not to melt into the dough.
But what happens when life interrupts? You’ve got a beautifully laminated block ready for its next turn, and suddenly you have to walk away. Can you just freeze it? Will the layers survive?
That’s where the science of butter plasticity comes in — and it’s one of the most fascinating (and misunderstood) aspects of laminated dough.
Jump to:
- First, What Is Butter Plasticity?
- What Happens When You Freeze Laminated Dough?
- But Does That Mean You Should Never Freeze Laminated Dough?
- Understanding Butter Crystals: The Hidden Variable
- Real-World Results: Comparing Fresh vs. Frozen Lamination
- Tips for Freezing Laminated Dough Without Losing Structure
- The Takeaway: Freezing Isn’t the Enemy — Temperature Shock Is
- Pin to Pinterest
- Related
First, What Is Butter Plasticity?
In baking science, plasticity doesn’t mean plastic — it means the ability of a fat to be molded or spread without breaking.
Butter is a semi-solid emulsion of fat, water, and milk solids. When it’s cold, the fat crystals are hard and rigid. When it’s warm, they melt and lose structure.
The magic temperature range for lamination is around 55–60°F (13–16°C) — that sweet spot where butter is bendable but not greasy. In this range, you can roll your dough and butter together seamlessly, creating those distinct alternating layers that puff beautifully in the oven.
What Happens When You Freeze Laminated Dough?
When you freeze your laminated dough, two key things happen:
- The water inside the butter and dough crystallizes.
These ice crystals expand slightly, changing the texture and structure of the butter layer. - The fat crystals in the butter harden into a more brittle form.
This affects how the butter behaves when you thaw and roll it again — it can become less elastic and more prone to cracking.
That change in elasticity is the core of the plasticity problem.
When butter loses plasticity, it can shatter between dough layers, leading to uneven lamination and butter leakage during baking. Instead of perfect, airy honeycomb layers, you might get dense patches or butter pooling on the sheet pan.
But Does That Mean You Should Never Freeze Laminated Dough?
Not at all! The trick is knowing when and how to freeze it.
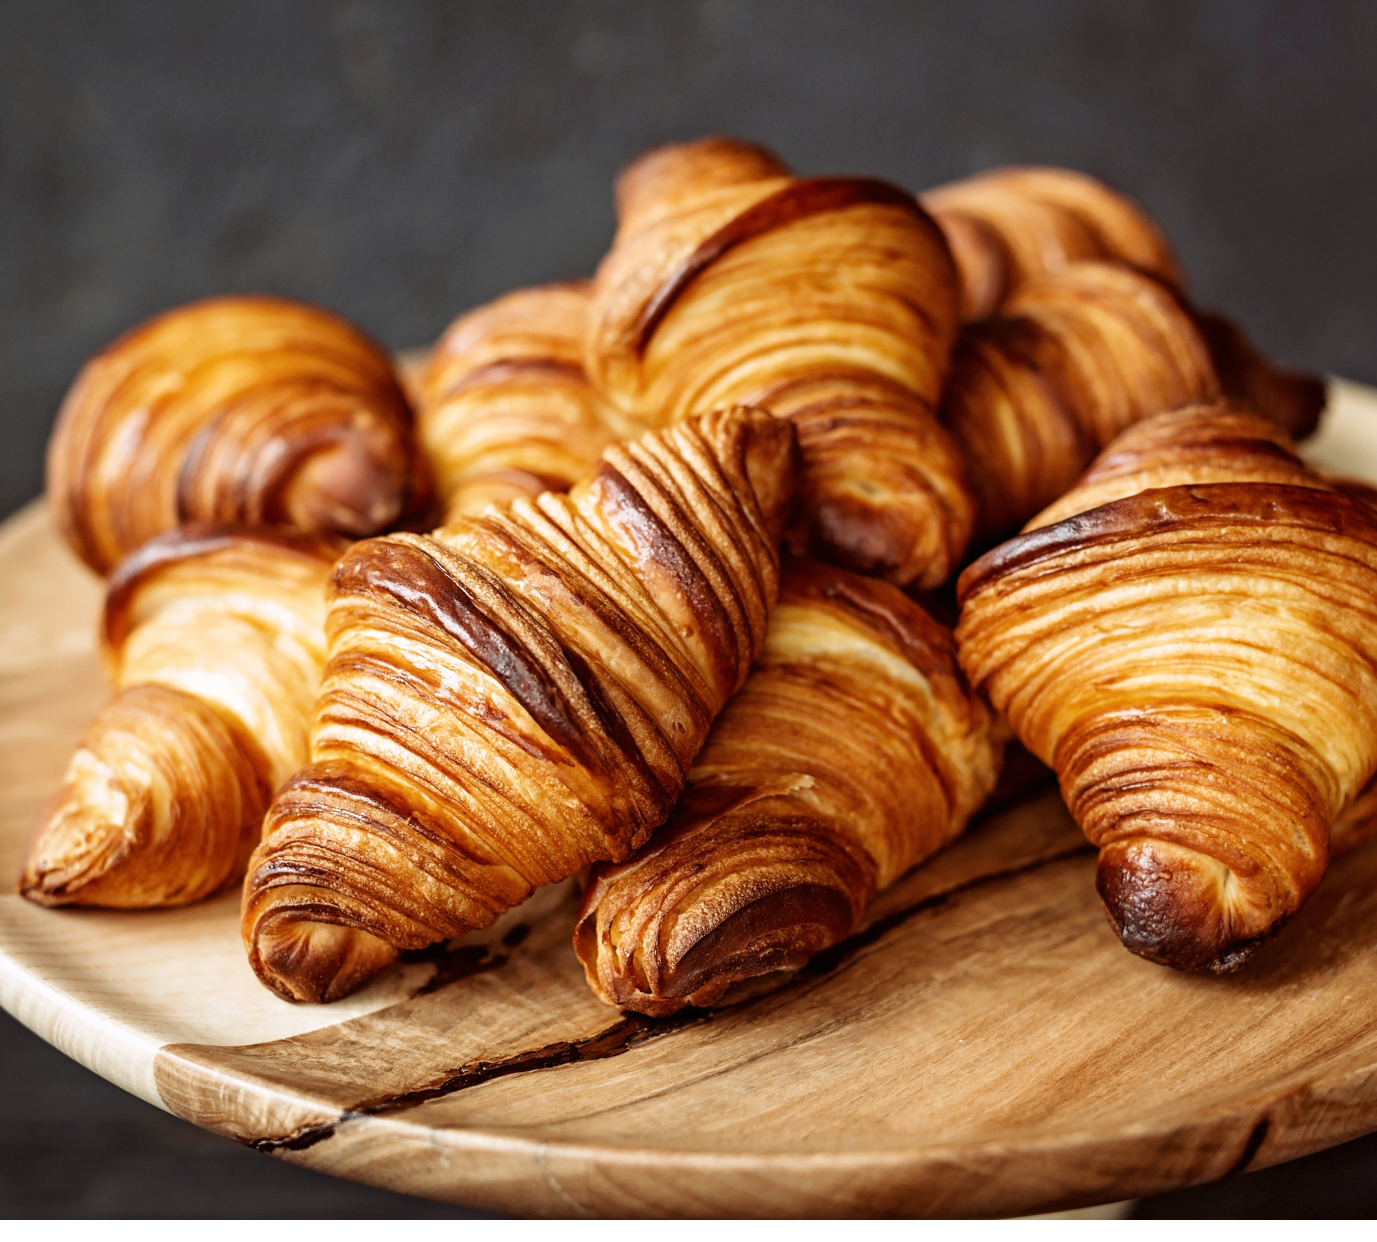
Freezing laminated dough is not only possible, but it’s also a standard practice in professional bakeries — especially for croissants, Danish, and puff pastry production. The key difference lies in how the dough is handled before and after freezing.
Here’s how it works:
Best Time to Freeze: After Lamination, Before Proofing
Once you’ve finished all your turns and shaped your pastries (or at least laminated your dough block), freeze it before proofing or final shaping.
This “locks in” the butter layers in a stable, cold state. When you thaw it later, you can pick up where you left off with minimal butter damage.
Freeze Quickly, Thaw Slowly
Rapid freezing is critical. The faster your dough freezes, the smaller the ice crystals — which means less damage to the butter’s structure.
Use a freezer set to 0°F (-18°C) or lower, and freeze in a single layer on a baking sheet before wrapping tightly.
When it’s time to bake, thaw overnight in the fridge, not at room temperature. Slow thawing helps prevent condensation, which can cause butter smearing and layer collapse.
Understanding Butter Crystals: The Hidden Variable
Butter isn’t just one kind of fat crystal — it contains multiple polymorphic forms that shift with temperature.
When you chill butter to the lamination range (55–60°F), most of it exists in the β′ (beta-prime) crystalline form — small, uniform crystals that give butter its smooth, spreadable texture.
When you freeze butter, some of these crystals shift toward the β (beta) form — larger, more rigid crystals that resist bending.
This phase change is what causes frozen butter to become less plastic — harder to roll and more prone to breaking.
But here’s the nuance: the shift is not permanent.
Once thawed slowly and rested, butter can return to a more plastic state. That’s why controlled thawing and rest periods matter so much after freezing laminated dough.
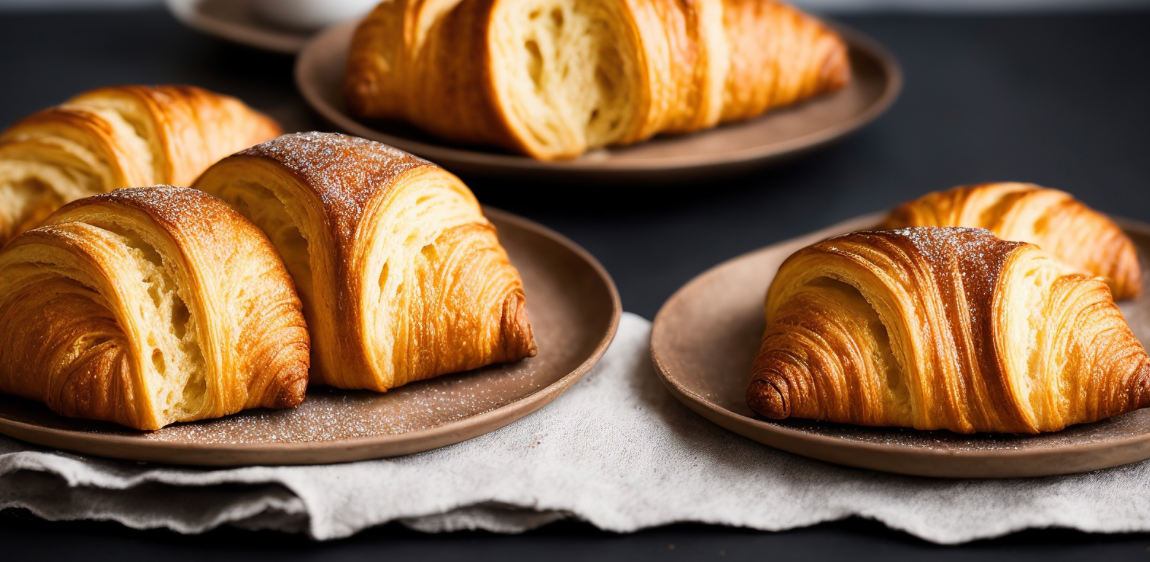
Real-World Results: Comparing Fresh vs. Frozen Lamination
If you’ve ever baked croissants from frozen dough and thought, “These taste almost the same!” — you’re right. With careful handling, the difference is subtle.
Here’s a quick breakdown of what you might notice:
| Characteristic | Fresh Dough | Frozen Dough (Properly Thawed) | Frozen Dough (Thawed Too Fast) |
|---|---|---|---|
| Butter layers | Smooth and flexible | Mostly intact | Broken or smeared |
| Rollability | Even, elastic | Slightly firmer | Brittle or cracking |
| Rise | High and uniform | Slightly reduced | Uneven or collapsed |
| Texture | Crisp, flaky | 95% as flaky | Greasy, uneven |
| Flavor | Buttery, rich | Buttery, mild | Flat or oily |
So, while freezing can affect butter plasticity, it doesn’t have to ruin your lamination — it’s all about managing temperature and timing.
Tips for Freezing Laminated Dough Without Losing Structure
- Chill before freezing.
Never freeze warm dough; the butter will separate and create frost damage. - Freeze in thin layers.
Flatten or shape before freezing for faster, more even cooling. - Wrap tightly.
Use plastic wrap plus a freezer bag or vacuum seal to prevent freezer burn. - Thaw overnight in the fridge.
Slow thawing gives butter time to reabsorb moisture and regain plasticity. - Rest before rolling.
After thawing, let the dough sit at room temperature for 10–15 minutes to soften the butter slightly before working it again. - Bake from frozen when possible.
Many laminated pastries (like croissants or turnovers) can be baked straight from frozen — the steam from the butter actually helps create flakier layers.
The Takeaway: Freezing Isn’t the Enemy — Temperature Shock Is
The real culprit isn’t freezing itself; it’s the shock of temperature change. Butter that’s frozen too slowly or thawed too quickly loses its fine crystal network — and with it, its beautiful plasticity.
But with fast freezing, careful thawing, and patient handling, laminated dough can emerge from the freezer just as flaky, layered, and tender as freshly made.
So next time you’re halfway through your lamination and life throws you a curveball? Go ahead — freeze it. Your butter will forgive you (as long as you thaw with care).
Pin to Pinterest

Related
Looking for other recipes like this? Try these: