There’s something deeply comforting about waffles made from scratch — the sound of the waffle iron clicking shut, the smell of butter and vanilla in the air, the promise of something warm and golden waiting on the other side.
But these aren’t just any waffles.

These are sourdough discard waffles done right — crisp on the outside, light and airy inside, deeply flavorful, and balanced. Not tangy. Not flat. Not limp five minutes later.
If you’ve ever felt underwhelmed by sourdough discard waffles, this recipe changes everything. We’re using brown butter, buttermilk, a touch of honey, and a short rest period to unlock flavor and texture that feels bakery-level — without any fuss.
This is the kind of recipe you make once… and then never stop making.
Jump to:
- Why You’ll Love These Sourdough Discard Waffles
- The Secret to Better Sourdough Discard Waffles
- Ingredient Breakdown (Why Each One Matters)
- Instructions
- Step-by-Step: How to Make Perfect Sourdough Discard Waffles
- Tips for Extra Crispy Waffles
- Flavor Variations (Optional)
- Serving Suggestions
- Storage & Freezing
- FAQs
- What if my batter is too thick?
- What NOT to Do
- Why This Recipe Works
- Final Thoughts
- Related
- Pin to Pinterest
Why You’ll Love These Sourdough Discard Waffles
- Ultra crispy edges with a light, fluffy interior
- Deep, balanced flavor (no sour overwhelm)
- Uses unfed sourdough discard — no waste
- Browns beautifully without tasting sweet
- Stays crisp longer than standard waffle recipes
- Works for both weekend brunch and freezer breakfasts
They’re cozy, reliable, and incredibly satisfying — exactly what sourdough discard should be used for.
The Secret to Better Sourdough Discard Waffles
Most discard waffle recipes fail for one of three reasons:
- Too much liquid → soggy waffles
- No fat strategy → bland flavor
- No rest time → flat texture
This recipe fixes all three.
Here’s how:
- Cornstarch lightens the batter and improves crispness
- Brown butter + oil creates flavor and structure
- A 20–30 minute rest lets the flour hydrate and the discard mellow
Every ingredient has a purpose here.
Ingredient Breakdown (Why Each One Matters)
Dry Ingredients
All-Purpose Flour
Creates structure without heaviness. Bread flour makes waffles dense — we don’t want that.
Cornstarch
This is the crispiness booster. It reduces gluten formation and helps the waffles fry instead of steam in the iron.
Brown Sugar
Adds warmth and subtle caramel notes without making the waffles sweet.
Baking Powder + Baking Soda
The combo is key. Baking soda reacts with the sourdough discard and buttermilk, while baking powder ensures lift.
Fine Sea Salt
Balances sweetness and enhances the brown butter.
Cinnamon
Just enough warmth to make the waffles feel cozy — not dessert-like.
Wet Ingredients
Sourdough Discard (Unfed)
Adds complexity and depth without overwhelming tang.
Buttermilk
Tenderizes the batter and works with the leaveners for a lighter crumb.
Eggs
Provide structure and richness.
Brown Butter
This is the backbone of flavor. Nutty, warm, and deeply aromatic.
Neutral Oil
Helps the waffles stay crisp even after cooling.
Honey or Maple Syrup
Adds moisture and subtle sweetness without overpowering.
Vanilla Extract
Rounds everything out.
Instructions
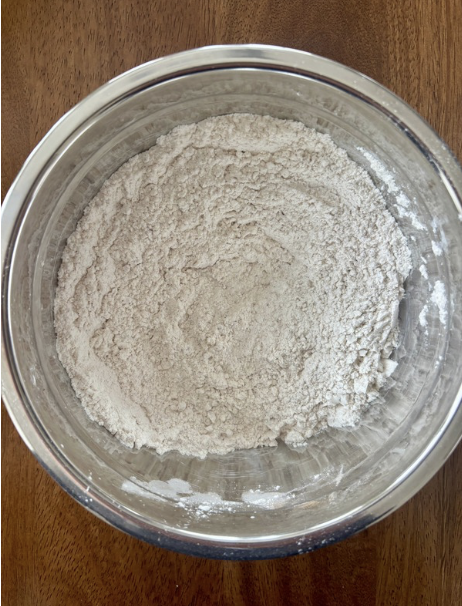
- Step 1: (After browning butter) Combine all dry ingredients in a medium sized bowl.
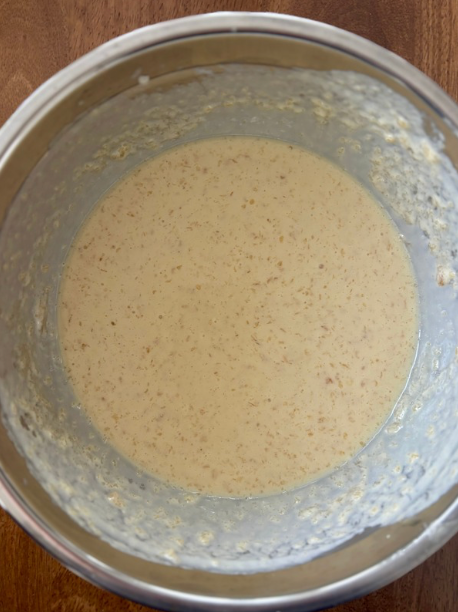
- Step 2: Mix all wet ingredients together until smooth.
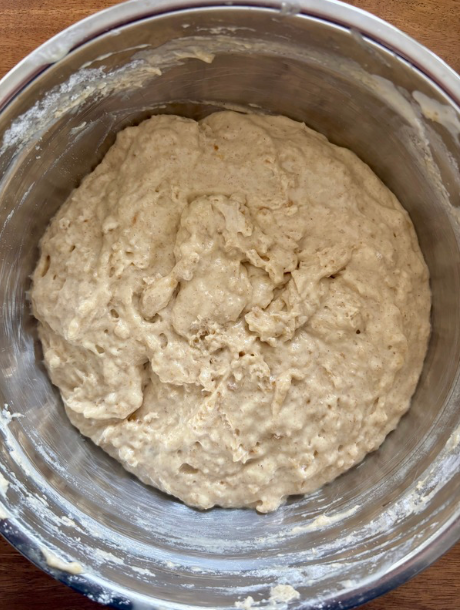
- Step 3: Combine dry ingredients into wet, mix just until combined. Allow mixture to sit for 30 minutes.
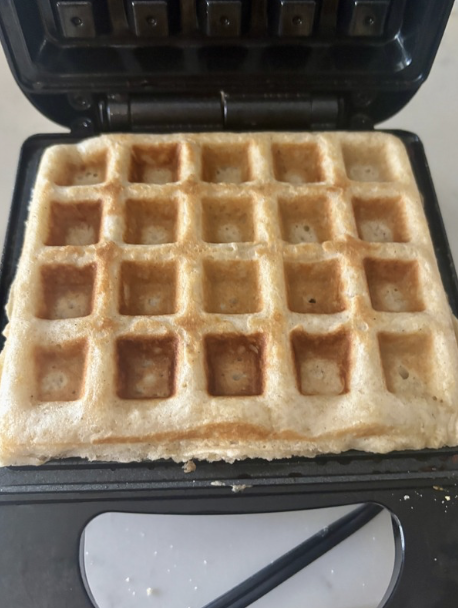
- Step 4: Pour batter into waffle iron and cook until golden brown. Top and enjoy immediately.
Step-by-Step: How to Make Perfect Sourdough Discard Waffles
1. Brown the Butter
Melt the butter over medium heat until golden with browned milk solids and a nutty aroma.
Remove from heat and let cool slightly.
This step adds more flavor than any spice ever could.
2. Preheat the Waffle Iron
Set your waffle iron to medium-high and lightly grease it.
A properly hot iron is essential for crisp waffles.
3. Mix the Dry Ingredients
In a large bowl, whisk together all dry ingredients thoroughly.
This ensures even spice distribution and prevents uneven rise.
4. Mix the Wet Ingredients
In another bowl, whisk together:
- Sourdough discard
- Buttermilk
- Eggs
- Brown butter
- Oil
- Honey
- Vanilla
The mixture should look smooth and glossy.
5. Combine Gently
Add the wet ingredients to the dry and fold gently until just combined.
Stop as soon as no dry streaks remain.
Overmixing = tough waffles.
The batter should be thick but pourable.
6. Rest the Batter (Don’t Skip This)
Let the batter rest at room temperature for 20–30 minutes.
This allows:
- Flour to hydrate
- Gluten to relax
- Sourdough flavor to mellow
- Texture to improve dramatically
This single step is the difference between “good” and great waffles.
7. Cook
Use ½–⅔ cup batter per waffle, depending on your iron.
Cook until deeply golden and crisp.
Err on the side of darker waffles — that’s where the flavor lives.
8. Cool Properly
Transfer waffles to a wire rack, not a plate.
This prevents steam from softening the exterior.
Tips for Extra Crispy Waffles
- Let the waffle iron fully reheat between batches
- Avoid stacking hot waffles
- Use oil and butter — not just one
- Cook longer than you think you should
Crisp waffles require confidence.
Flavor Variations (Optional)
- Vanilla Bean: Replace extract with vanilla bean paste
- Cinnamon Sugar: Sprinkle sugar on the iron before adding batter
- Whole Wheat: Replace ½ cup flour with white whole wheat
- Savory: Omit sugar and spices, add black pepper and herbs
This batter is flexible without losing structure.

Serving Suggestions
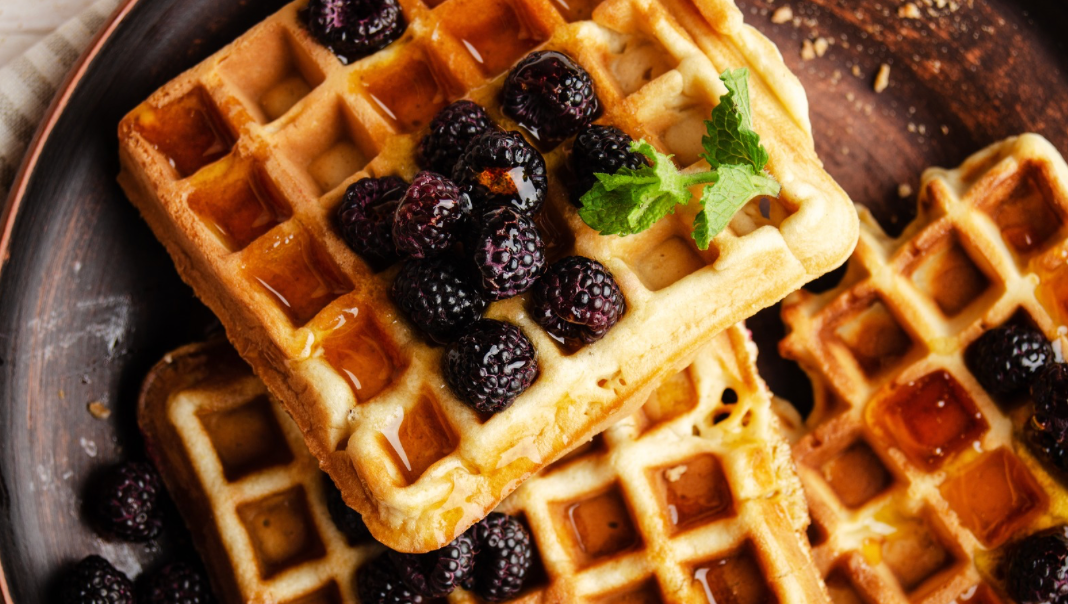
- Fresh fruit and warm syrup
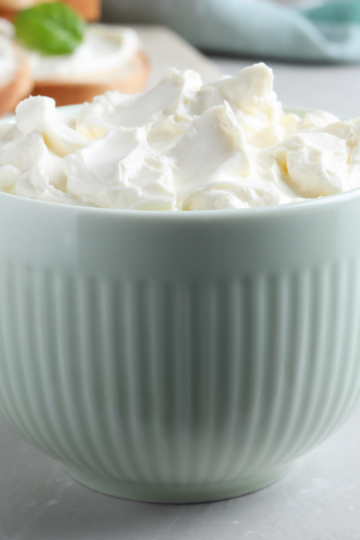
- Yogurt and honey
- Nut butter and sliced banana
- Simply buttered and eaten straight from the rack
They’re rich enough to stand alone.
Storage & Freezing
Refrigerator:
Store cooked waffles in an airtight container for up to 3 days.
Freezer:
Freeze fully cooled waffles in a single layer, then transfer to a freezer bag.
Reheat in a toaster or oven until crisp.
They reheat beautifully.
FAQs
Can I make the batter ahead?
Yes — mix and rest up to 12 hours in the fridge. Bring to room temp before cooking.
Does the discard need to be active?
No. Unfed discard works perfectly.
Why cornstarch?
It reduces gluten formation and improves crispness without affecting flavor.
What if my batter is too thick?
Add buttermilk or milk, 1 tablespoon at a time, gently folding between additions.
- Start with 1–2 tablespoons
- Stop when the batter is thick but pourable
- It should slowly ribbon off a spoon, not plop or run
This keeps the balance of fat, acid, and structure intact.
What NOT to Do
- Don’t add water (kills flavor and browning)
- Don’t add more eggs (throws off structure)
- Don’t overmix to “loosen” it (creates toughness)
Why This Recipe Works
- Balanced hydration prevents sogginess
- Brown butter adds complexity without sweetness
- Cornstarch and oil improve crispness
- Resting time enhances both flavor and texture
Every choice here is intentional.
Final Thoughts
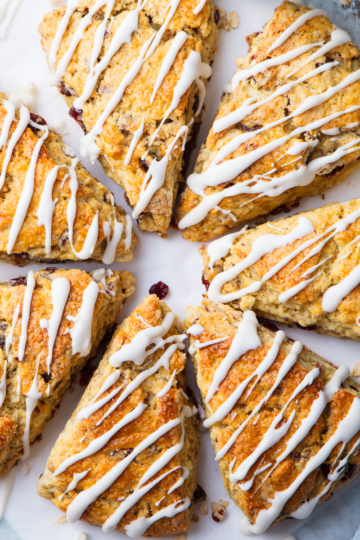
These sourdough discard waffles are everything a homemade waffle should be — crispy, cozy, flavorful, and deeply satisfying.
They don’t taste like “discard.”
They taste like something worth slowing down for.
If you’ve been looking for a sourdough discard waffle recipe you’ll actually come back to — this is it.
Save it. Make it. And don’t be surprised when it becomes your new weekend ritual.
Love Breakfast? Try out some of my favorite breakfast recipes:
Double Chocolate Sourdough Pancakes
Coconut Cream Pie French Toast
Crispy Sourdough Discard Waffles with Brown Butter
Ingredients
Equipment
Method
- Brown the butter
- Melt butter in a small saucepan over medium heat. Cook until golden with browned milk solids and a nutty aroma. Remove from heat and cool slightly.
- Preheat waffle iron to medium-high and lightly grease.
- In a large bowl, whisk all dry ingredients thoroughly to distribute spices and leaveners evenly.
- In another bowl, whisk together sourdough discard, buttermilk, eggs, brown butter, oil, honey, and vanilla until smooth and glossy.
- Combine wet and dry ingredients gently. Stop mixing as soon as no dry streaks remain. Batter should be thick but pourable.
- Rest the batter 20–30 minutes at room temperature.
- (This is where the flavor develops — don’t skip.)
- Cook waffles using ½–⅔ cup batter per waffle, until deeply golden and crisp.
- Err on the side of darker waffles for maximum flavor.
- Transfer to a wire rack and repeat with remaining batter.
Notes
-
Batter thickness:
This waffle batter is meant to be thick but pourable. If it thickens too much after resting, add buttermilk or milk 1 tablespoon at a time until it loosens slightly. -
Resting time matters:
The 20–30 minute rest improves flavor, hydration, and texture. Skipping it can lead to dense or uneven waffles. -
Brown butter tip:
Let the butter cool slightly before mixing so it doesn’t scramble the eggs or thin the batter too much.
Related
Looking for other recipes like this? Try these:


Pin to Pinterest