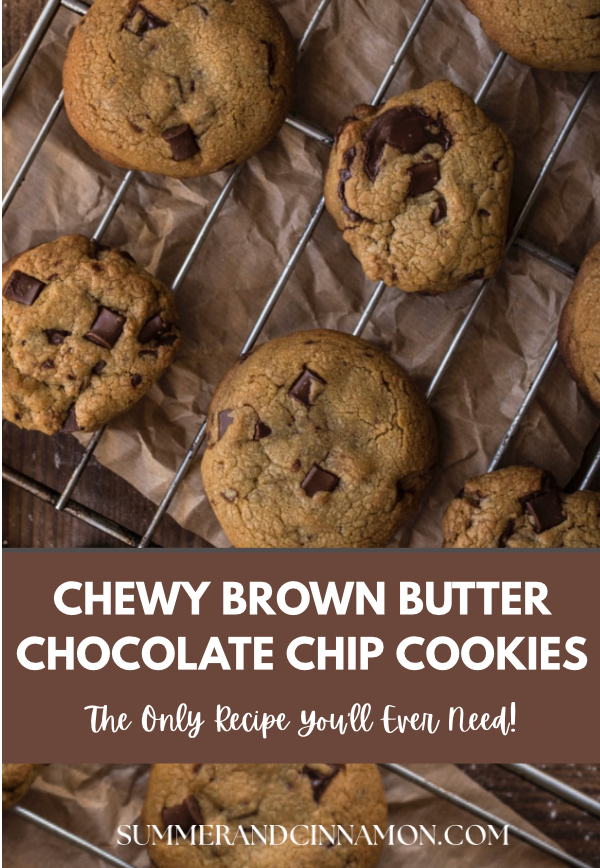
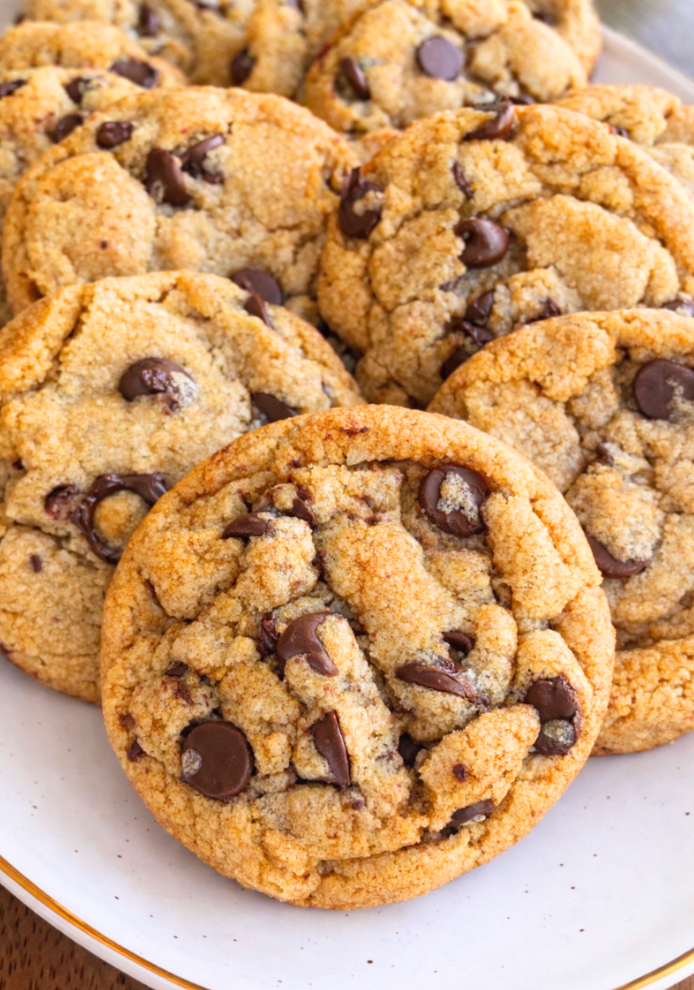
There are chocolate chip cookies… and then there are these.
The kind that fill your kitchen with the smell of warm butter and caramelized sugar. The kind that come out of the oven thick, golden, and just barely set in the center. The kind where someone inevitably says, “Wait — what did you do differently?”
The answer is browned butter. And patience. And one tiny extra egg yolk that changes everything.
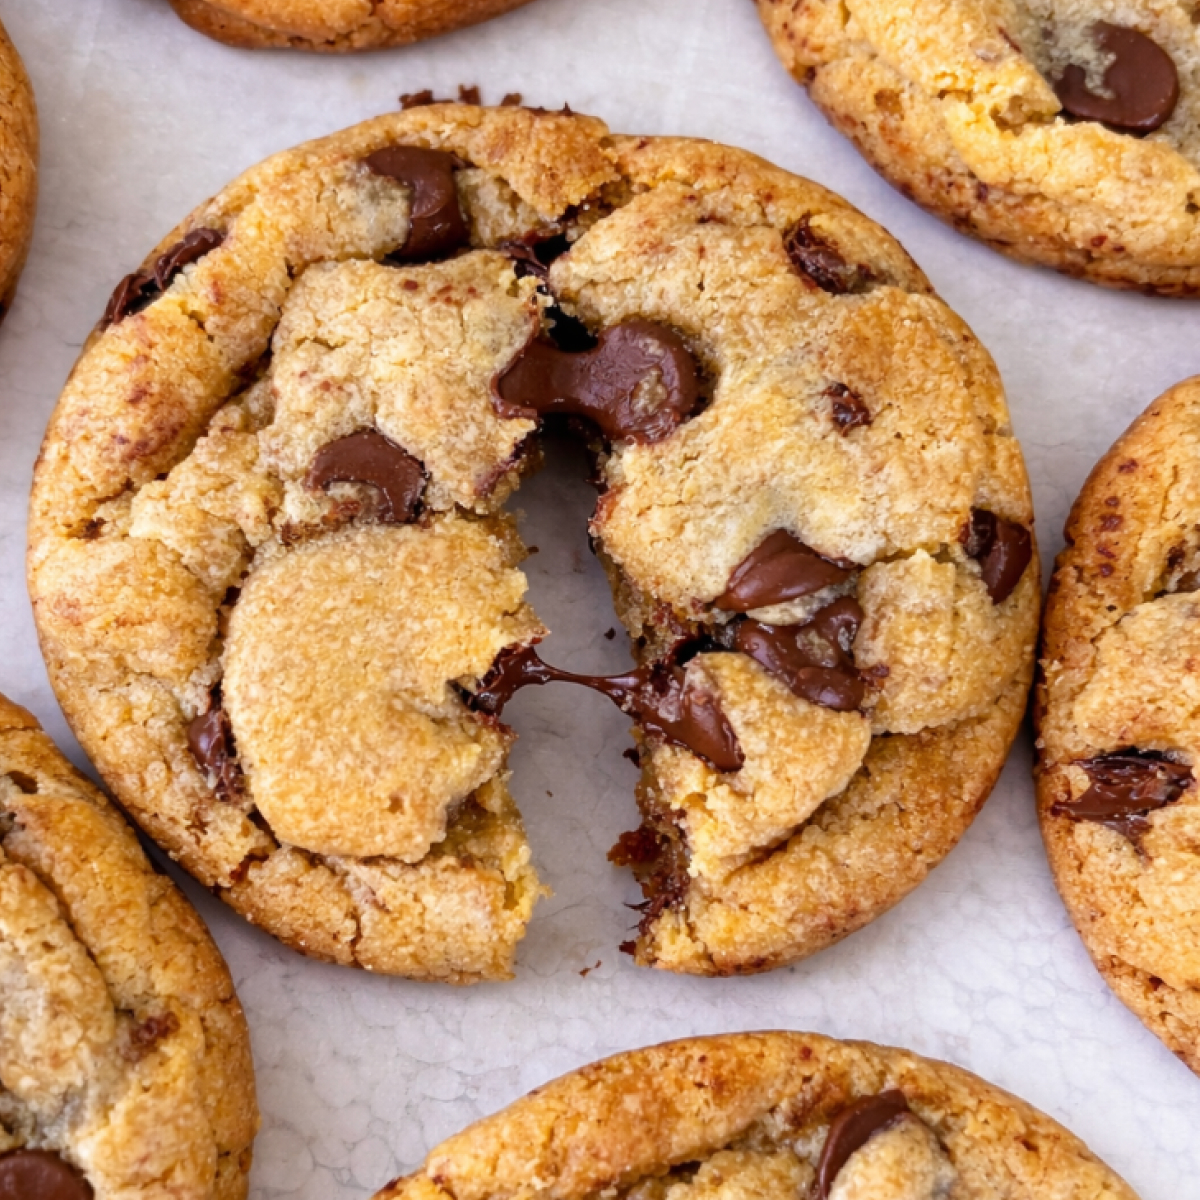
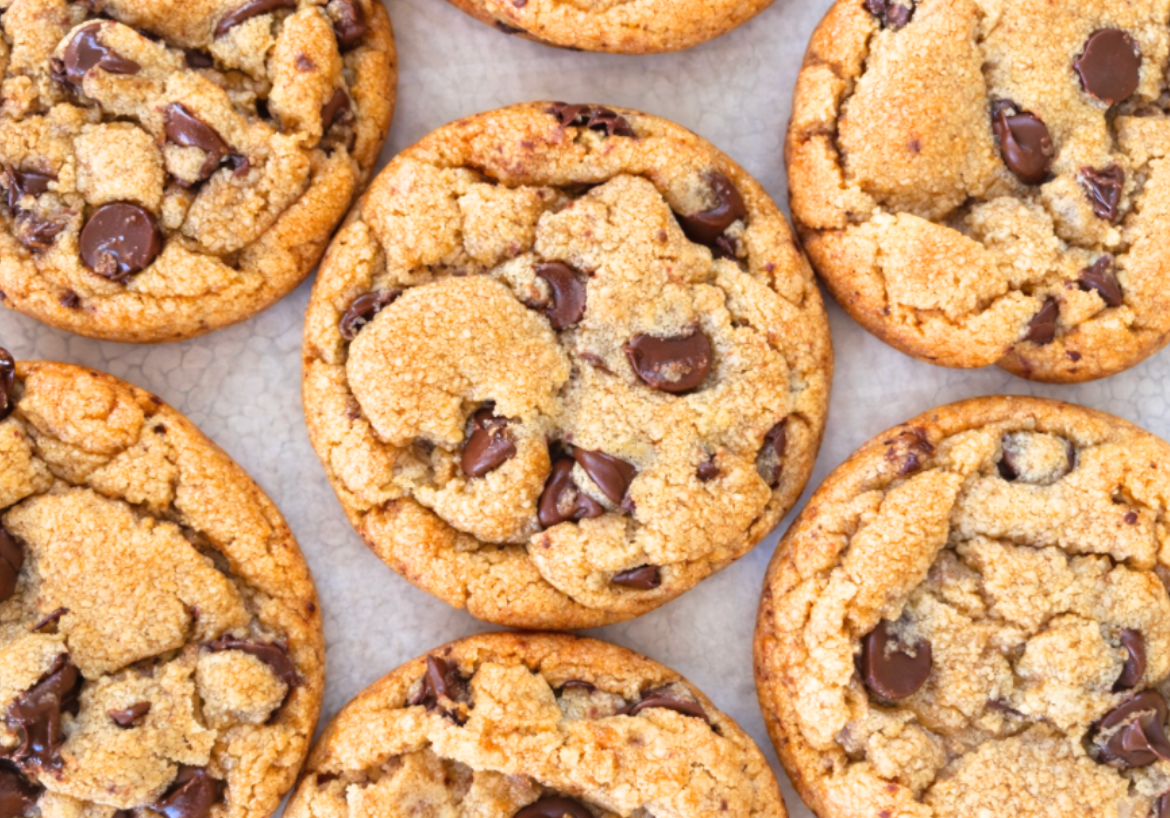
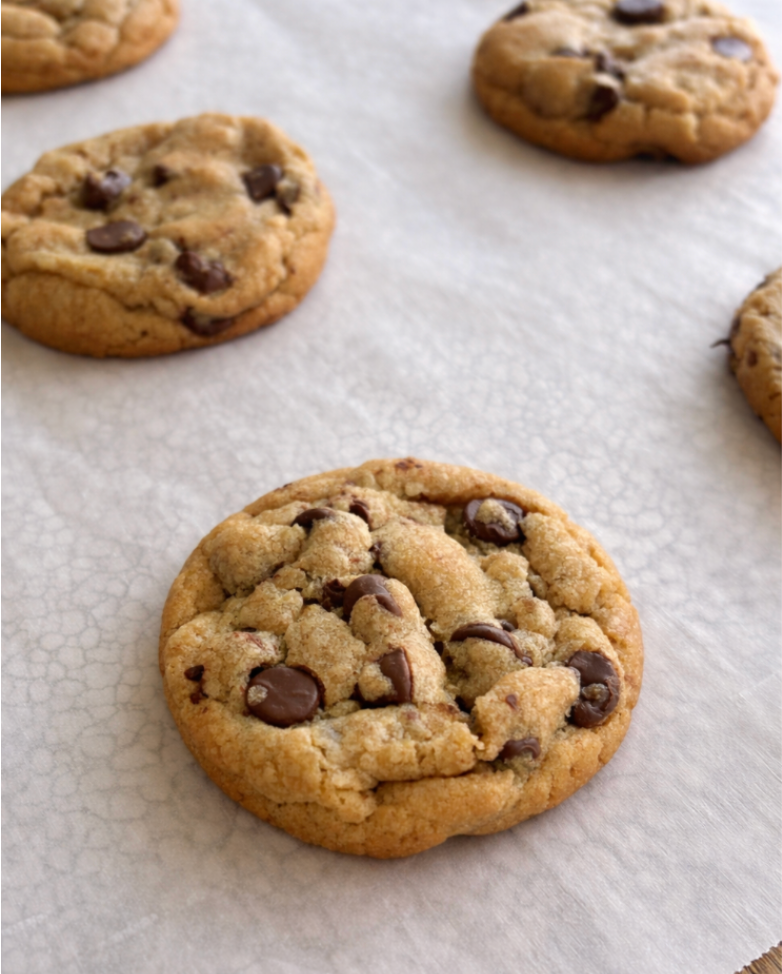
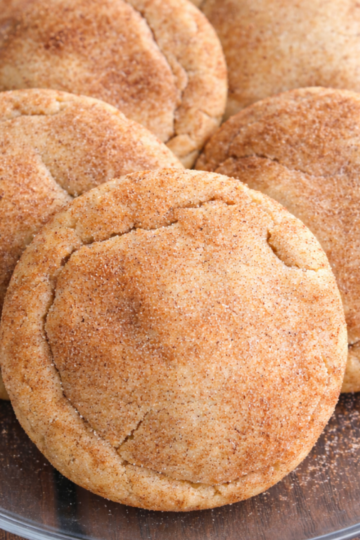
These Thick & Soft Brown Butter Chocolate Chip Cookies are rich, chewy, bakery-style cookies with crisp edges, plush centers, and pools of melted chocolate in every bite. They’re cozy, indulgent, and unapologetically nostalgic — the kind of cookie you bake when you want people to linger in the kitchen a little longer.
Jump to:
Why You’ll Love These Brown Butter Chocolate Chip Cookies
- The brown butter magic. It’s not just melted butter. Browning creates caramelized milk solids, giving the cookies a nutty, butterscotch flavor.
- Chewy texture. The extra egg yolk plus a touch of cornstarch ensures the centers stay soft and chewy even after cooling.
- Bakery-style look and taste. Dark chocolate chunks + milk chocolate chips = melty pools of chocolate and those iconic gooey strands when you break one in half.
- Make-ahead friendly. Chill the dough overnight or freeze dough balls for fresh-baked cookies anytime.
- Sweet + salty balance. That sprinkle of flaky sea salt on top cuts the richness and makes every bite pop.
Ingredient Breakdown (And Why Each One Matters)
Let’s talk ingredients — because every single one plays a role in creating that thick, soft texture.
Butter (Browned & Cooled)
Browning the butter transforms it from basic to bold. As the milk solids toast, you get nutty, caramel-like notes that make these cookies taste richer and more complex than a standard chocolate chip cookie.
Tip: Let it cool before mixing — warm butter can scramble your eggs.
Brown Sugar + Granulated Sugar
- Brown sugar adds moisture, chewiness, and depth
- Granulated sugar helps with structure and crisp edges
This combo gives you that perfect soft-center, crisp-edge balance.
Egg + Extra Egg Yolk
The whole egg provides structure, while the extra yolk adds richness and chewiness without making the cookies cakey. This is one of the biggest secrets to that bakery-style texture.
Vanilla Extract
Don’t skip it — vanilla rounds out the butter and chocolate flavors and makes everything taste warmer and more balanced.
Flour
All-purpose flour keeps these cookies sturdy but tender. Measuring correctly matters here — spoon and level for best results.
Baking Soda + Baking Powder
Using both gives you controlled spread and lift:
- Baking soda encourages browning
- Baking powder adds thickness
Cornstarch
Just a teaspoon, but it makes a difference. Cornstarch softens the crumb and keeps the cookies plush even after they cool.
Chocolate (Chunks + Chips)
Using two types gives you:
- Pools of melted chocolate (chunks)
- Even distribution throughout the cookie (chips)
Best of both worlds.
Instructions

- Step 1: Brown the butter, making sure to stop at the perfect golden color.

- Step 2: Make the dough.
- Step 3: Chill dough, to ensure the flavors really meld together.
- Step 4: Cook in oven for 10-12 minutes at 350 degrees.
Step-by-Step Tips for Perfect Brown Butter Cookies
Step 1: Brown the Butter
Melt the butter over medium heat, stirring constantly. It will foam, bubble, then turn golden with brown bits at the bottom.
When it smells nutty and rich, remove from heat immediately.
Let cool for 10–15 minutes.
Step 2: Make the Dough
Whisk the cooled browned butter with the sugars until smooth and glossy. Add vanilla, the whole egg, and extra yolk, mixing until fully combined.
In a separate bowl, whisk together the dry ingredients, then gently fold them into the wet mixture. Stop mixing as soon as the flour disappears.
Fold in the chocolate last.
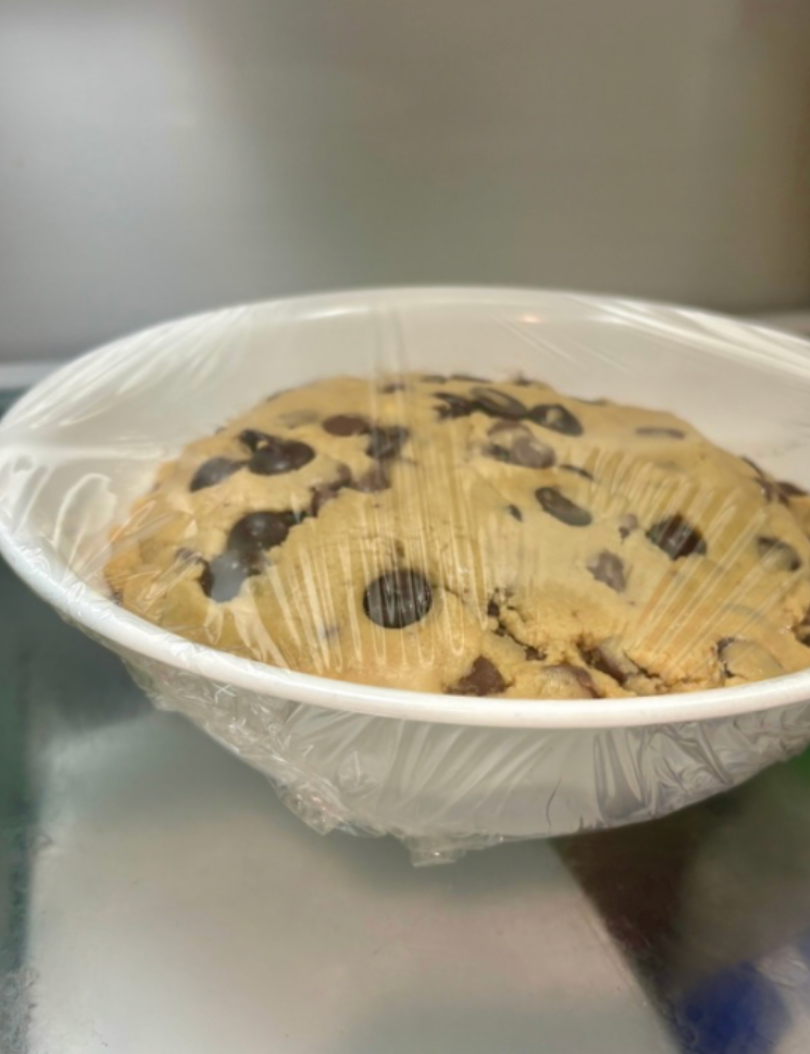
Step 3: Chill (Non-Negotiable)
Cover and chill the dough for at least 2 hours.
This:
- Prevents excessive spreading
- Deepens flavor
- Improves texture
Overnight is even better.
Step 4: Bake
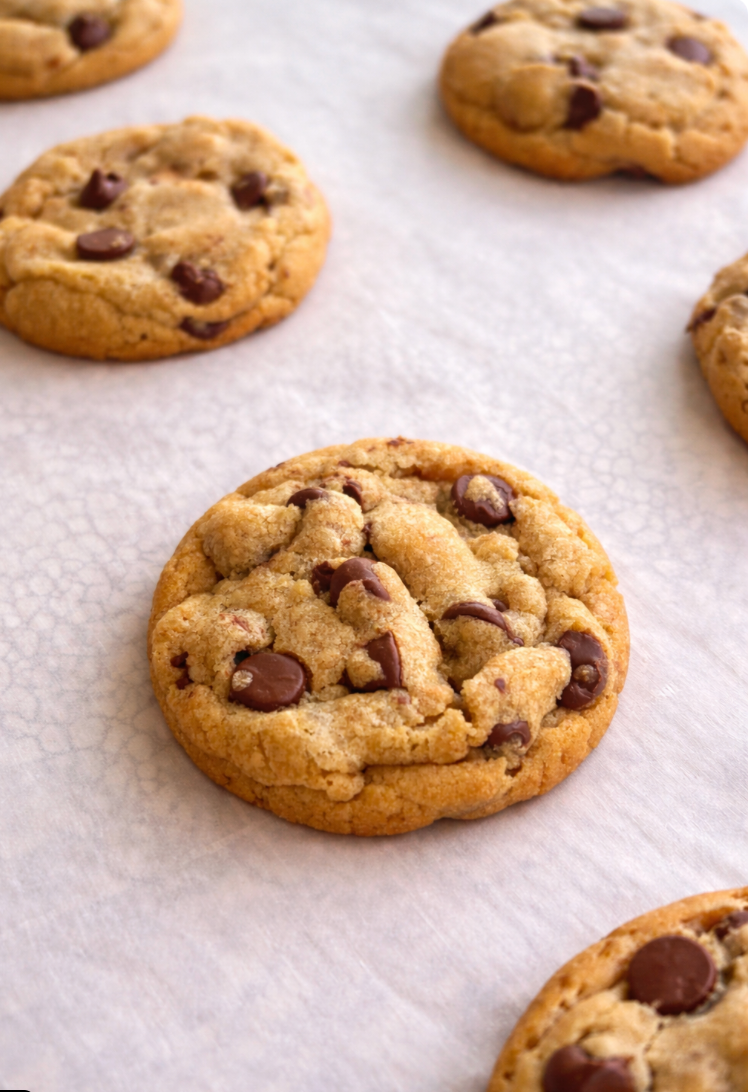
Scoop large portions (2–3 tablespoons each) and space them well on the baking sheet.
Bake at 350°F until the edges are golden but the centers still look slightly underdone. They’ll finish setting as they cool.
Finish with flaky sea salt if you love that sweet-salty contrast.

Variations to Try
Once you master the base, here’s how to make them your own:
- Chocolate overload: Use all dark chocolate
- Nutty: Add toasted pecans or walnuts
- Holiday: Mix in chopped toffee or crushed pretzels
- Cookies & cream: Fold in chopped Oreos
- Espresso: Add ½ teaspoon espresso powder to the dough
Serving Suggestions
- Warm with a glass of cold milk (classic, can’t go wrong).
- Sandwich them with vanilla ice cream for the ultimate cookie sandwich.
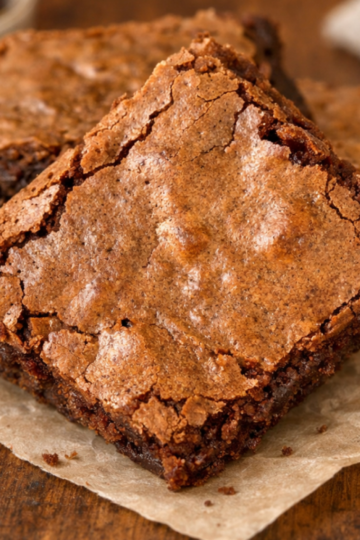
- Crumble over brownies or sundaes for extra indulgence.
- Gift them! Wrap cooled cookies in parchment and twine for the prettiest homemade present.
Storage & Freezing
- Room temperature: Store in an airtight container for up to 4 days.
- Fridge: Keeps for about a week.
- Freezer (baked): Freeze cookies in a zip bag for up to 2 months.
- Freezer (dough balls): The BEST option—scoop dough, freeze on a tray, then transfer to a bag. Bake straight from frozen, adding 1–2 minutes to bake time.
FAQs
Can I skip browning the butter?
You can, but you’ll lose a lot of flavor. Browning the butter is what makes these cookies special.
Why chill the dough?
Chilling controls spread, improves texture, and allows the flavors to develop fully.
Can I make these smaller?
Yes — but keep an eye on bake time. Smaller cookies will bake faster and won’t stay as soft.
Why do my cookies look underbaked?
That’s intentional. Pulling them early keeps the centers soft once cooled.
Why This Recipe Works
These cookies strike the balance between crispy edges, chewy centers, and melty pools of chocolate. Brown butter adds toasty, nutty depth. Cornstarch keeps the texture tender. Chilling develops flavor and prevents overspreading. The chocolate combo makes every bite interesting, and flaky sea salt ties it all together.
It’s not just a cookie—it’s the cookie you’ll crave again and again.
Final Thoughts
There’s a reason brown butter chocolate chip cookies have earned a permanent spot in my baking rotation. They’re simple enough for a weeknight but impressive enough for a dinner party. And honestly? They just make people happy.
So next time you want to bake something that guarantees smiles, melt some butter, let it brown, and whip up a batch. Just don’t expect leftovers.
Love Cookies? Try out some of my favorites:
Soft and Chewy Frosted Citrus Cookies
Chewy Brown Butter Toffee Cookies
The Best Brown Butter Chocolate Chip Cookies
Ingredients
Equipment
Method
- Start by melting your butter in a saucepan over medium heat. Keep stirring as it melts—it’ll bubble, foam, and then slowly turn golden with little browned bits at the bottom. The smell? Nutty, rich, and absolutely heavenly. That’s your cue. Pull it off the heat and let it cool for about 10–15 minutes (patience here is key, otherwise you’ll end up cooking your eggs in the next step).
- In stand mixer, mix together your cooled brown butter, brown sugar, and granulated sugar. Add in the vanilla, the whole egg, and that extra yolk (the secret to chewy cookies!). Stir until everything is smooth and glossy.
- In a separate bowl, whisk your flour, baking soda, baking powder, salt and cornstarch. Slowly fold this dry mix into your wet ingredients—just until combined. Don’t overmix! Fold in your dark chocolate chunks and milk chocolate chips so they’re evenly spread through the dough.
- Cover the bowl and pop it into the fridge for at least 2 hours. If you can wait overnight, even better. This is when the magic happens—the flavors deepen and the dough firms up, giving you that bakery-style cookie texture.
- When you’re ready to bake, preheat your oven to 350°F (175°C) and line a baking sheet with parchment paper. Scoop 2–3 tablespoons of dough per cookie (go big here, they’re worth it!) and make sure to leave some space in between—they spread.
- Bake for 10–12 minutes, just until the edges are golden brown but the centers still look a little soft. Pull them out, and while they’re still warm, sprinkle with flaky sea salt (if desired). Let them cool on the pan for 5 minutes before moving to a wire rack… if you can resist digging in right away.
- Use high-quality chocolate. Chopped chocolate bars melt into dreamy pools, while chips keep their shape—together, they’re perfect.
- For extra gooey centers, pull the cookies out slightly underbaked and let them finish setting on the tray.
- Freeze some dough balls for later. That way, you can bake off fresh, warm cookies anytime the craving hits.
Notes
- Brown the butter carefully. Stir constantly and remove from heat as soon as it turns golden and smells nutty. Overbrowned butter can taste bitter.
- Let the butter cool slightly before mixing with the eggs to prevent curdling.
- Chilling the dough is key. Chill for at least 2 hours to prevent spreading and ensure thick, soft cookies. Overnight is even better.
- Do not overbake. Cookies should look slightly underdone in the center when removed from the oven. They will continue to set as they cool.
Related
Looking for other recipes like this? Try these:

Pin to Pinterest