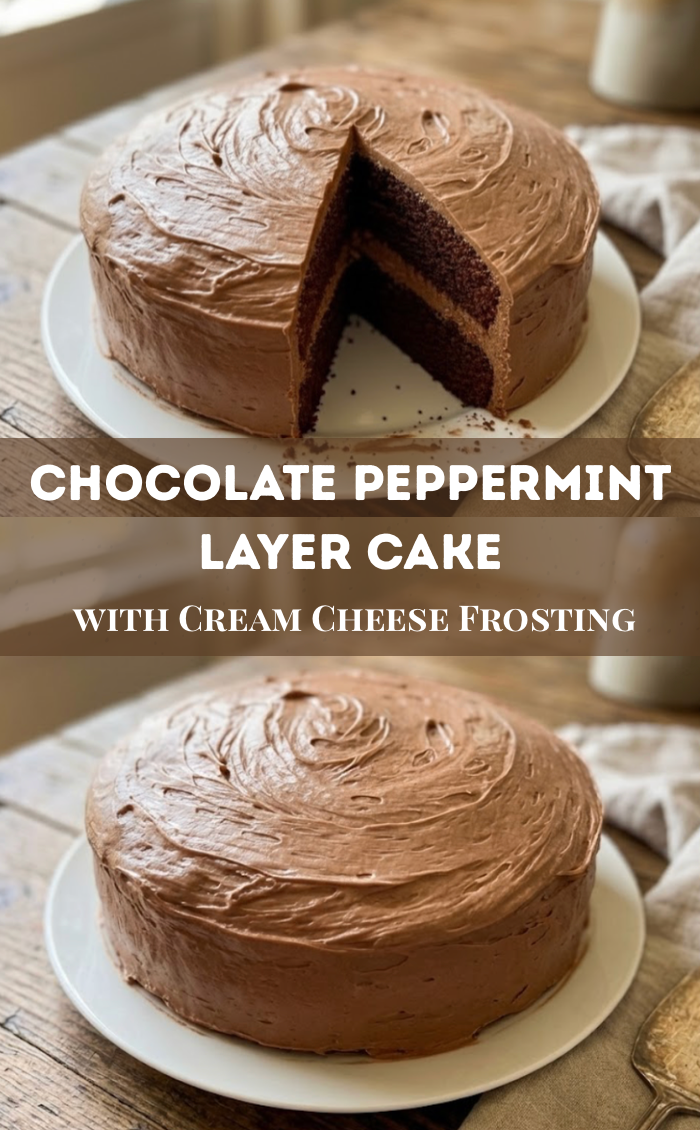
There are certain desserts that feel like Christmas before you even take a bite. The kind that fills the kitchen with that unmistakable cocoa warmth, where the windows fog slightly from the oven heat and the air smells like chocolate and sugar and something quietly festive. This peppermint chocolate layer cake is exactly that kind of dessert.
It’s rich but not heavy. Chocolate-forward without being bitter. Peppermint-kissed instead of toothpaste-strong. And finished with the kind of silky cream cheese frosting that makes you want to swipe the bowl with a spoon and call it quality control.
This is the cake you make when you want something nostalgic but elevated. When you want layers instead of a sheet pan. When you want a dessert that looks impressive on the table but doesn’t require advanced pastry skills or specialty tools. It’s classic Christmas flavor, reworked into a cake that feels intentional, cozy, and absolutely worth the effort.
Jump to:
Why You’ll Love This Cake
- Perfect holiday flavor balance – deep chocolate, gentle peppermint, and a lightly tangy frosting
- Soft, moist crumb thanks to cocoa + hot liquid activation
- Not overly sweet (even with cream cheese frosting)
- Layer cake drama without layer cake stress
- Slices cleanly for gifting, gatherings, and holiday dessert tables
This is the kind of cake that disappears quietly. People take small slices… then come back for more.
Ingredient Breakdown (and Why They Matter)
Butter + Two Sugars
Using both granulated sugar and brown sugar adds moisture and depth. The brown sugar contributes subtle caramel notes that round out the cocoa.
Dutch-Process Cocoa Powder
Dutch-process cocoa gives a smoother, darker chocolate flavor that pairs beautifully with peppermint. It also keeps the crumb soft and less acidic.
Milk + Hot Water
The milk adds richness and structure, while the hot water “blooms” the cocoa powder, intensifying the chocolate flavor and creating a looser batter that bakes up tender instead of dense.
Peppermint Extract
Peppermint is powerful. A little goes a long way. This recipe uses restraint so the chocolate stays center stage.
Cream Cheese Frosting
This frosting is intentionally balanced. Silky instead of stiff. Chocolate-forward, with just enough powdered sugar to hold its shape without overpowering the cake.
Instructions
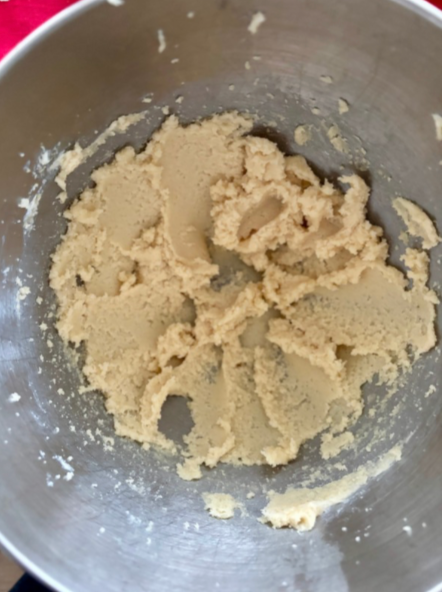
- Step 1: Combine butter and sugars and beat until light and fluffy: 2-3 minutes.
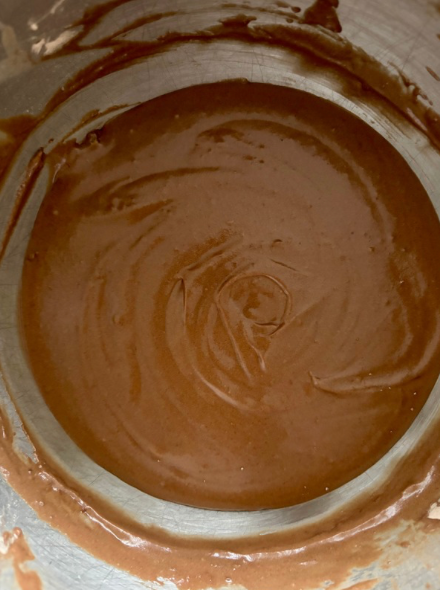
- Step 2: After whisking together dry ingredients add to wet ingredients.
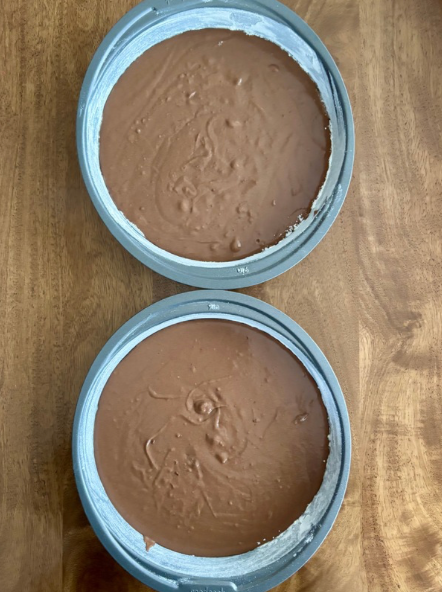
- Step 3: Evenly pour batter into 2 greased and lined 9 inch cake pans. Bake at 350 degrees for 20 minutes.
- Step 4: Mix frosting ingredients and once cake has fully cooled frost cake.
Step-by-Step: How to Make the Cake
1. Prep Your Pans
Preheat oven to 350°F (175°C).
Grease two 9-inch round cake pans, line the bottoms with parchment, and lightly flour the sides.
This step matters. Layer cakes are unforgiving if they stick.
2. Cream Butter and Sugars
In a large bowl, beat the butter, granulated sugar, and brown sugar together until light and fluffy — about 2–3 minutes.
This creates air pockets that help the cake rise evenly.
3. Add Eggs and Vanilla
Beat in the eggs one at a time, scraping down the bowl as needed. Add vanilla extract.
The batter should look smooth and glossy at this point.
4. Mix Dry Ingredients
In a separate bowl, whisk together:
- Flour
- Cocoa powder
- Baking soda
- Salt
Whisking thoroughly prevents cocoa clumps and uneven leavening.
5. Alternate Wet and Dry
Add the dry ingredients to the batter in two additions, alternating with the milk. Mix just until combined.
6. Add the Hot Water
Slowly mix in the hot water. The batter will be thin — this is exactly what you want.
That loose batter = moist cake.
7. Bake
Divide batter evenly between the prepared pans.
Bake for 22–26 minutes, until:
- The centers spring back lightly
- A toothpick comes out with moist crumbs, not wet batter
Cool cakes in pans for 10 minutes, then turn out onto a rack to cool completely.
Frosting Instructions
1. Beat the Base
Beat cream cheese and butter together until completely smooth and fluffy — no lumps allowed.
2. Add Flavor
Mix in vanilla and peppermint extract. Taste here. Peppermint should whisper, not shout.
3. Sweeten Gradually
Add powdered sugar a little at a time, mixing well between additions.
4. Add Chocolate
Beat in the melted (but cooled) chocolate until fully incorporated.
5. Adjust Consistency
Add heavy cream or milk 1 tablespoon at a time until frosting is smooth, silky, and spreadable.

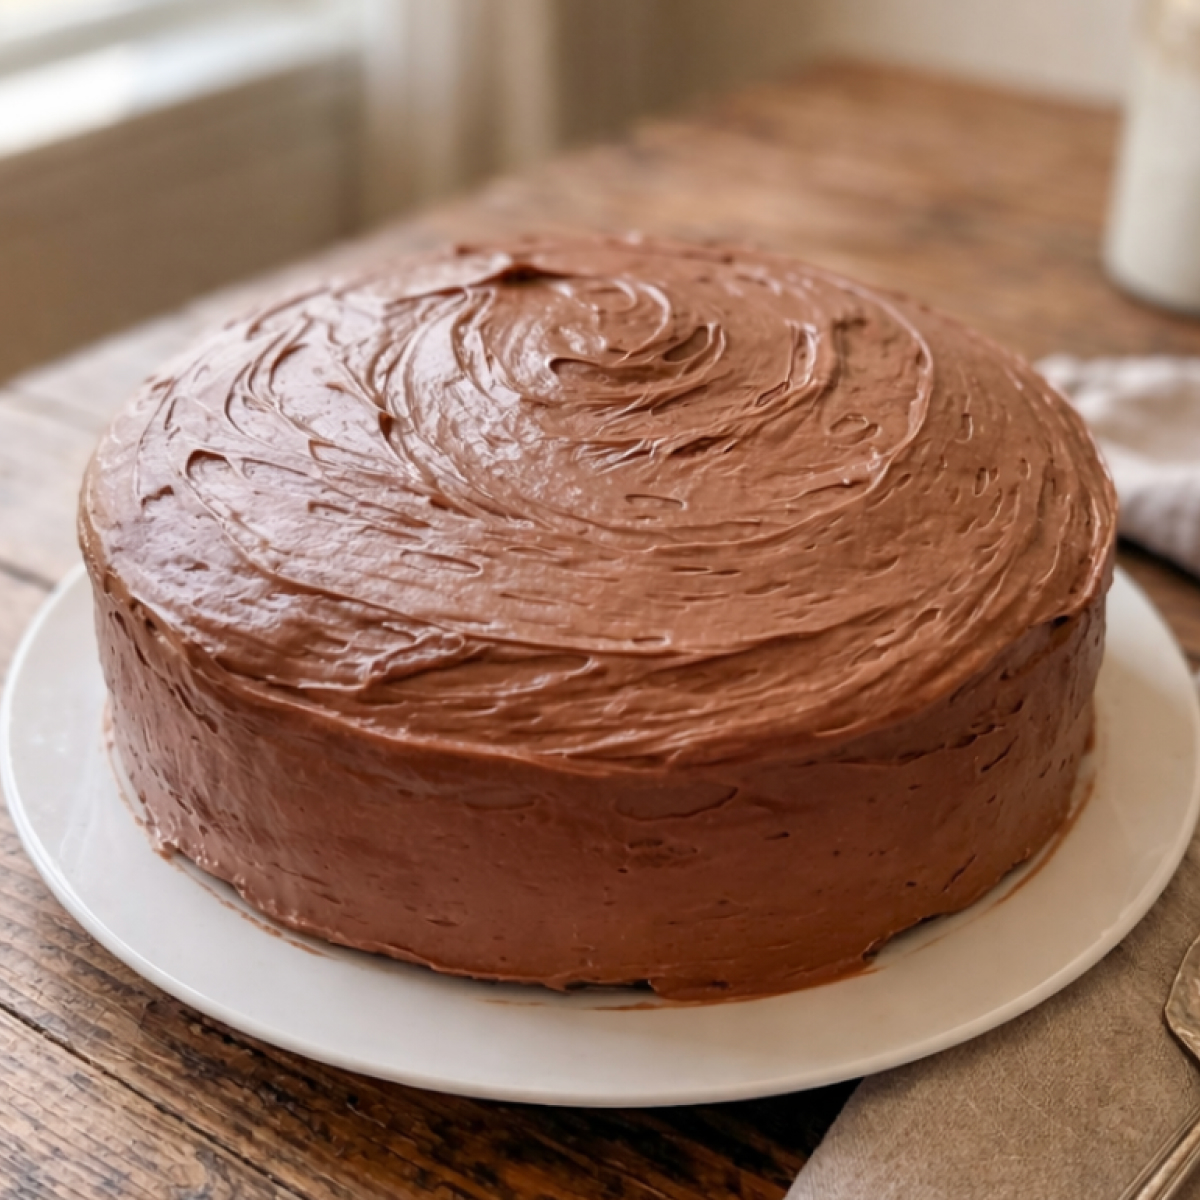
Assembling the Cake
- Level cake layers if needed
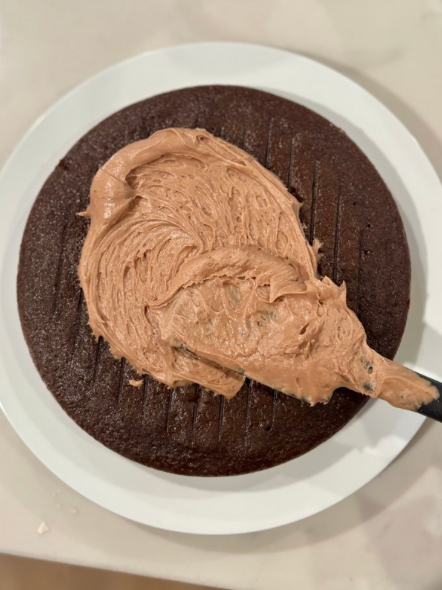
- Spread frosting evenly over the first layer
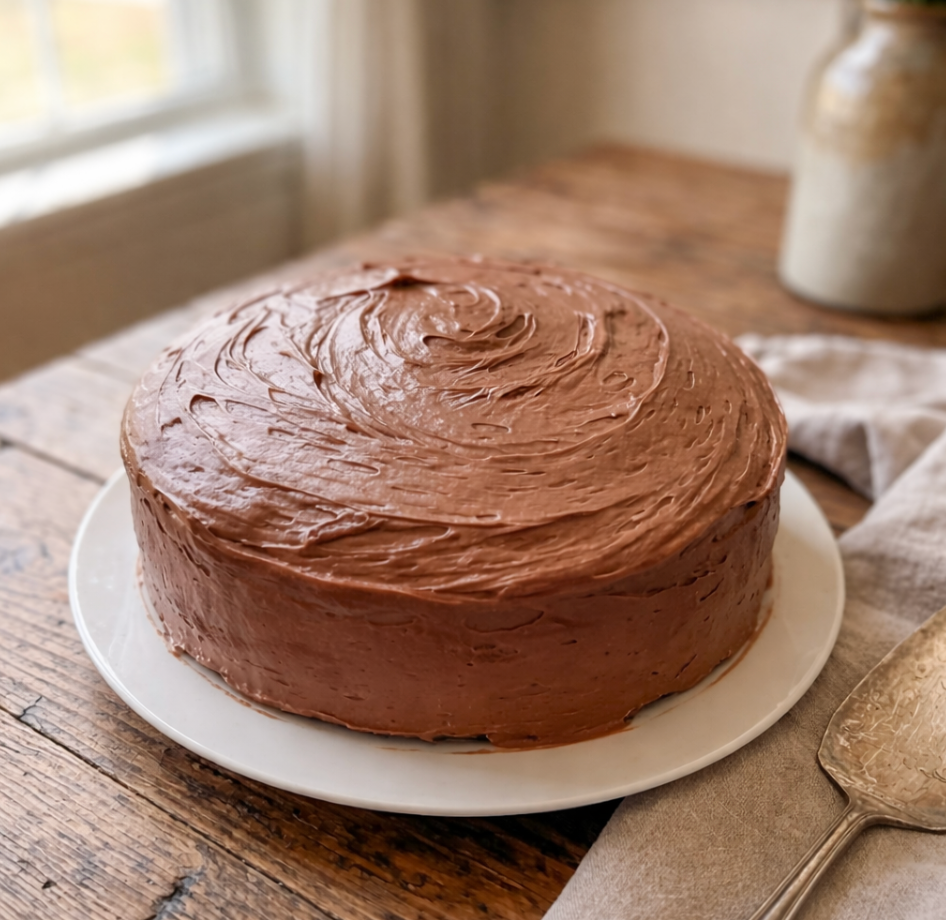
- Add the second layer and frost the top and sides
- Keep the finish simple or add:
- Chocolate shavings
- Crushed peppermint
- A light cocoa dusting
Variations You’ll Love
- Extra Peppermint: Add crushed candy canes between layers
- Mocha Twist: Replace hot water with hot coffee
- White Chocolate Frosting: Swap dark chocolate for white chocolate
- Sheet Cake Version: Bake in a 9×13 for 28–32 minutes
Serving Suggestions
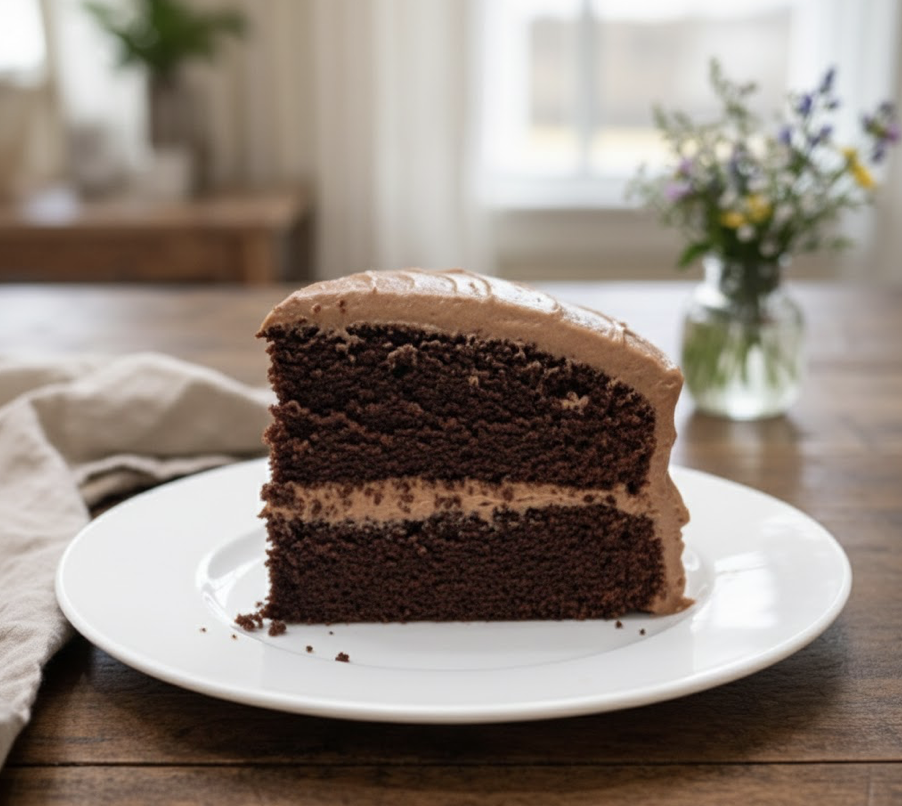
- Serve slightly chilled for clean slices
- Let sit at room temp 15 minutes for ultra-soft frosting
- Perfect with milk, hot cocoa, or peppermint tea
Storage & Make-Ahead Tips
- Store covered in the fridge up to 4 days
- Cake layers can be baked and frozen up to 1 month
- Frosting can be made 2 days ahead and refrigerated
FAQs
Can I make this without peppermint?
Yes — omit peppermint extract for a classic chocolate cream cheese frosting.
Why is the batter so thin?
The hot liquid activates the cocoa and creates moisture. Trust the process.
Can I use natural cocoa powder?
You can, but flavor and texture will be slightly different. Dutch-process is best here.
Why This Recipe Works
This cake balances fat, sugar, and liquid in a way that guarantees tenderness without heaviness. The cocoa is fully bloomed, the sugars provide moisture and structure, and the frosting brings contrast instead of cloying sweetness. Every component supports the next — which is why this cake feels bakery-quality but still approachable.
Final Thoughts
This peppermint chocolate layer cake isn’t flashy. It doesn’t rely on trends or novelty. It’s the kind of dessert that feels familiar in the best way — like something you’ve always made, even if it’s your first time baking it.
It belongs on a Christmas table. It belongs at a gathering where plates get passed back for seconds. And it belongs in your recipe box for years to come.
If you make it, don’t be surprised when someone asks for “that chocolate peppermint cake” again next Christmas.
Midnight Chocolate Peppermint Cream Cake
Ingredients
Equipment
Method
- Prep the pans: Grease two 9-inch round cake pans, line bottoms with parchment, and lightly flour the sides.
- Preheat oven to 350°F (175°C).
- Beat butter, granulated sugar, and brown sugar until light and fluffy, about 2–3 minutes.
- Beat in eggs one at a time, mixing well after each addition. Add vanilla.
- In a separate bowl, whisk together flour, cocoa powder, baking soda, and salt.
- Add dry ingredients to the batter in two additions, alternating with milk. Mix just until combined.
- Slowly pour in hot water and mix until smooth. (The batter will be thin — this is correct and gives a tender crumb.)
- Evenly divide batter between the two pans.
- Bake for 20–24 minutes, or until: toothpick comes with moist crumbs, not wet batter.
- Let cakes cool in pans for 10 minutes, then turn out onto a wire rack and cool completely before frosting.
- Beat cream cheese and butter until completely smooth and fluffy.
- Add vanilla and peppermint extract.
- Gradually mix in powdered sugar.
- Beat in melted chocolate.
- Add cream 1 tablespoon at a time until smooth and spreadable.
Notes
- Use fully softened butter, not melted. This ensures proper creaming and a light, even crumb.
- The blend of granulated + brown sugar adds depth and moisture without making the cake heavy.
- Dutch-process cocoa is essential here. It pairs with baking soda to create a darker color and smoother chocolate flavor.
- Natural cocoa will alter both taste and rise.
- Room-temperature eggs help the batter emulsify smoothly.
- Beat eggs in one at a time to avoid breaking the butter-sugar structure.
Related
Looking for other recipes like this? Try these:

Pin to Pinterest