There’s something magical about homemade pizza dough—especially when it’s ready in just 30 minutes. This quick-rising pizza dough recipe takes all the guesswork and waiting out of the process, so you can enjoy fresh, chewy, perfectly crisp crust faster than you ever thought possible. Whether you’re craving a classic Margherita, loaded veggie pie, or your favorite meat-lovers’ combo, this dough is your new secret weapon for effortless, crowd-pleasing homemade pizza any night of the week.
No fancy equipment, no overnight rising—just simple ingredients, a little kneading, and a short rise that gives you that soft, airy texture with a golden crust every time. Trust me, once you try this recipe, you’ll never want to buy store-bought dough again.
Jump to:
Why You’ll Love This Quick Pizza Dough
- Fast: Just one short rise and it’s ready in under an hour.
- Flexible: Strong enough for heavy toppings but tender enough for a classic margherita.
- Foolproof: Just simple ingredients and easy steps.
- Family-friendly: Perfect for pizza night traditions, letting kids roll and top their own.
- Better than delivery: Crisp edges, chewy center, and flavor that frozen or takeout can’t touch.
Ingredient Breakdown
Here’s a quick look at what makes this dough work so well:
- Warm water – Activates the yeast. You’ll want it around 105–110°F—warm but not hot.
- Active dry yeast – The quick-rise hero that gives this dough its structure and chew.
- Sugar – Just a touch to feed the yeast and help it bloom.
- Olive oil – Adds flavor and helps the crust crisp in the oven.
- Flour – Bread flour is best for that classic chew, but all-purpose works too.
- Salt – Brings balance and rounds out the flavor.
Hint: Unlike some dough recipes, there’s no need to punch this one down after rising. Just stretch or roll it out, top it, and bake.
Instructions
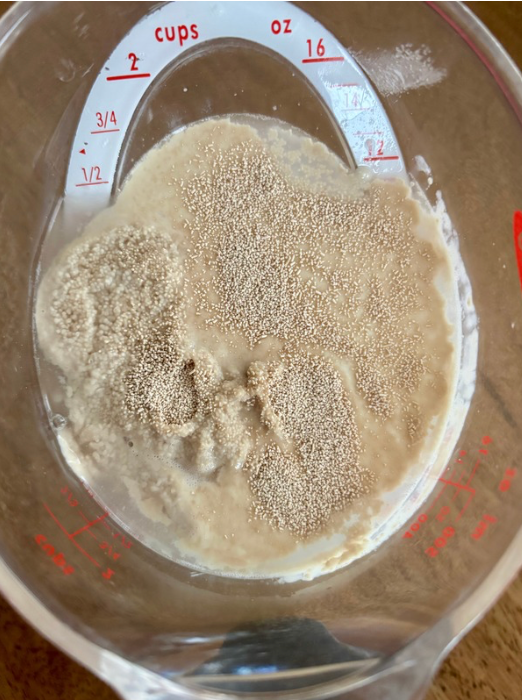
- Step 1: In warm water add yeast and sugar, allow to sit for about 5 minutes, allowing yeast to bloom. Then mix in the olive oil.
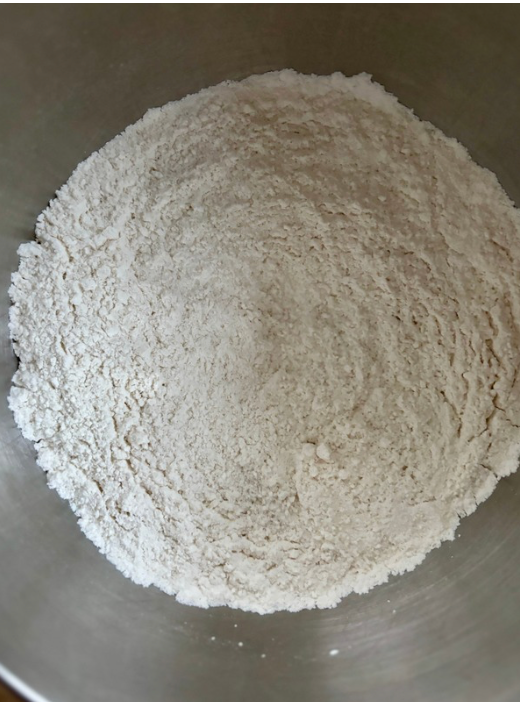
- Step 2: In a separate bowl mix all dry ingredients together.
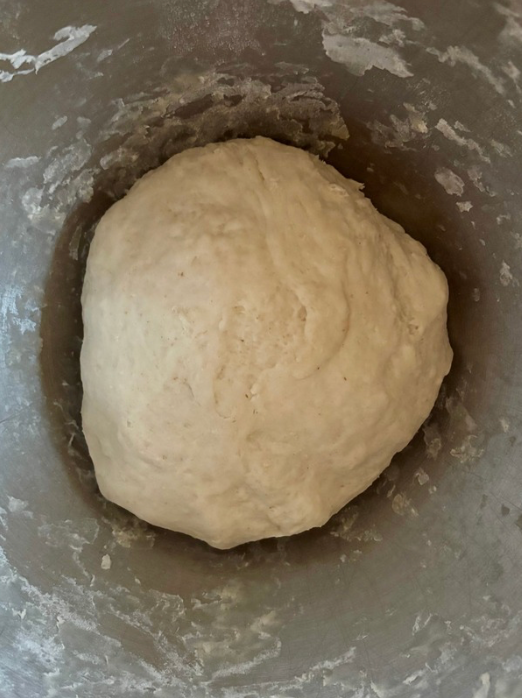
- Step 3: In a stand mixer add yeast mixture to dry ingredients until ragged dough begins to form. Knead dough for about 6-8 minutes.
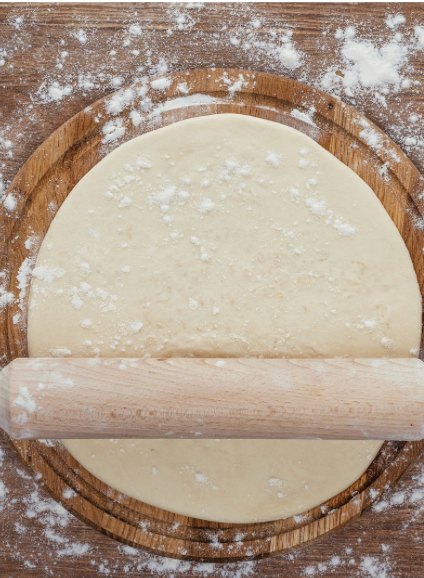
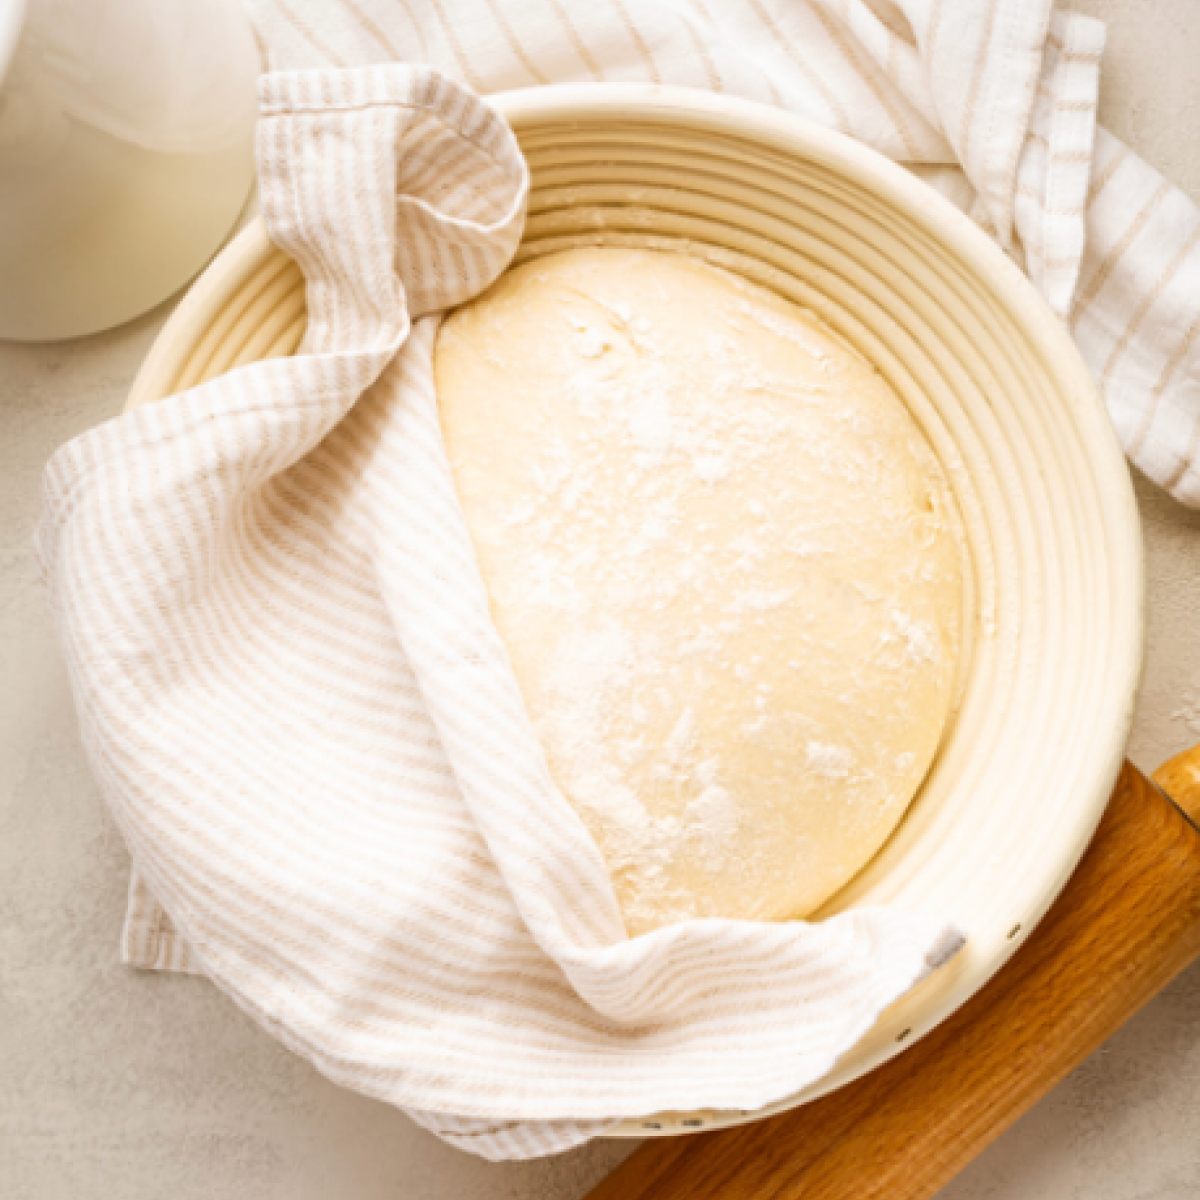
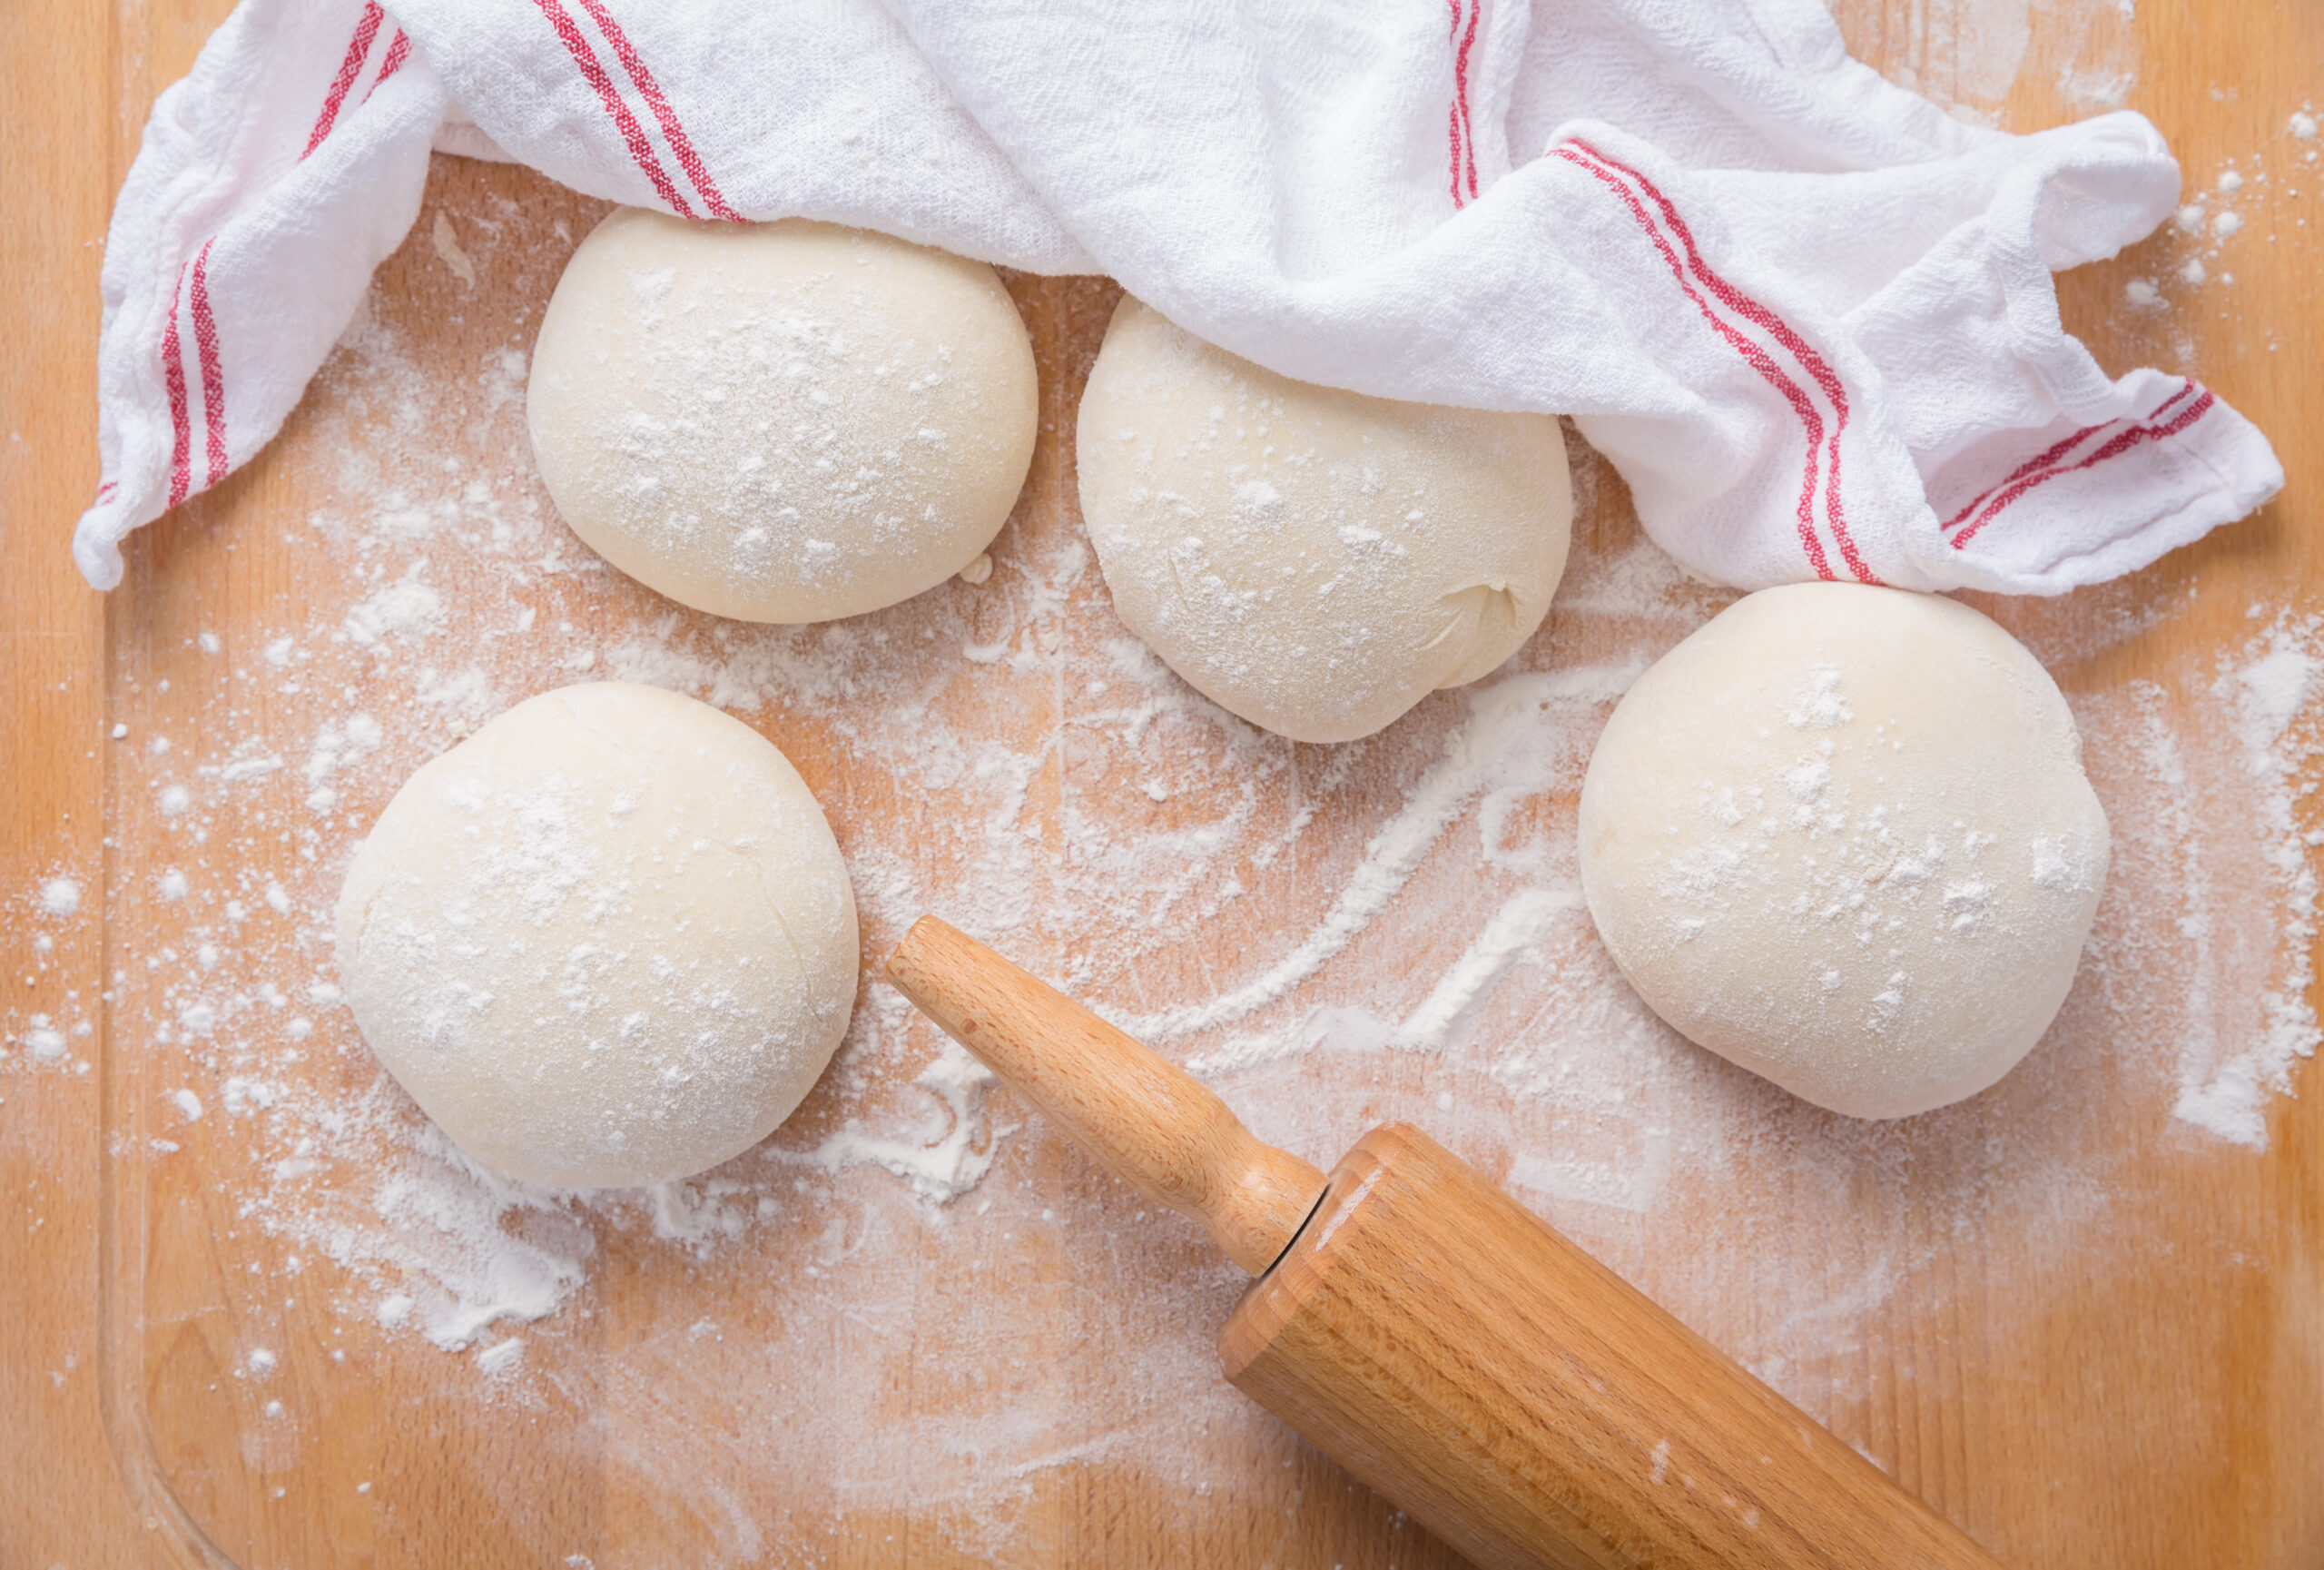
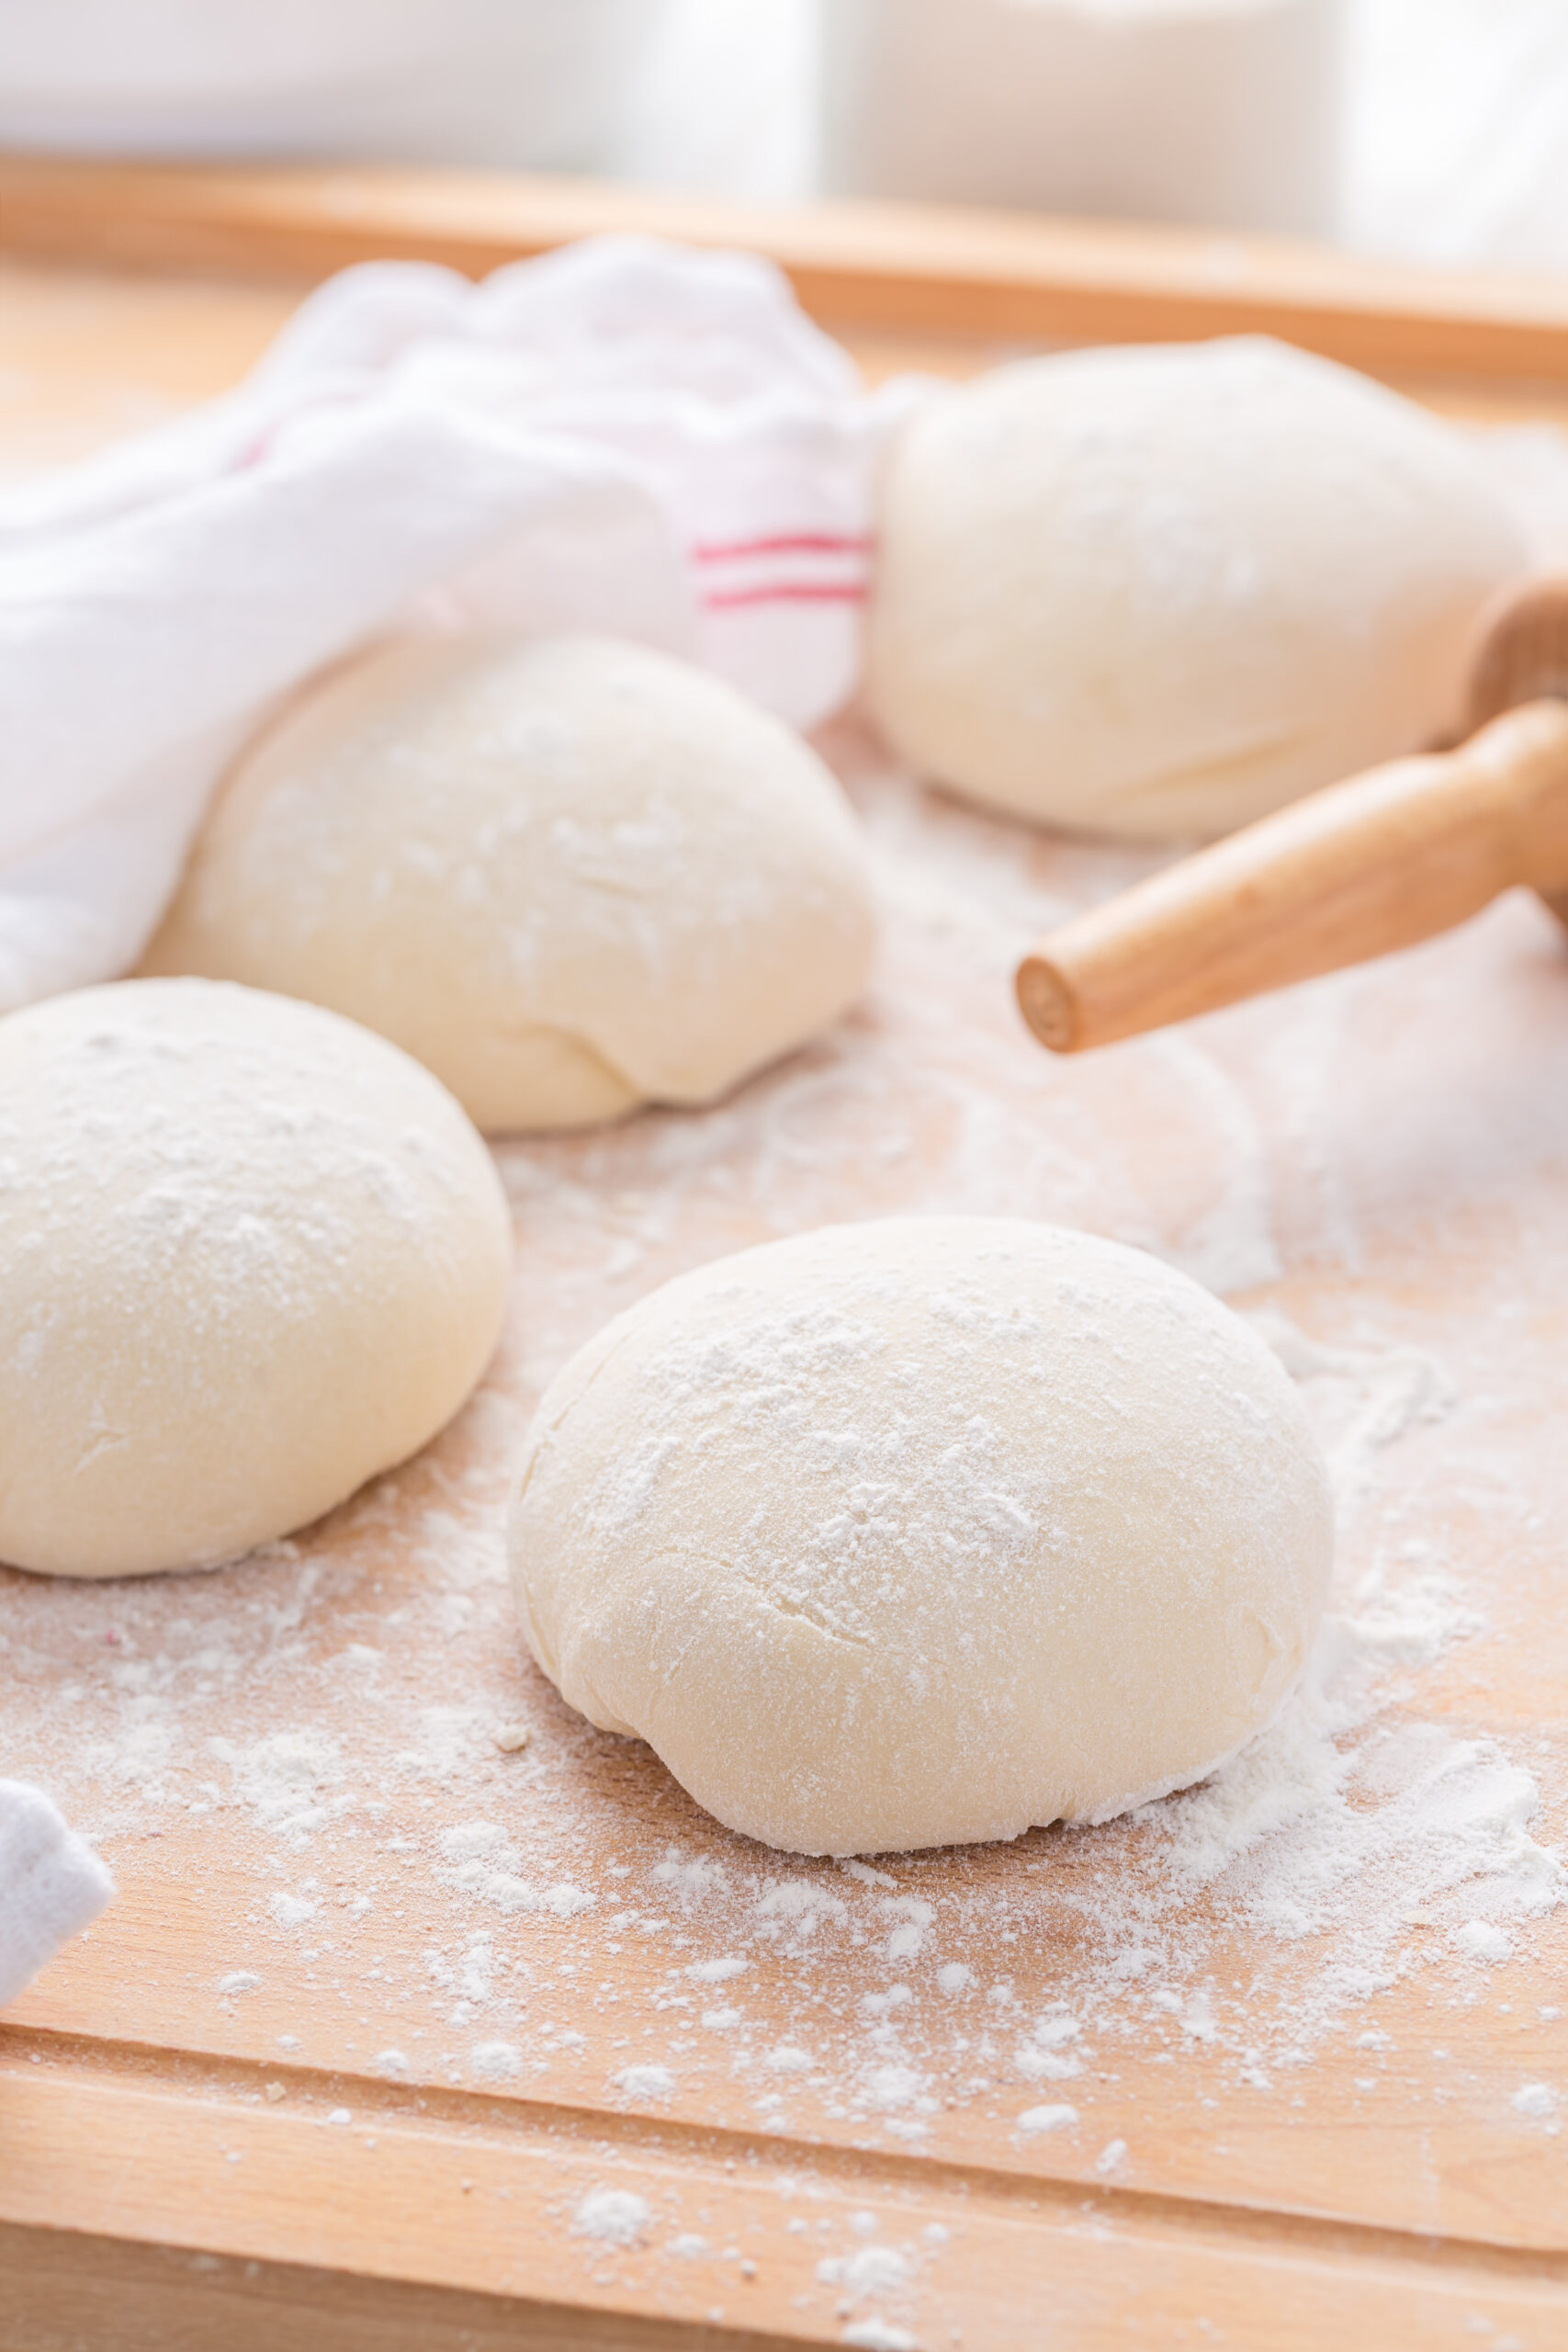
- Step 4: Allow dough to sit (covered) in warm area for about 25-30. Then roll out to desired size and top as desired. Bake as directed.
Step-by-Step Tips for Success
Making homemade pizza dough sounds fancy, but it’s truly simple. Here’s how to nail it every time:
- Bloom the yeast. In a large bowl, mix warm water, sugar, and yeast. Let it sit for 5 minutes until foamy. This is the yeast’s way of saying, “I’m alive and ready to work!”
- Add the olive oil. Adding the olive oil to the yeast mixture and mixing helps to distribute the oil evenly once added to the flour mixture.
- Mix the dough. Add liquids to the flour and salt. Stir until a shaggy dough forms.
- Knead. On a floured surface, knead for 5–7 minutes until smooth and elastic. (Or use the dough hook on your stand mixer if you prefer.)
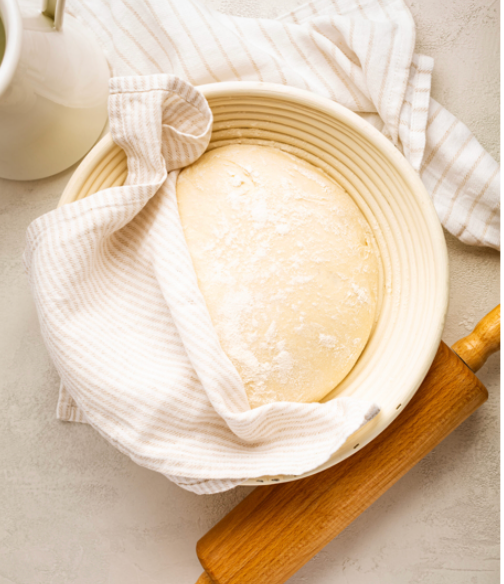
- Let it rise. Place in a greased bowl, cover, and let rise for 30–40 minutes, or until doubled.
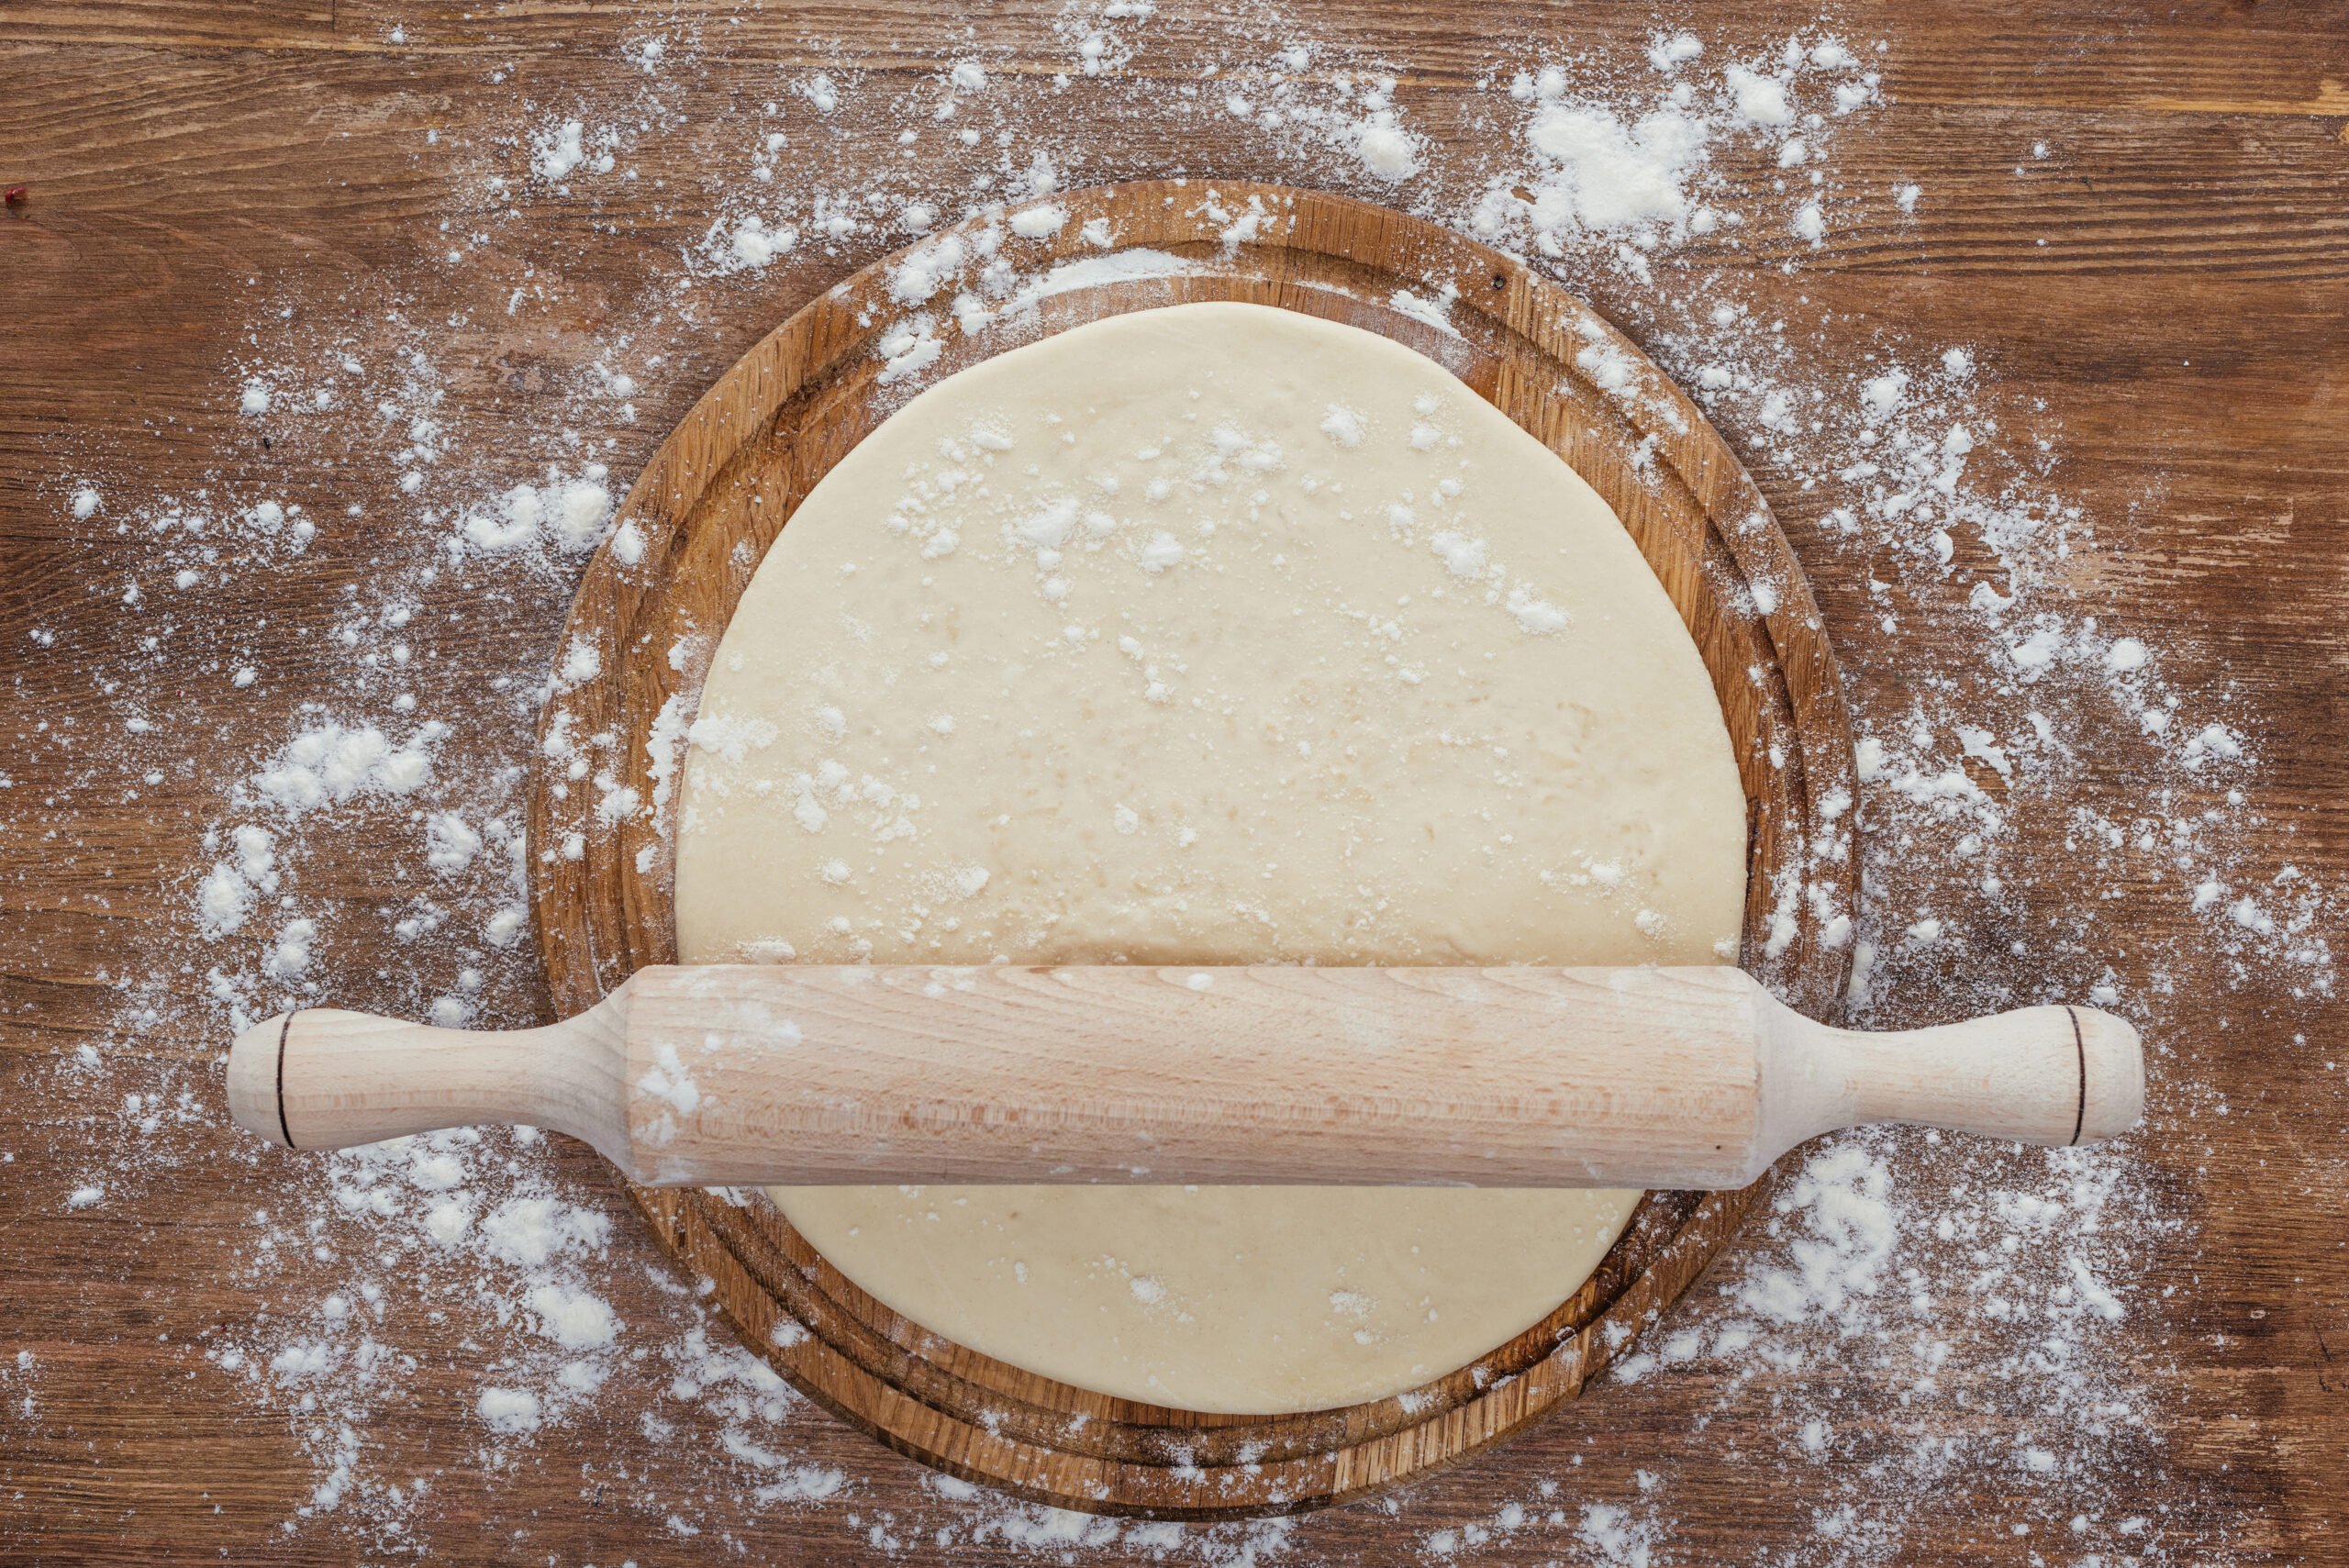
- Shape it. Roll or stretch into your desired pizza shape—round, rectangle, rustic—it’s all good.
- Top it. Add sauce, cheese, and your favorite toppings.
- Bake. Bake at 475°F on a preheated pizza stone, baking steel, or baking sheet until golden and bubbly (about 12–15 minutes).
Pro Tips:
Want extra flavor? Brush the crust with garlic butter or sprinkle herbs into the dough.
Preheat your oven like your life depends on it. The hotter, the better.
For juicy toppings like fresh tomatoes, par-bake the crust for 5 minutes before adding them.
Variations
This dough is endlessly customizable:
- Classic Margherita: Tomato sauce, fresh mozzarella, basil.
- Loaded Veggie: Roasted peppers, onions, mushrooms, spinach.
- Meat Lover’s: Pepperoni, sausage, ham, bacon.
- White Pizza: Ricotta, mozzarella, garlic, and spinach—no sauce needed.
- Dessert Pizza: Spread with Nutella, top with mini marshmallows, and bake until gooey.
Serving Suggestions
Pizza night is never just about the pizza—it’s the whole vibe. Here are a few ideas:
- Simple dinner: Serve with a green salad and call it good.
- Family-style: Make a double batch of dough and let everyone build their own mini pizzas.
- Party platter: Bake several pizzas with different toppings and cut into squares for sharing.
- Beyond pizza: This dough also works for garlic knots, breadsticks, or even calzones..
Storage
One of the best things about this recipe? It stores beautifully.
Leftover pizza: Wrap tightly and refrigerate for up to 3 days. Reheat in the oven or air fryer to restore crispiness.
Fridge: Store leftover dough in an oiled zip-top bag for up to 3 days. Let it come to room temperature before rolling.
Freezer: Freeze dough balls for up to 3 months. Thaw overnight in the fridge, then bring to room temperature before baking.
FAQ
Can I use active dry yeast instead of quick-rise yeast?
Yes. Use the same amount, but be sure to let it fully bloom in the warm water with sugar before mixing. The rise time may be slightly longer, but the dough will still work beautifully.
Why does the water need to be warm?
Warm water (about 120–125°F) helps activate the yeast quickly. Water that’s too hot can kill the yeast, while cool water will slow the rise.
Do I really need to let the dough rise if it’s quick-rise?
Yes—just a short rise. That 25–30 minutes allows the dough to relax, puff up, and develop enough structure for a soft, chewy crust.
Can I make this dough ahead of time?
You can mix and knead the dough, then refrigerate it after the first rise for up to 24 hours. Let it come to room temperature before stretching.
Is bread flour better than all-purpose flour?
Bread flour gives a slightly chewier, more elastic crust, but all-purpose flour works well and keeps the dough soft and easy to handle.
Why This Recipe Works
This quick-rise pizza dough relies on a simple balance of warm water, sugar, and yeast to jump-start fermentation fast, giving you a reliable rise without long waiting times. The short knead builds just enough gluten for structure while keeping the dough soft and easy to stretch.
Olive oil adds flavor and tenderness, preventing the crust from drying out during the high-heat bake. Letting the dough rest briefly in a warm spot allows it to relax, making shaping easier and helping it puff nicely in the oven.
Baking at a high temperature finishes the job—creating a golden, fully cooked crust with a chewy interior and lightly crisp edges. It’s a straightforward method that delivers consistent, bakery-style results in a fraction of the time.
Final Thoughts
Making pizza from scratch doesn’t have to be a time-consuming project — and this quick-rising dough proves it. In just 30 minutes, you can have a soft, flavorful base that’s ready for all your favorite toppings and will bake up with a perfectly crisp, golden crust every time. Whether you’re feeding a crowd or just craving a homemade pizza night, this dough makes it easy to bring that fresh, pizzeria-quality magic right into your kitchen.
Once you try this recipe, you’ll see how simple and satisfying homemade pizza can be — and why store-bought dough just won’t cut it anymore. So grab your rolling pin (or just use your hands), get creative with toppings, and enjoy every delicious bite of your very own homemade pizza.
Love easy weeknight meals? Try out some of my favorites:
Crispy Baked Ritz Cracker Chicken
Quick-Rising Pizza Dough
Ingredients
Equipment
Method
- Take the warm water(about 125°F) add yeast and sugar, set aside for 5 minutes so the yeast can bloom.
- In a large bowl, combine the flour and salt.
- Mix the olive oil in with the water/yeast mixture, add the liquid mixture to dry ingredients. Mix until a ragged dough begins to form.
- Form and knead the dough:Turn it out onto a lightly floured surface and knead vigorously for 6–8 minutes, until smooth and elastic.
- Place the dough in a lightly oiled bowl, turn it to coat, and cover with plastic wrap and a clean towel. Let it rise in a warm place for 25–30 minutes or until puffy. Do not punch the dough down afterward.
- Stretch or roll dough into a 13–14 inch circle, about ⅛ inch thick. Transfer to a prepared pizza pan, baking sheet, or parchment-lined peel (if using a stone or steel).
- Preheat the oven to 475–500°F.
- Add sauce, cheese, and toppings directly to the raw dough.
- Bake on the middle rack for 12–15 minutes, or until:Cheese is melted and bubblingCrust is golden and cooked through (check the bottom for doneness)
- Best for: Thin layers of sauce/toppings, preheated pans, or using a pizza stone/steel.
Notes
- Water temperature matters: Aim for warm water around 120–125°F. Too hot can kill the yeast; too cool will slow the rise.
- Yeast options: Quick-rise (instant) yeast works best, but active dry yeast can be used—just be sure it blooms and gets foamy before mixing.
- Flour choice: All-purpose flour works great, but bread flour will give you a slightly chewier, more pizza-shop-style crust.
- Dough texture: The dough should feel soft, smooth, and slightly tacky—not sticky. Add flour a tablespoon at a time if needed.
- Rising tip: Let the dough rise in a warm, draft-free spot. A turned-off oven with the light on works beautifully.
Related
Looking for other recipes like this? Try these:


Pin on Pinterest