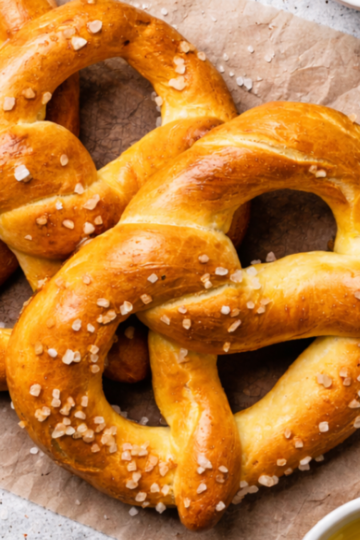
There are recipes that feel like magic the moment you pull them from the oven—warm, golden, and impossibly comforting. That’s exactly how I felt the first time I made this Brazilian-inspired cheese bread without any tapioca flour. I had been craving that classic pão de queijo experience: soft, stretchy centers, lightly crisp edges, and that cheesy aroma you can smell from down the hallway.

But I wasn’t about to run to the store for tapioca flour (because honestly… when does any of us have tapioca flour casually stocked in the pantry?). So I started experimenting with a version that uses simple ingredients—everything you already have in your kitchen—and the result was shockingly, delightfully satisfying.
Is this recipe 100% traditional? No. But does it give you that warm, cheese-filled bite, the satisfying pull of mozzarella, and that same “I need just one more” feeling? Absolutely. It’s cozy, quick, and unbelievably easy. The kind of recipe you want in your back pocket for soup nights, pasta nights, brunch, holidays, or honestly… just whenever the craving hits.
So today we’re making the easiest, fluffiest, most reliable Brazilian Cheese Bread Without Tapioca Flour—a little twist on the classic, with the same spirit and satisfaction.
Jump to:
Why You’ll Love This Recipe
No tapioca flour needed, making this an easy, accessible take on classic Brazilian cheese bread.
Crisp on the outside, soft and stretchy inside with plenty of cheesy flavor in every bite.
Quick to make and fast to bake, perfect for last-minute sides or snack cravings.
Simple pantry ingredients you likely already have on hand.
Naturally rustic and forgiving, with no need for perfect shaping.
Best served warm, when the cheese is melty and irresistible.
Ingredients (and Why They Matter)
Let’s break down each ingredient so you know exactly how it works in the recipe and why it’s essential.
All-purpose flour
This replaces the tapioca flour you’d find in traditional pão de queijo. It doesn’t create the same full “stretch,” but it gives structure and softness while keeping everything pantry-accessible.
Cornstarch
Cornstarch is the real hero here. It mimics the chewy, slightly elastic texture that tapioca flour gives. Without it, the rolls would be more like biscuits—good, but not pão-de-queijo-ish.
Baking powder
Adds lift so the breads puff beautifully in the oven.
Fine salt
Just enough to balance all the cheesiness.
Whole milk
Adding heat to the milk hydrates the cornstarch and helps give the dough that soft, chewy interior.
Unsalted butter
Melted into the milk for richness and tenderness.
Egg
Helps the dough hold together, adds moisture, and helps them puff.
Finely shredded mozzarella
The stretch factor! Mozzarella melts into the dough, giving it that satisfying pull.
Finely grated Parmesan
Adds the sharp, savory, signature cheesy flavor that makes these taste like the real deal.
Instructions
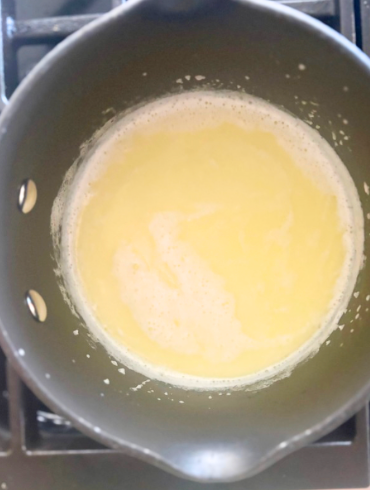
- Step 1: In a small saucepan, heat the milk and butter over medium heat until steaming and the butter melts (don’t let it boil hard).
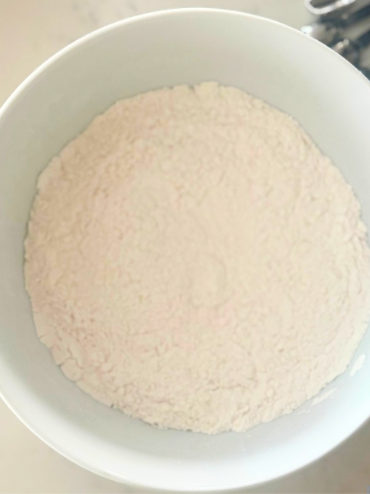
- Step 2: In a medium sized bowl combine all dry ingredients and mix well.
- Step 3: Add egg into dry ingredients incorporate well, then fold in cheeses just until combined.

- Step 4: Cook in oven for 12-15 minutes at 400 degrees, until slightly golden. Enjoy promptly.
How to Make Brazilian Cheese Bread Without Tapioca Flour
Here’s the full step-by-step process with all the extra insight and little tricks that make the difference.
1. Preheat and Prep
Set your oven to 400°F (205°C) and line a baking sheet with parchment.
Hot oven = puffier bread bites.
Parchment = clean baking sheet and golden bottoms.
2. Heat the Milk + Butter
In a small saucepan, heat:
- 1 cup whole milk
- 4 tablespoons butter
Heat until the butter melts and the milk is steaming—but don’t let it boil.
Why This Matters
This step softens and activates the starches in the flour and cornstarch. It gives the dough that smooth, stretchy quality you want. If you skip the heating step, the rolls will be more biscuit-like.
3. Combine Dry Ingredients
Whisk together:
- 1 cup all-purpose flour
- ¼ cup cornstarch
- 2 teaspoons baking powder
- ½ teaspoon salt
A whisk quickly breaks up lumps and evenly distributes everything.
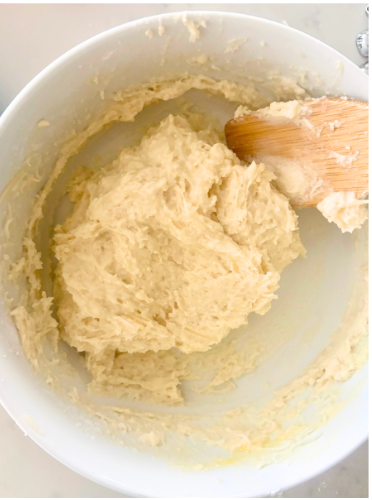
4. Create the Dough
Pour the warm milk-butter mixture over the dry ingredients and stir with a wooden spoon. At first, it’ll look almost like mashed potatoes—thick, soft, sticky, totally normal.
Let it cool 3–4 minutes so the egg doesn’t scramble later.
5. Add the Egg + Cheeses
Add:
- 1 large egg
- 1 cup shredded mozzarella
- ½ cup grated Parmesan
Mix until soft, thick, and slightly tacky.
Texture Check
It should look like a cross between cookie dough and biscuit dough—soft, warm, and sticky, but scoopable.
6. Shape
Scoop about 2 tablespoons per bread.
Roll lightly with damp hands to smooth the surface.
Place 2 inches apart.
They won’t roll perfectly smooth like traditional tapioca-based pão de queijo—and that’s totally fine. They bake beautifully anyway.
7. Bake
Bake 12–15 minutes, until:
- Puffing up
- Lightly golden at the edges
- You can smell the cheese
These are best when they’re just barely golden—not deeply browned.
8. Serve Warm
Serve immediately for the most authentic texture—soft, stretchy, cheesy, warm.
If reheating, bake at 300°F for 5 minutes.

Step-by-Step Tips for Success
- Use freshly shredded cheese — Pre-shredded contains anti-caking agents that prevent meltiness.
- Let the dough cool before adding the egg — Too hot and it turns into scrambled egg pieces.
- Don’t skip the cornstarch — It’s the key to getting the right texture without tapioca.
- Bake hot and fast — A 400°F oven gives them their signature puff.
- Serve immediately — These are absolutely best while warm and stretchy.
Variations
Garlic Herb Cheese Bread
Add 1 teaspoon garlic powder + 1 teaspoon dried Italian herbs.
Pepper Jack + Cheddar Twist
Swap the mozzarella for pepper jack and the Parmesan for cheddar.
Jalapeño Cheddar
Fold in 2 tablespoons finely minced pickled jalapeños.
Everything Bagel Cheese Bread
Sprinkle the tops with everything bagel seasoning before baking.
Gluten-Friendly Option
Use a cup-for-cup gluten-free flour blend (plus cornstarch). Works beautifully!
What to Serve With Brazilian Cheese Bread
These little cheese bites pair with almost anything:
- Hearty soups (tomato, broccoli cheddar, chili)
- Roasted chicken or steak dinner
- Holiday spreads
- Breakfast eggs + fruit
- Pasta dishes
- Salad bowls
- Festive party platters
They’re especially wonderful with warm marinara or garlic butter for dipping.
Storage + Reheating
Room Temperature:
Keep in an airtight container for 2 days.
Refrigerator:
Up to 4 days—just reheat to revive the texture.
Freezer:
Freeze shaped dough balls on a baking sheet, then store in a zip-top bag for up to 2 months.
Bake straight from frozen at 400°F, adding 2–3 minutes.
To Reheat:
300°F for 5–6 minutes until warm and soft again.

FAQs
Are these authentic pão de queijo?
They’re inspired by Brazilian cheese bread but made without tapioca flour. The flavor and texture are similar, with a slightly softer crumb.
Can I use different cheese?
Yes. Low-moisture mozzarella works best, but you can experiment with mild cheddar, Monterey Jack, or a blend—just keep the cheese finely shredded.
Why is my dough sticky?
That’s normal! The dough should be soft and slightly tacky. Avoid adding extra flour.
Can I make these ahead of time?
They’re best fresh, but you can shape the dough balls a few hours ahead and refrigerate until ready to bake.
Why This Recipe Works
This recipe works because it uses a hot milk-and-butter mixture to properly hydrate the flour and cornstarch, creating a stretchy, tender dough instead of a bread-like crumb. Letting the dough cool slightly before adding the egg ensures a smooth, cohesive texture, while finely shredded cheeses melt evenly throughout the dough.
Cornstarch plays a key role by softening the structure of the flour, mimicking the chew traditionally created by tapioca flour. Baking at a high temperature allows the rolls to puff quickly, forming crisp edges while keeping the centers light, airy, and cheesy. Each step builds on the last to create reliable texture and flavor every time.
Final Thoughts
This easy cheese bread is one of those simple recipes that quietly becomes a favorite. It comes together with pantry staples, bakes quickly, and fills the kitchen with the most comforting, cheesy aroma. Served warm, the rolls are soft, tender, and irresistibly satisfying—perfect for sharing straight from the baking sheet. Whether you make them as a snack, a side, or a last-minute addition to the table, this recipe proves that you don’t need complicated ingredients to create something truly special.
It’s also a wonderful recipe to make with others—simple enough for beginners, but rewarding for experienced bakers too. The dough is forgiving, the bake time is quick, and the results are always satisfying, which makes this an ideal recipe for busy days, casual gatherings, or anytime you want something warm and homemade without much effort.
Love Bread? ME TOO! Try out some of my favorites:
Brazilian Cheese Bread Without Tapioca Flour
Ingredients
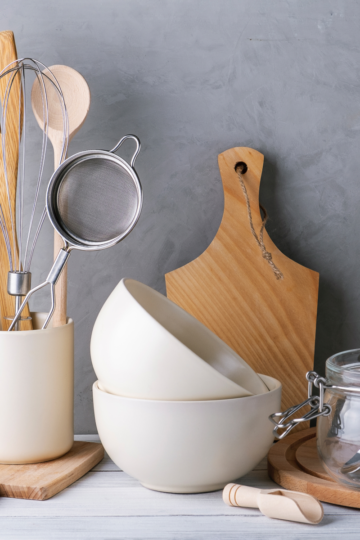
Equipment
Method
- Preheat the oven to 400°F (205°C). Line a baking sheet with parchment paper.
- In a small saucepan, heat the milk and butter over medium heat until steaming and the butter melts (don’t let it boil hard).
- This step helps hydrate the starch so the dough becomes stretchy instead of bready.
- In a mixing bowl, whisk together: flour, cornstarch, baking powder, salt and onion powder.
- Pour the warm milk-butter mixture over the dry ingredients and stir with a wooden spoon. The dough will look thick and slightly sticky.
- Let it cool for 3–4 minutes so the egg doesn’t cook.
- Stir in the egg until the dough smooths out.
- Fold in the mozzarella and Parmesan.
- The dough will be soft, warm, and slightly tacky — perfect.
- Scoop about 2 tablespoons per bread (or use a medium cookie scoop).
- Lightly dampen your hands and roll into balls.
- Place 2 inches apart on the baking sheet.
- Bake 12–15 minutes, until: puffed, golden at the edges and cheesy aroma fills your kitchen.
- They will not get as smooth and spherical as traditional pão de queijo — that’s normal.
- These are best within 20 minutes of baking (just like the original!).
Notes
-
Heat the milk gently.
The milk and butter should be hot and steaming, not boiling. This step hydrates the starches properly and creates the signature stretchy, chewy texture. -
Let the dough cool slightly before adding the egg.
A short 3–4 minute rest prevents the egg from scrambling and helps the dough smooth out beautifully. -
Expect a soft, tacky dough.
This dough should feel warm and slightly sticky—resist the urge to add extra flour. That texture is what gives the rolls their light, cheesy interior. -
Use finely shredded cheese.
Finely shredded mozzarella and Parmesan melt more evenly and distribute throughout the dough for better texture and flavor.
Related
Looking for other recipes like this? Try these:


Pin to Pinterest