Some recipes don’t just satisfy a sweet tooth—they warm your soul. This old-fashioned homemade fudge recipe is exactly one of those timeless treasures. Tucked away on a well-loved, handwritten index card in my husband’s Great Granny Evans’ recipe box, it carries with it the love and memories of her cozy kitchen every time we make it.
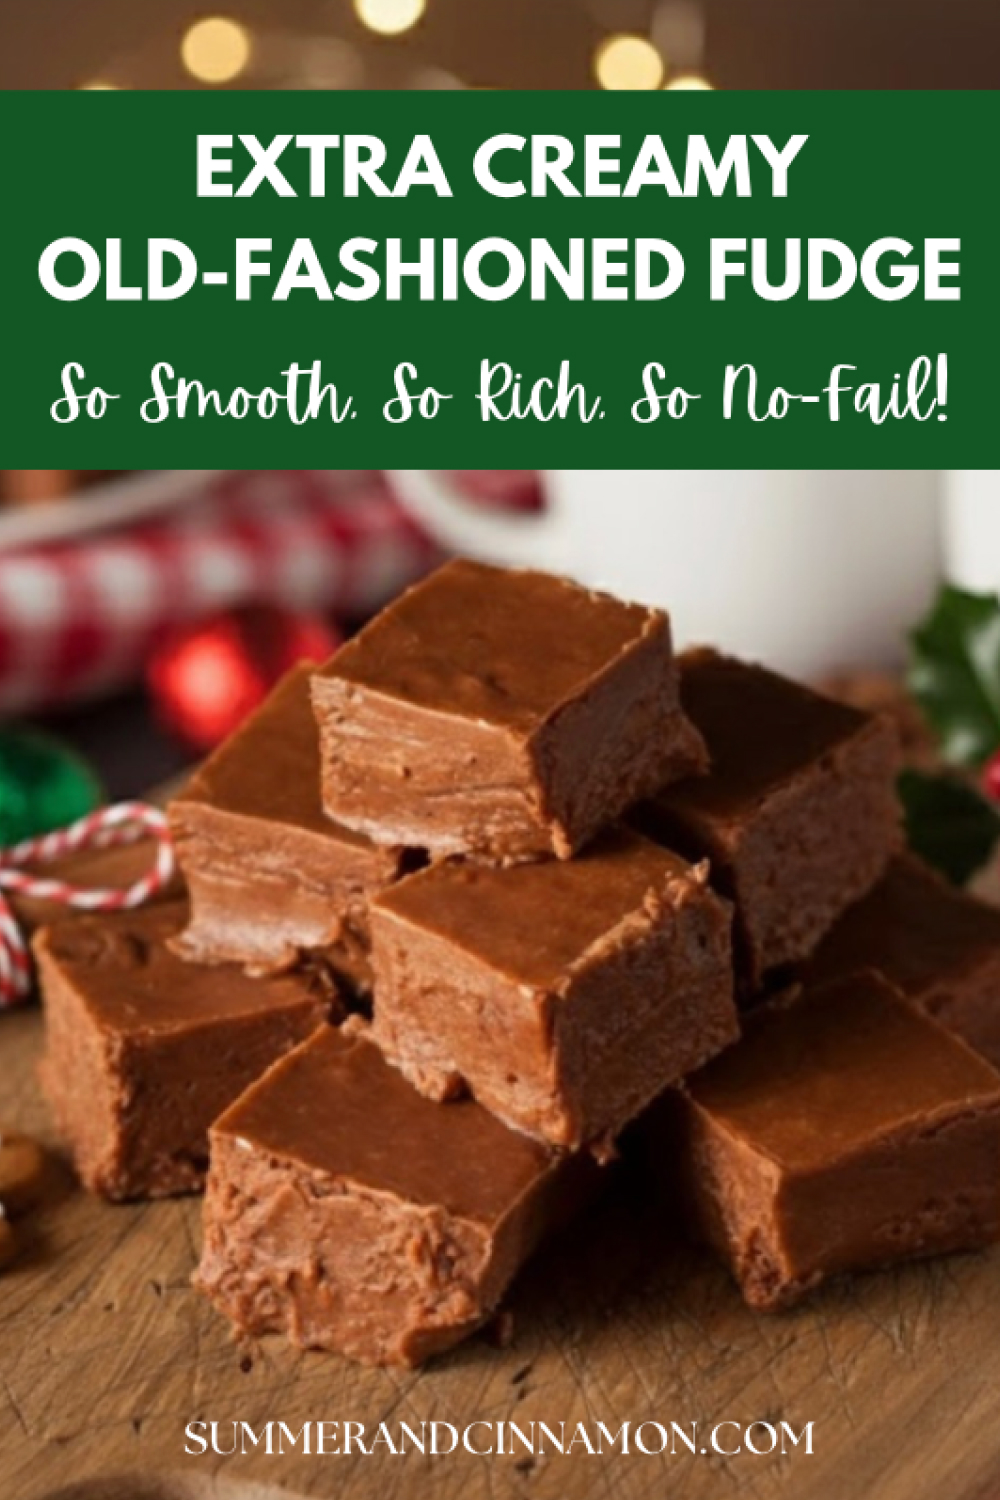
This isn’t just any fudge—it’s the fudge: rich, creamy, and irresistibly silky-smooth, melting perfectly on your tongue with every bite. Granny had a true gift for sweets, but this fudge was her crowning glory. It graced every Christmas table, every church potluck, and every birthday gathering, always vanishing before anything else on the dessert spread.
What makes this fudge so magical is its simplicity. No candy thermometer, no tricky sugar stages—just nine precise minutes of boiling (Granny was very clear about that!) and a handful of humble pantry staples. The result? A flawless batch every time: never grainy, never too soft, and always carrying that nostalgic, old-fashioned flavor that instantly brings back memories of holidays and home.
Jump to:
Why You’ll Love This Fudge Recipe:
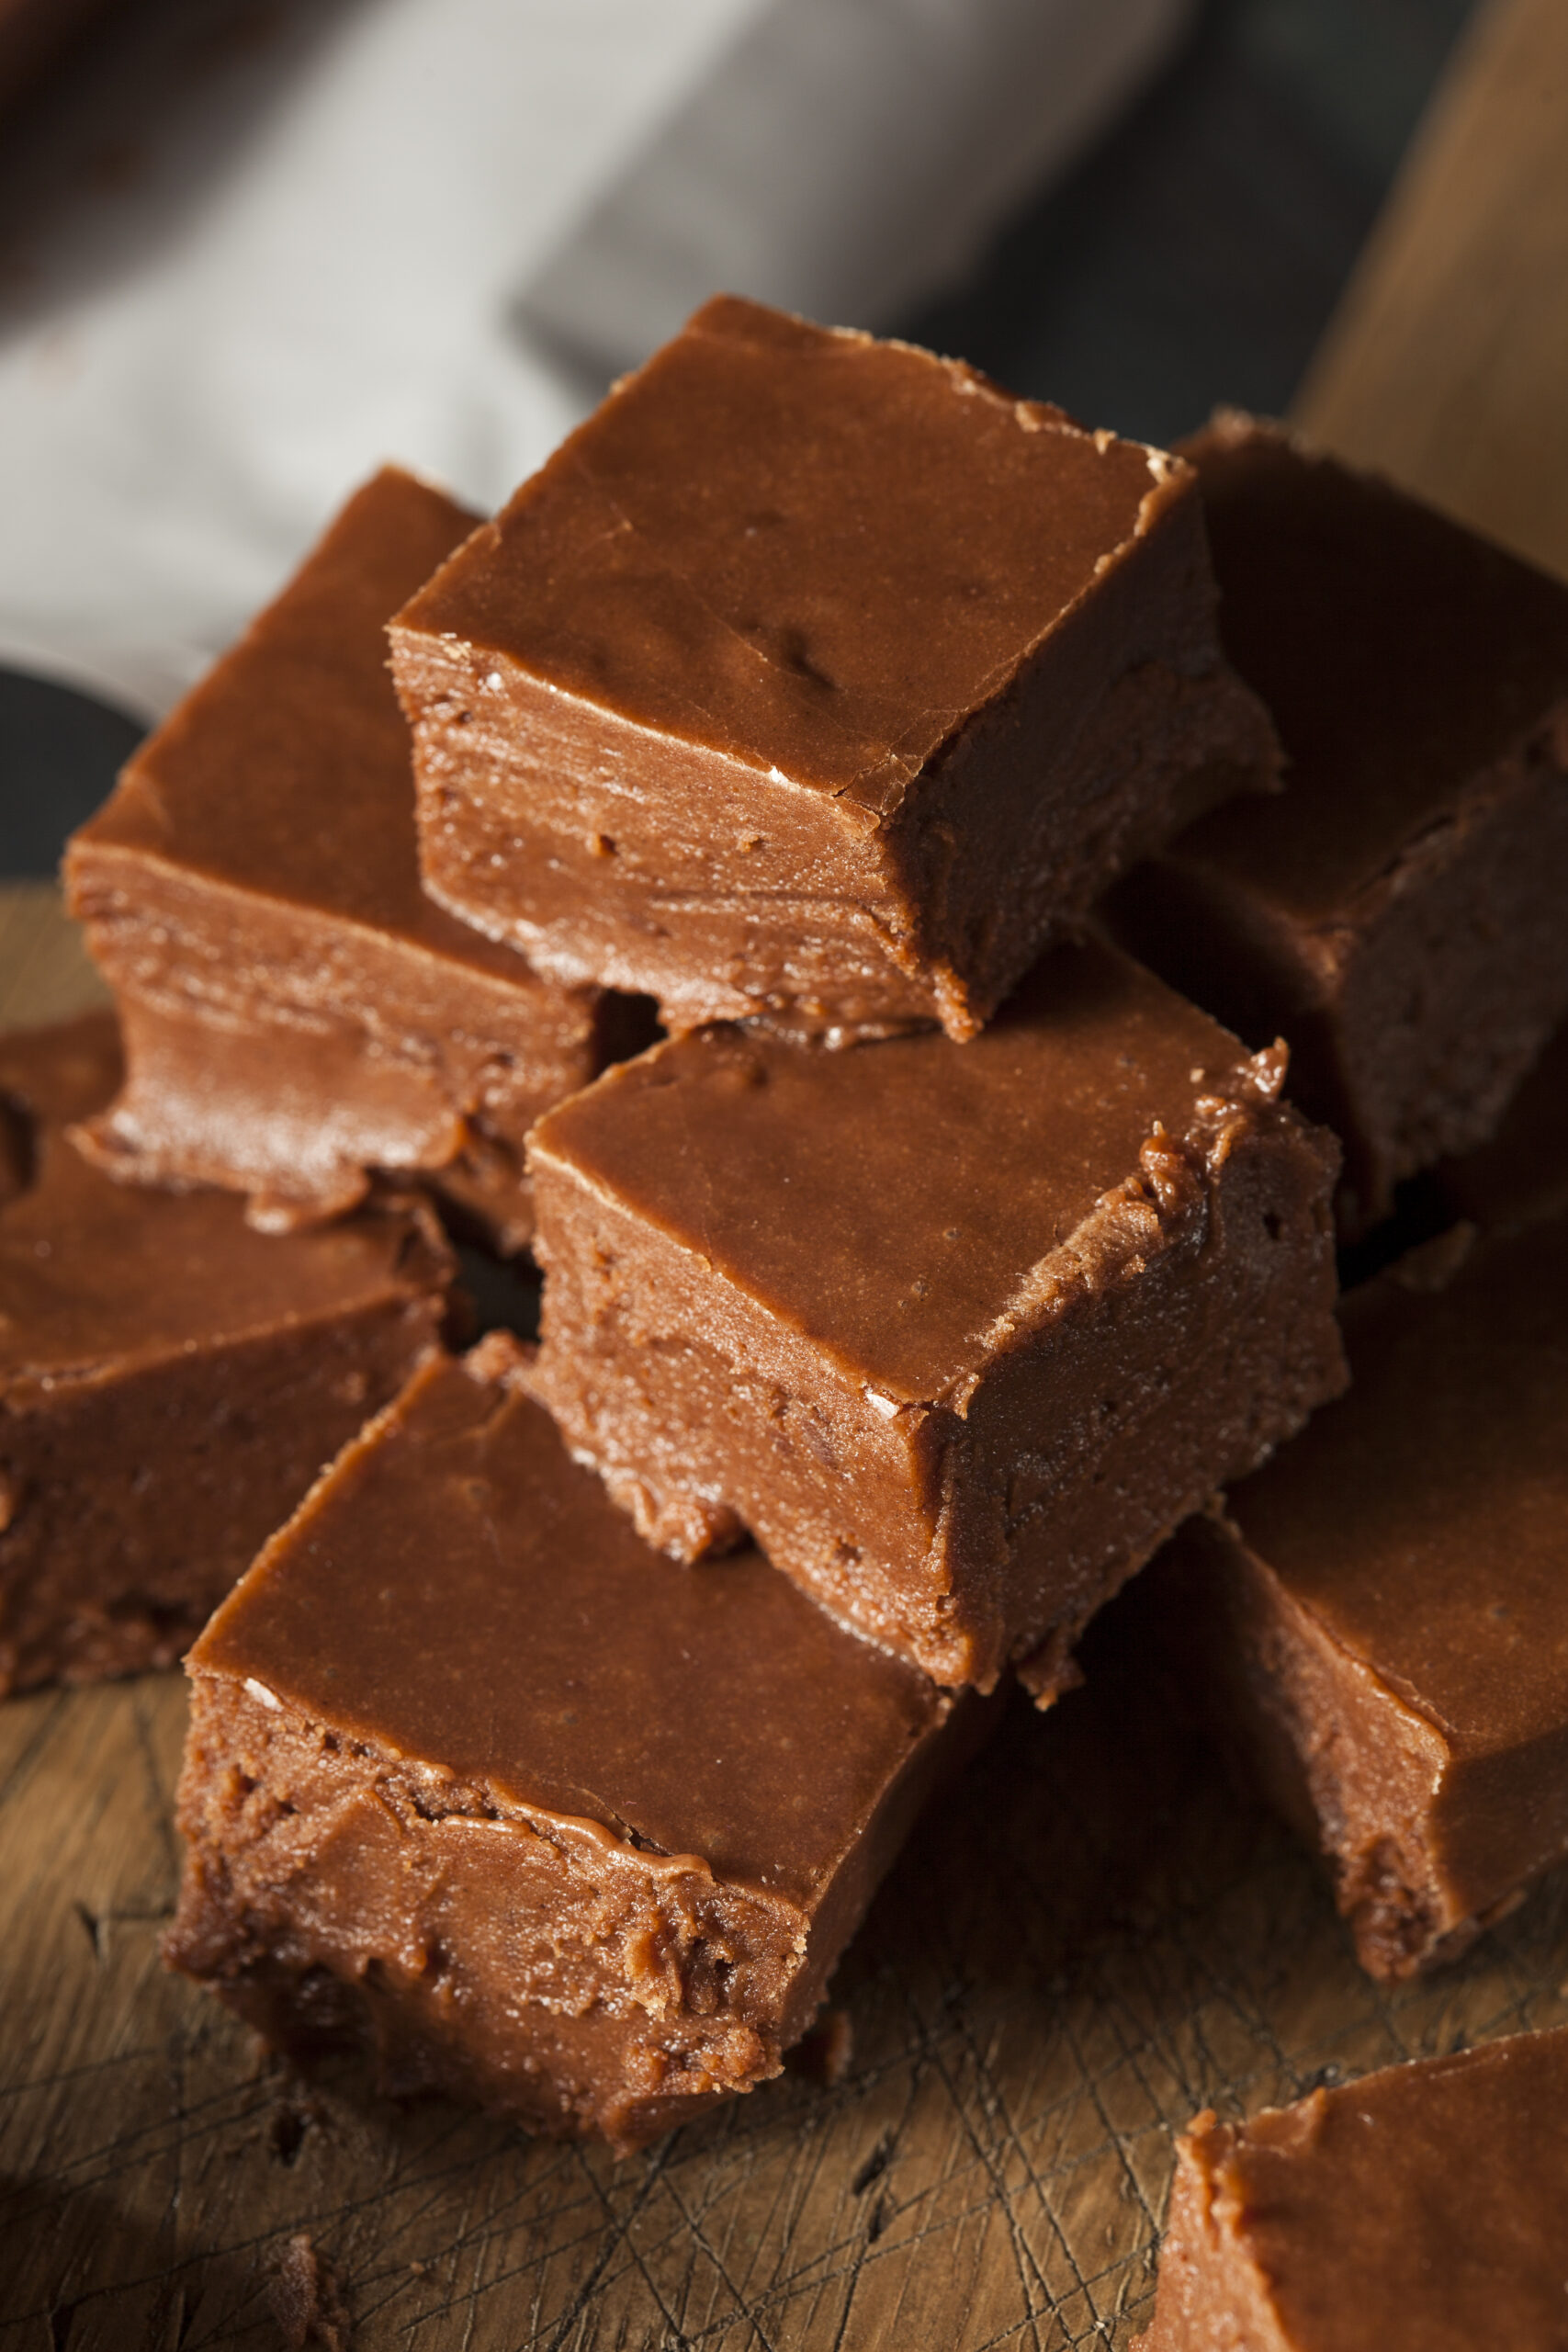
There is something deeply nostalgic about a pan of old-fashioned chocolate fudge cooling on the counter, and this recipe delivers that classic experience with dependable results every single time. It has the smooth, creamy texture people hope for when they bite into homemade fudge, yet it holds its shape beautifully once set, giving you clean, bakery-style squares without crumbling.
You’ll love that it uses simple pantry ingredients but produces rich, decadent flavor that feels special enough for holidays and gift-giving. The marshmallow cream ensures a velvety consistency without complicated candy thermometers, while the precise boil time gives you confidence that the texture will turn out just right.
This is the kind of recipe that becomes part of family tradition. It’s reliable, crowd-pleasing, and indulgent in all the right ways.
Ingredient Break Down
Granny was always very particular about her fudge, and she swore by exact measurements—especially the evaporated milk. That one ounce really does make a difference!
- Sugar – The base of the fudge. Don’t cut it down or swap—it’s needed for the right set.
- Butter – Adds richness and depth. Use real butter for the best flavor.
- Evaporated milk (13 oz can) – Granny was insistent on the full 13 ounces, not the more common 12-ounce can. That extra ounce ensures the sugar mixture boils and sets just right.
- Chocolate chips – Semisweet chips are classic, but you can play with dark or milk.
- Marshmallow cream (jarred) – The secret to the smooth, non-grainy texture. It melts right into the fudge and keeps it silky.
- Vanilla extract – For warmth and flavor balance.
Instructions
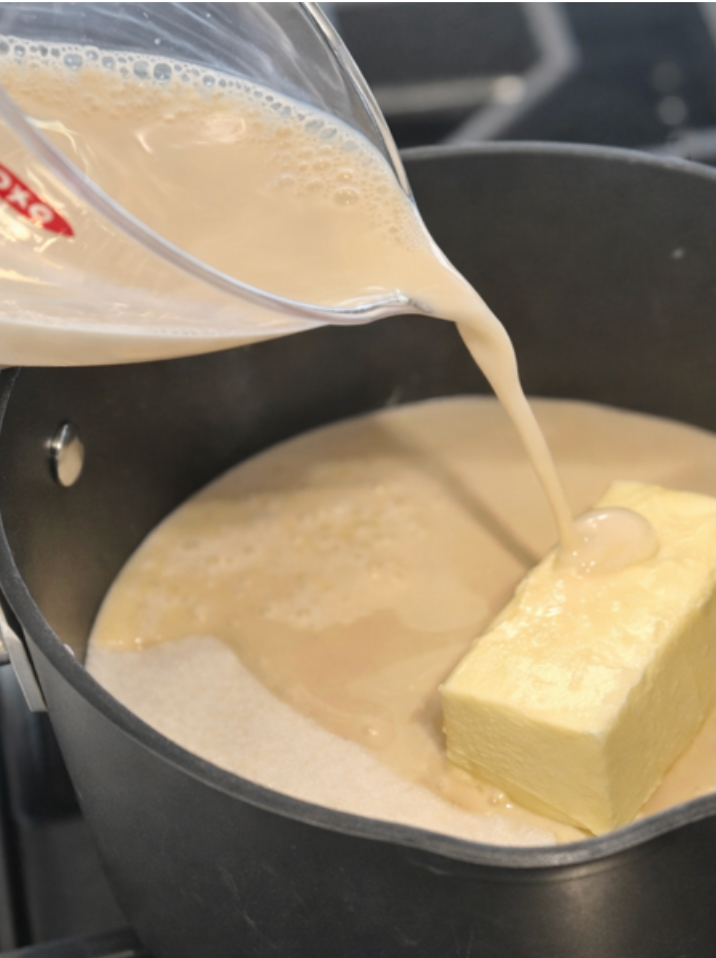
- Step 1: Combine sugar, butter and evaporated milk into pot.
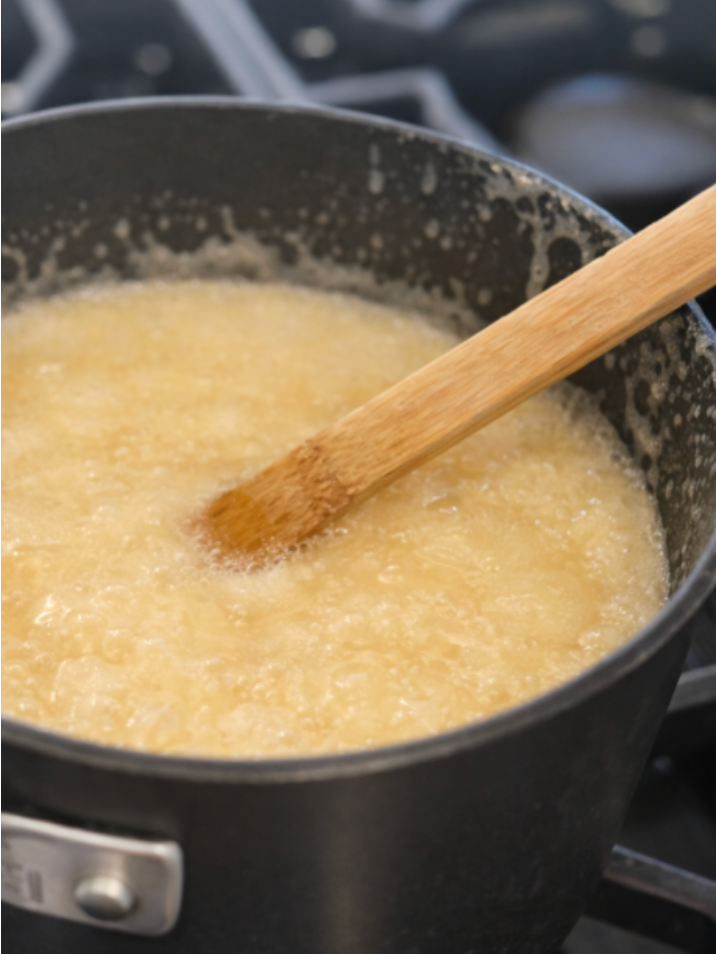
- Step 2: Bring to a boil and continue to stir for 9 minutes.
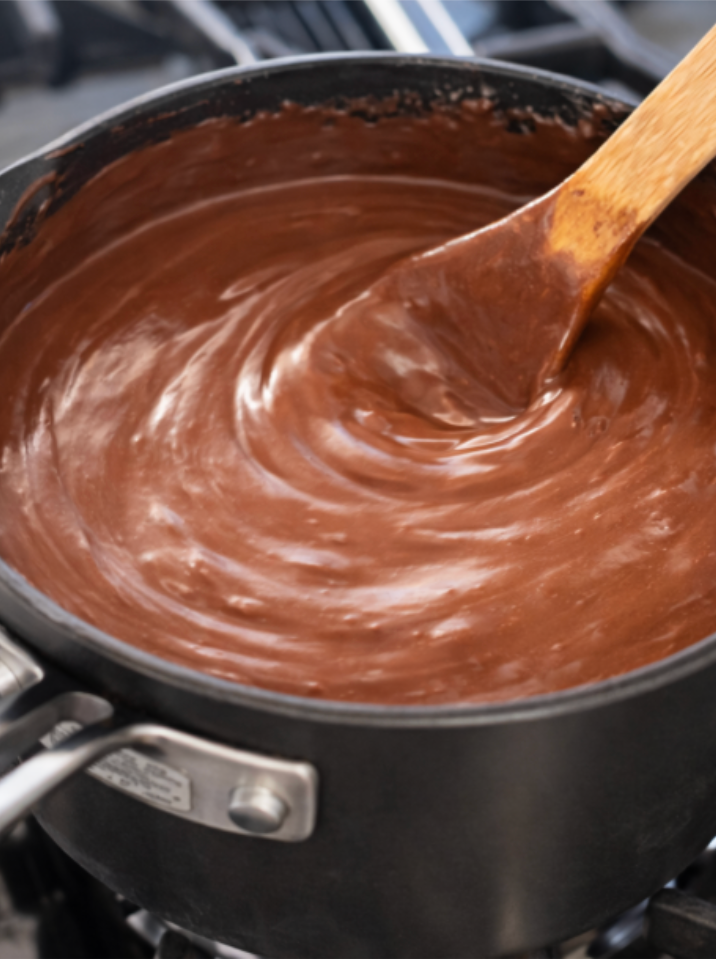
- Step 3: Remove from heat and immediately stir in marshmallow creme, chocolate chips and vanilla. Mix until smooth.
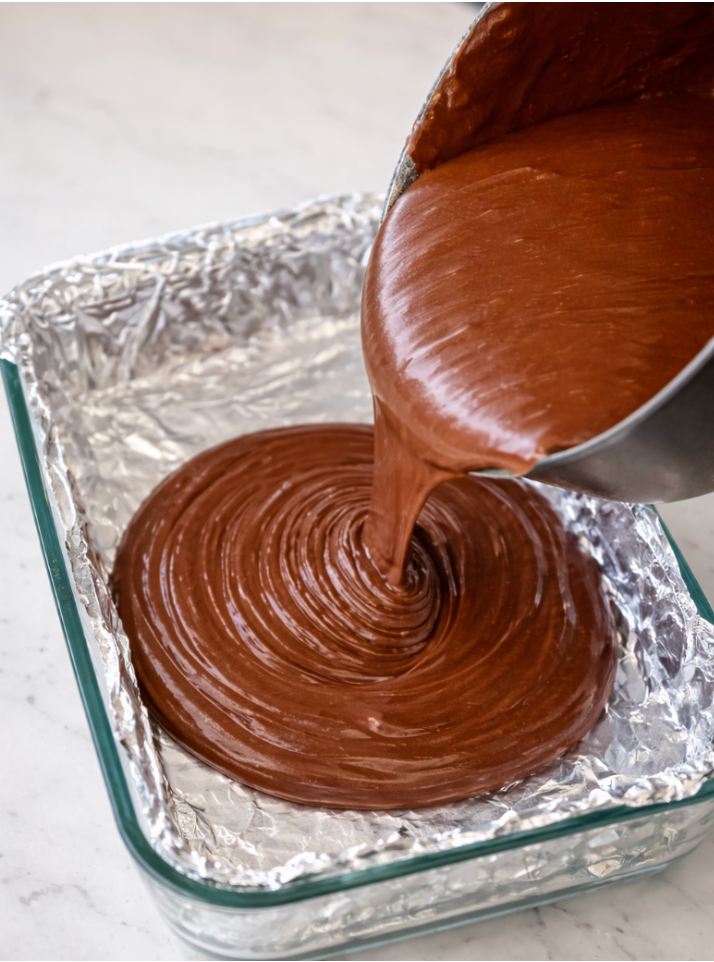
- Step 4: Pour mixture into 9×13 foiled and greased pan. Let cool for several hours until fully set.
Hint: The 13 ounces of evaporated milk is crucial to the balance of the entire recipe! Don’t be tempted to use 12 oz, I’ve made that mistake before and I will never make it again.
Step-by-Step Tips for Making Old-Fashioned Fudge
Making fudge can sometimes feel intimidating, but this recipe makes it easy. Here’s exactly how to nail it every time:
- Prep your pan first. Line a 9×13-inch baking dish with parchment paper or foil, then lightly butter it. Fudge sets quickly once it’s ready, so having the pan prepared is key.
- Combine the base. In a large, heavy-bottomed saucepan, add sugar, butter, and the entire 13-ounce can of evaporated milk.
- Bring to a boil. Stir constantly over medium heat until the mixture reaches a full rolling boil.
- Boil for 9 minutes. This is Granny’s golden rule! Set a timer. Stir frequently to prevent scorching. If you prefer precision, you’re aiming for 234–240°F (soft-ball stage).
- Remove from heat & add chocolate. Immediately stir in the chocolate chips and marshmallow cream. Stir vigorously until completely smooth and glossy.
- Add vanilla. Stir in the extract at the very end for the best flavor.
- Pour & set. Quickly spread the fudge into your prepared pan. Smooth the top with a spatula.
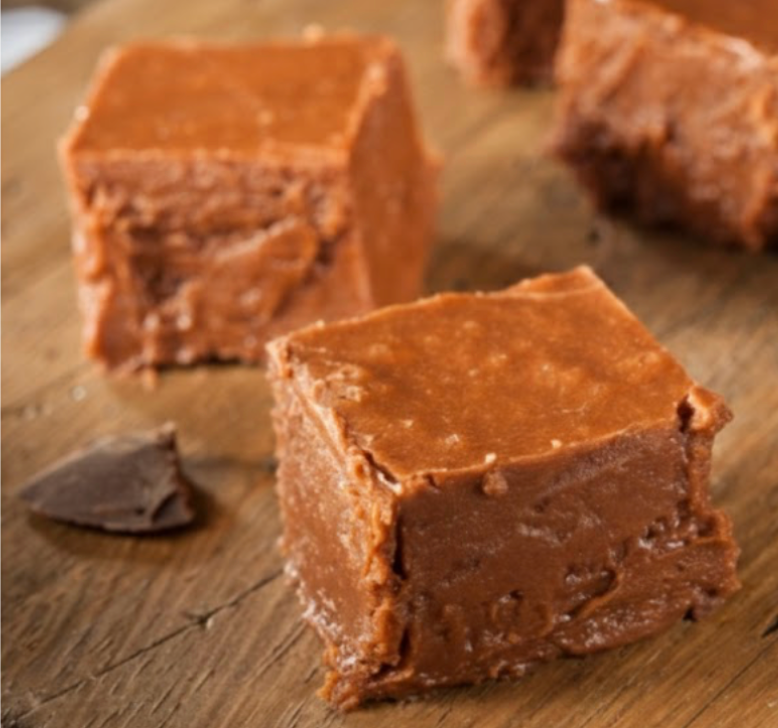
- Cool & cut. Let it set at room temperature until firm, then slice into neat squares.
Variations
While Granny Evans was a traditionalist, there’s plenty of room to make this fudge your own:
- Mint Chocolate Fudge – Swap in mint chocolate chips or add ½ teaspoon peppermint extract along with the vanilla.
- Rocky Road Fudge – Stir in 1 cup chopped walnuts and 1 cup mini marshmallows after removing from heat.
- Cookies & Cream Fudge – Fold in 2 cups crushed Oreo cookies for a fun twist.
- Peanut Butter Swirl Fudge – Drop spoonfuls of warmed peanut butter into the fudge before it sets, then swirl with a knife.
Serving Suggestions
This fudge is so versatile—it’s perfect for:
- Holiday candy trays – Pair it with toffee, caramels, or peanut brittle.
- Valentine’s Day – Wrap squares in wax paper and tie with ribbon.
- Neighbor gifts – Pack in festive tins for a thoughtful homemade gift.
- Potlucks & church socials – It disappears first every single time.
- Freezer stash – Keep some hidden for late-night chocolate cravings.
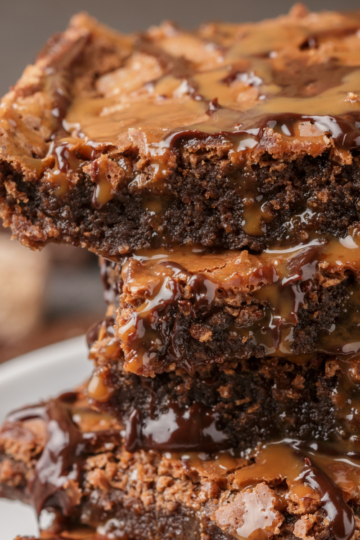
And if you want to take it over the top? Serve a square of fudge with a scoop of vanilla ice cream and a drizzle of hot fudge sauce. Double fudge, double happiness.

Storage
Room Temperature: Store in an airtight container at room temp for up to 1 week. Layer pieces with wax or parchment paper.
Refrigerator: Keeps 2–3 weeks when stored in the fridge.
Freezer: Freeze for up to 2–3 months. To serve, thaw overnight in the fridge and bring to room temp before eating.
FAQ
Do I really have to boil it for exactly 9 minutes?
Yes. The 9-minute rolling boil is what sets the structure of the fudge. Shortening the time can result in fudge that never fully firms up, while overcooking may cause a dry or crumbly texture.
Do I need a candy thermometer?
No, this recipe is designed to work without one. The timed boil replaces the need for temperature monitoring, as long as you maintain a true rolling boil and stir consistently.
Why didn’t my fudge set?
The most common reasons are under-boiling, inaccurate measurement of evaporated milk, or not maintaining a full rolling boil for the entire 9 minutes.
Can I use dark chocolate instead of semi-sweet?
Yes, though it will create a deeper, more intense chocolate flavor. The texture will remain similar, but the sweetness level will change slightly.
Can I add nuts?
Absolutely. Stir in chopped pecans or walnuts after removing the pan from heat for added texture and traditional flavor.
How should I store this fudge?
Store it in an airtight container at room temperature for several days, or refrigerate for longer freshness. It also freezes beautifully for future enjoyment.
Why This Recipe Works
This recipe works because it carefully controls the sugar structure through timing rather than guesswork. When the sugar, butter, and evaporated milk reach a full rolling boil and are maintained there for exactly nine minutes, the mixture concentrates just enough to create the classic firm-yet-creamy fudge texture once cooled.
The marshmallow cream acts as a stabilizer, preventing crystallization and ensuring the finished fudge stays smooth instead of grainy. Meanwhile, the chocolate chips melt into the hot base, creating a rich emulsion that gives the fudge its deep chocolate flavor and silky consistency.
Each step builds on the last, from precise measurement to constant stirring, resulting in a dependable method that produces professional-looking squares with minimal risk of failure.
My Final Thoughts
Old-fashioned chocolate fudge has a way of making even ordinary days feel a little more special. There’s something satisfying about slicing into a perfectly set pan and seeing those smooth, rich layers hold their shape, knowing the texture will be creamy without being too soft and firm without being dry.
This is the kind of recipe you can confidently bring to gatherings, wrap up for neighbors, or keep tucked away for those moments when you want something indulgent and comforting. It’s simple enough to make without stress, yet impressive enough to feel like a true homemade treat.
Once you master the timing and technique, this fudge becomes more than just a dessert — it becomes part of your seasonal rhythm, a reliable favorite you’ll come back to year after year.
Love Chocolate? Try some of my favorite chocolate recipes:
Peppermint Hot Chocolate Brownies
The Best Marshmallow Peanut Butter Brownies
Easy Old Fashioned Chocolate Fudge (Extra Creamy Recipe)
Ingredients
Equipment
Method
- Line a 9×13-inch baking dish with foil and lightly grease it, or use non-stick foil for easier cleanup. Set aside.
- In a large, heavy-bottomed saucepan, combine the sugar, butter, and evaporated milk. Stir constantly over medium heat until the mixture comes to a rolling boil.
- Once boiling, continue stirring constantly and let it boil for exactly 9 minutes. This step is key to getting the perfect fudge consistency.
- Remove the saucepan from heat. Immediately stir in the marshmallow cream and chocolate chips. Keep stirring until the mixture is smooth and fully melted.
- Stir in the vanilla extract and mix until fully incorporated.
- Quickly pour the fudge into your prepared pan and spread it evenly. Let it cool completely at room temperature until set, take several hours to set (about 4).
- Once cooled and firm, cut into squares. Fudge can be stored in the refrigerator for up to 2 weeks or frozen for longer storage.
Notes
The 9-Minute Boil Matters
Do not shorten or extend the boiling time. Once the mixture reaches a full rolling boil, start your timer and boil for exactly 9 minutes while stirring constantly. Under-boiling leads to soft fudge; over-boiling can cause dryness or crumbling.Use a Heavy-Bottomed Pan
A heavy saucepan prevents scorching and promotes even heat distribution. Thin pans can cause hot spots and grainy texture.Stir Constantly
Sugar mixtures can scorch quickly. Keep the mixture moving to ensure smooth consistency and proper structure.Measure Evaporated Milk Precisely
The 13 ounces must be exact. Too little milk can cause overly firm fudge; too much can prevent it from setting properly.Work Quickly After Removing from Heat
Once off the stove, stir in marshmallow cream and chocolate chips immediately. The residual heat melts everything smoothly, but you need to move quickly before it begins to thicken.Related
Looking for other recipes like this? Try these:


Pin on Pinterest: