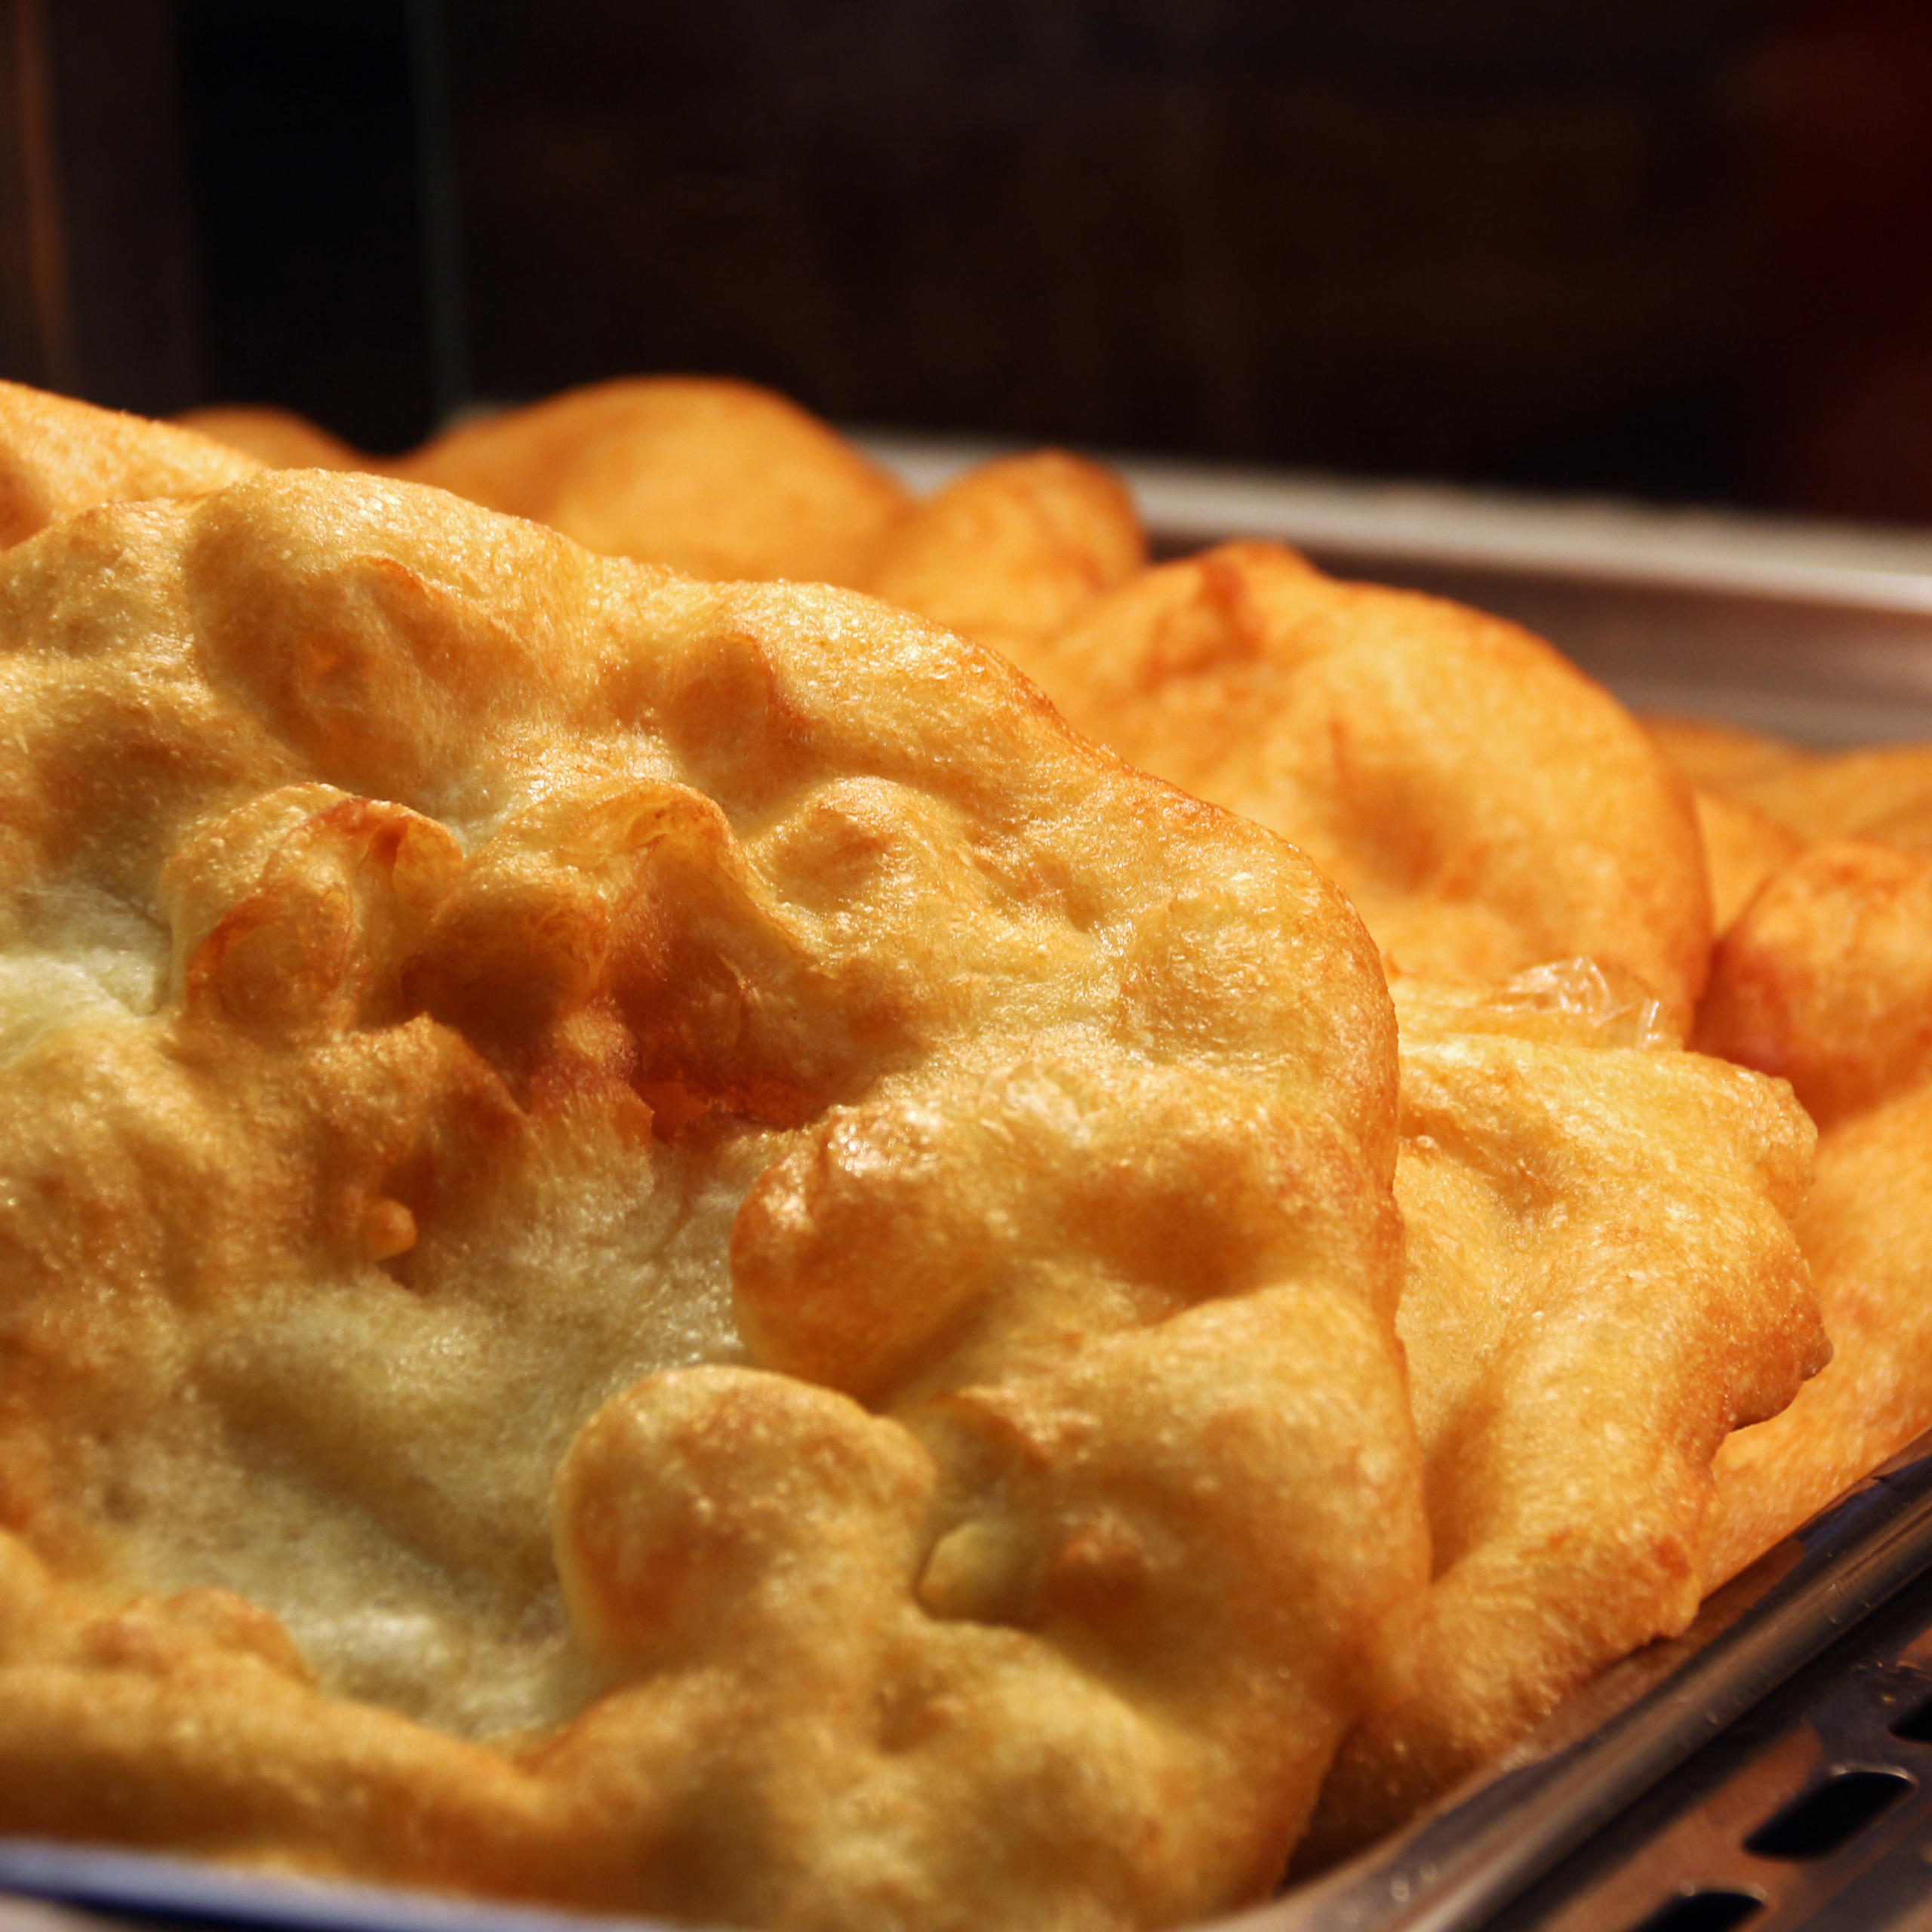
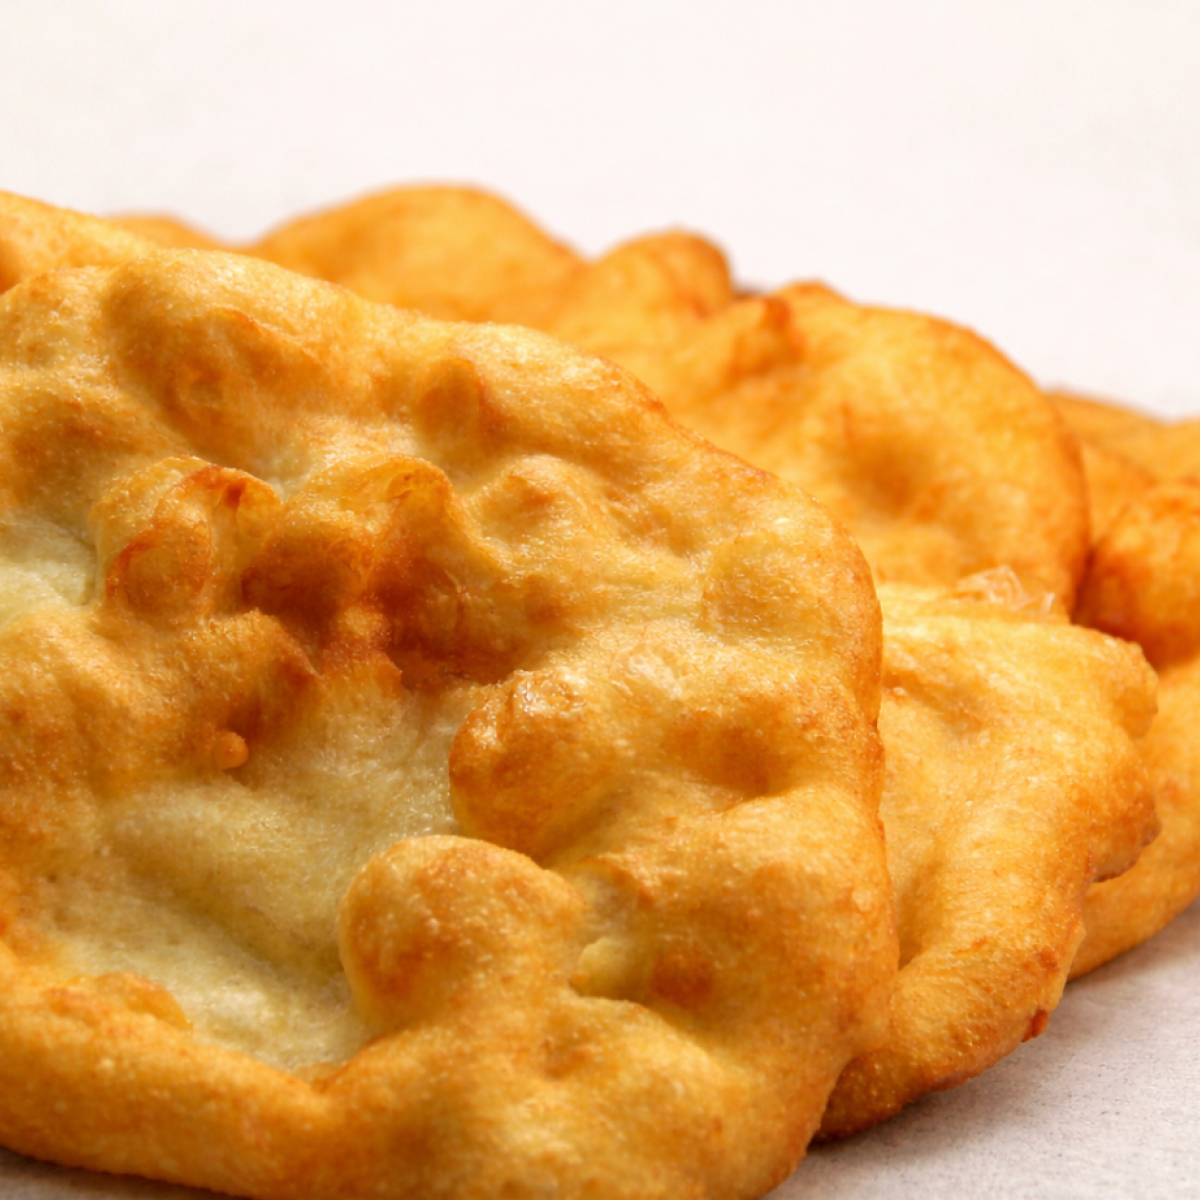
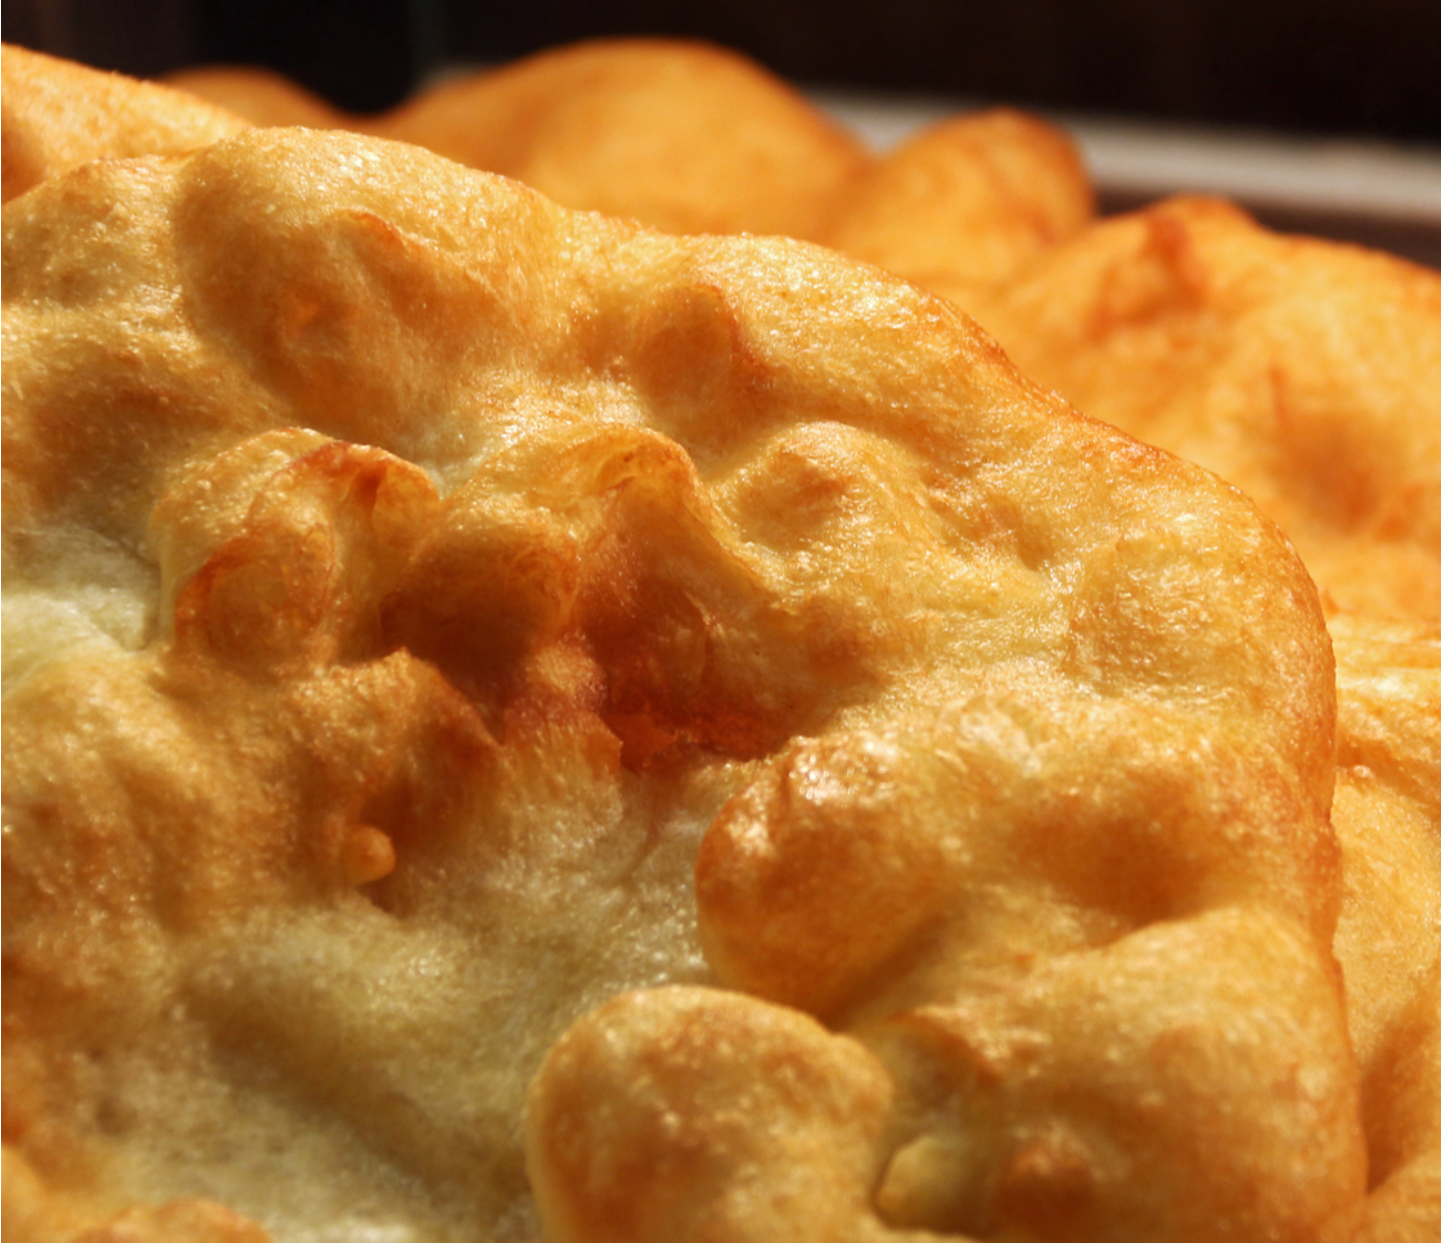
There’s something truly special about Navajo fry bread—a humble, golden fried dough that carries a rich history and a deep cultural significance. Crispy on the outside, soft and pillowy on the inside, fry bread is comfort food at its finest. Whether enjoyed plain, topped with honey and powdered sugar, or piled high with savory toppings, it’s a versatile treat that brings people together.
Made with everyday pantry ingredients and a few thoughtful adjustments, this old fashioned Indian fry bread is dependable, forgiving, and meant to be enjoyed fresh and hot. Whether you serve it sweet with honey or savory alongside your favorite meals, this is the kind of recipe that feels like home from the very first bite.
Jump to:
Guaranteed You’ll Love This Navajo Fry Bread Recipe
- Quick dough: Just a short rest—no yeast or rise time required.
- Unbeatable texture: Potato flakes give the bread just the right chew and softness.
- Versatile: Equally good piled high with taco toppings, served with breakfast fillings, or turned into a sweet dessert with honey and powdered sugar.
- Crowd-pleaser: A single batch makes plenty, and people always come back for seconds.
- Tradition + comfort: Humble ingredients that turn into something unforgettable.
Ingredient Breakdown
Here’s what goes into this fry bread dough and why it works:
- Warm milk – Hydrates the dough and softens the potato flakes, creating a tender interior.
- All-purpose flour – Provides structure and the crisp crust.
- Baking powder – Gives the bread its lift and puff when fried.
- Salt – Balances the richness and enhances flavor.
- Sugar – Adds just a hint of sweetness.
- Oil (for frying) – A neutral oil with a high smoke point works best (canola, vegetable, or peanut).
Hint: Add the potato flakes to the warm milk first so they soften completely. This ensures they incorporate smoothly into the dough.
Instructions
- Step 1: Mix all dry ingredients well.
- Step 2: Add in milk and oil and mix until shaggy dough begins to form.
- Step 3: Pour dough out onto a floured surface and knead for 1-2 minutes, adding more milk our flour as needed to reach a good consistency.
- Step 4: Allow dough to rest for 30 minutes before frying the dough. Bring oil to temperature and cook for about 30-45 seconds per side.
Step-by-Step: How to Make Indian Fry Bread
Step 1: Whisk the dry ingredients
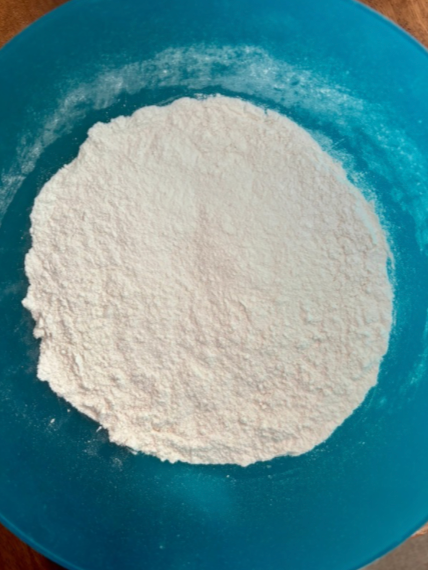
Start by adding the flour, baking powder, salt, and sugar to a large bowl. Whisk well to evenly distribute everything. This simple step ensures the fry bread cooks up light and fluffy instead of dense or uneven.
Step 2: Add the milk and oil
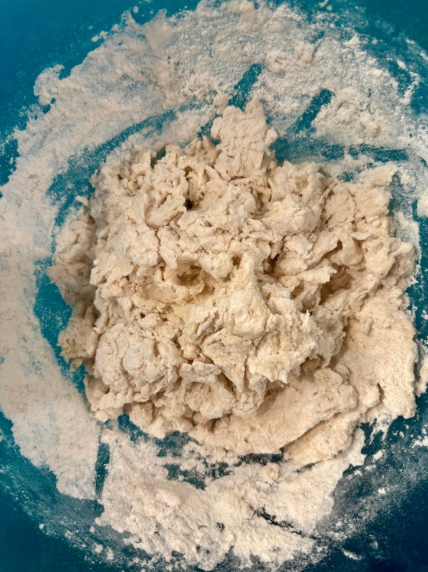
Drizzle in the oil, then pour in 1¼ cups of warm milk to start. Stir gently with a wooden spoon or fork until the dough comes together in a shaggy mass. It won’t look perfect yet — that’s exactly what you want.
Step 3: Bring the dough together
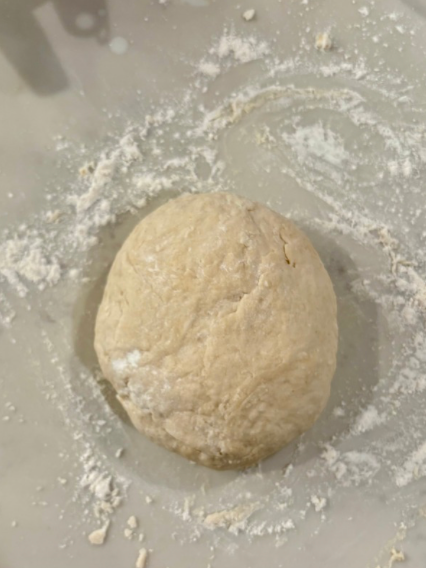
Turn the dough out onto a lightly floured surface and knead for just 1–2 minutes. You’re not developing gluten here, only smoothing the dough.
The dough should feel:
- Soft and pliable
- Smooth on the outside
- Not sticky to the touch
If it sticks, add flour one tablespoon at a time. If it feels dry, add milk one teaspoon at a time. Trust your hands.
Step 4: Rest the dough
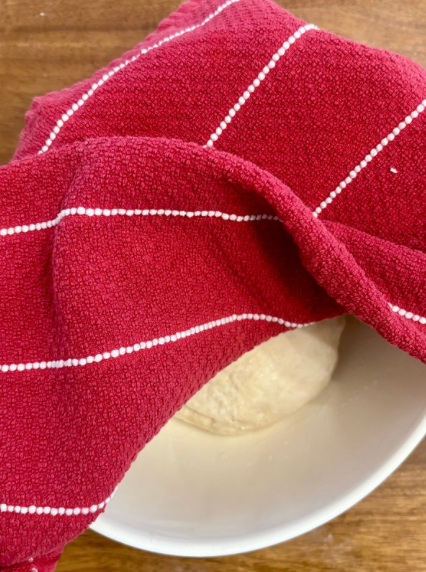
Cover the dough with a clean kitchen towel and let it rest for 20–30 minutes. This short rest allows the flour to fully hydrate and relaxes the dough, making it easier to roll and helping those classic bubbles form when frying.
Step 5: Heat the oil
While the dough rests, heat 1½–2 inches of oil in a heavy skillet or deep pot to 350–365°F. Proper oil temperature is the difference between greasy fry bread and perfectly crisp, golden bread.
Step 6: Shape the fry bread
Divide the rested dough into 5-6 equal pieces. Gently flatten each piece into a thin round, I like to make them as thin as I can, that way they bubble up more. Don’t worry about perfect circles — rustic is part of the charm. Poke a small hole in the center to help the bread cook evenly.
Step 7: Fry until golden
Carefully slide the dough into the hot oil. Fry for 30–45 seconds per side, flipping once large bubbles form and the bottom is golden brown. The bread should puff, blister, and crisp beautifully.
Transfer to a paper towel–lined plate and repeat with the remaining dough.
Pro Tips
- Roll thin for the perfect puff and balance of crisp + chewy.
- Drain on paper towels to keep the exterior crisp.
- For make-ahead tacos, slightly undercook the bread, then finish crisping when reheating.

Variations
This recipe is endlessly versatile:
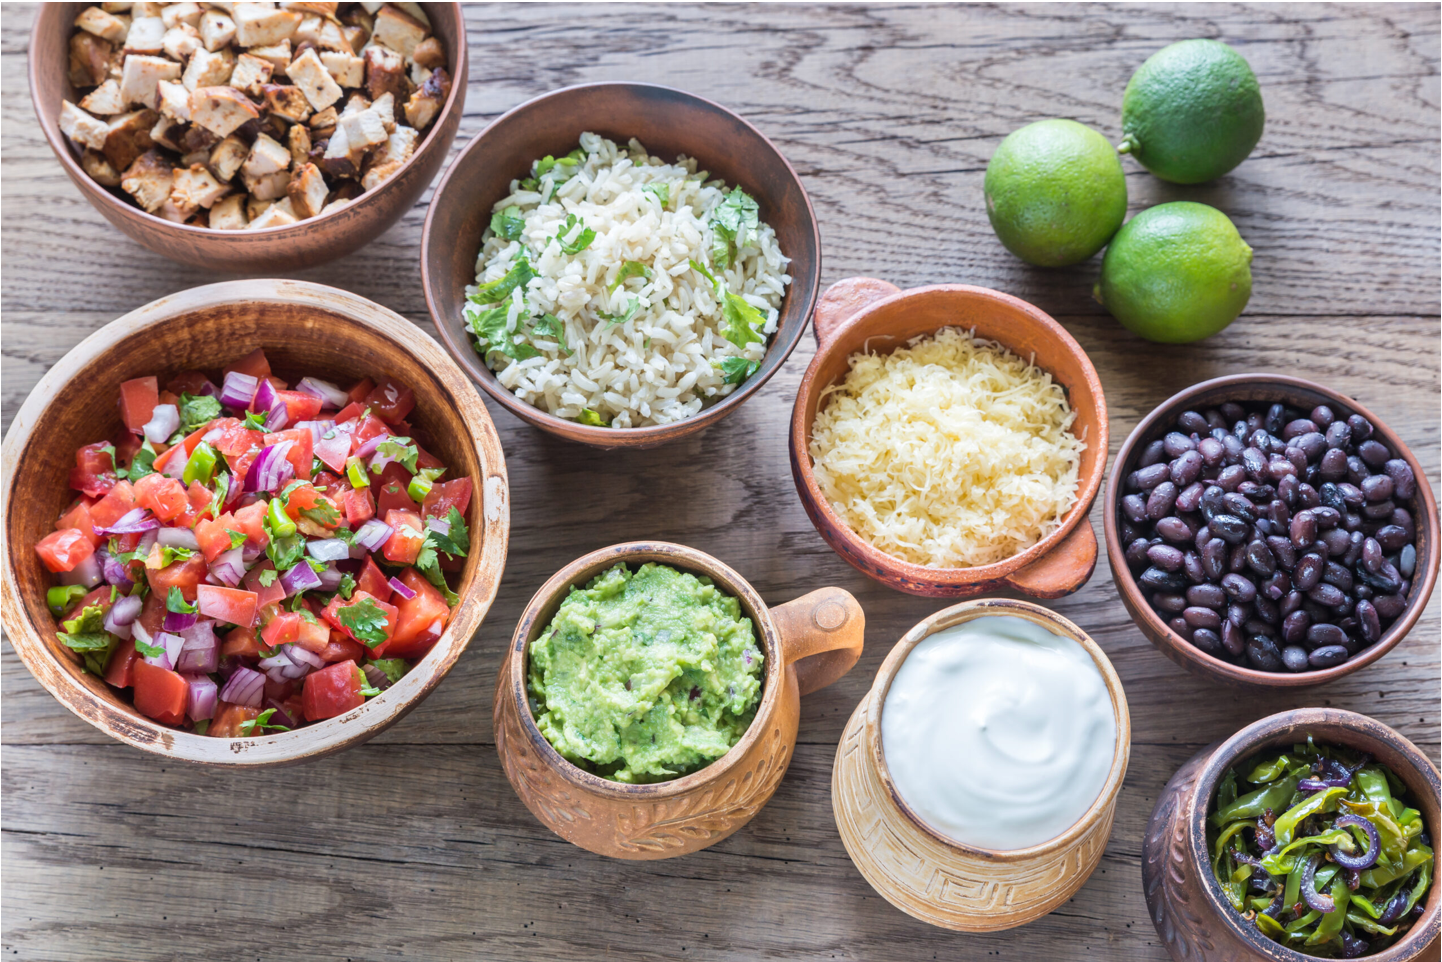
- Classic Fry Bread Tacos (a.k.a. Indian Tacos): Top with seasoned ground beef, lettuce, tomatoes, cheese, sour cream, and a dash of hot sauce.
- Breakfast Fry Bread: Fill with scrambled eggs, chorizo, and cheese.
- Sweet Fry Bread: Dust with powdered sugar and drizzle with honey.
- Snack Version: Spread with refried beans and top with pickled jalapeños.
- Cinnamon Sugar Twist: Brush with melted butter and coat in cinnamon sugar for a dessert-like version.
Serving Suggestions
This fry bread is a blank canvas for creativity. Try serving it:
- As tacos: The classic—savory toppings piled onto warm, puffy bread.
- With soups or stews: Perfect alongside chili, pozole, or beef stew.
- As a sweet treat: Honey, jam, Nutella, or even a scoop of ice cream on top.
- Party platter: Set out fry bread rounds and a toppings bar so everyone can build their own.
Storage
- Cool completely first: Storing while warm traps steam and makes them soggy.
- Wrap in paper towels: Helps absorb any leftover oil.
- Store in an airtight container or zip-top bag at room temperature.
To reheat:
- Oven: 350°F for 5–7 minutes.
- Skillet: Medium heat, no oil, until warmed through.
- Avoid the microwave—it makes them chewy.
FAQ
Why is my fry bread dough sticky?
Sticky dough almost always means too much liquid. Start with less milk and add more slowly — this dough should be soft and smooth, never tacky. If it sticks to your fingers or the counter, add flour one tablespoon at a time until it comes together.
Can I make the dough ahead of time?
Yes. The dough can be made up to 2–3 hours ahead and kept covered at room temperature. I don’t recommend refrigerating it, as cold dough doesn’t fry as evenly.
Why does my fry bread turn out greasy?
Greasy fry bread is usually caused by oil that isn’t hot enough. Make sure your oil is between 350–365°F before frying. The bread should bubble immediately when it hits the oil.
Why didn’t my fry bread puff up?
This can happen if the dough is too dry, the oil is too cool, or the dough wasn’t rested long enough. Resting allows the gluten to relax and helps create those classic bubbles during frying.
Can I use water instead of milk?
Yes. Milk makes the bread softer and richer, but water will work for a more traditional, straightforward fry bread. If using water, the texture will be slightly less tender.
Why This Recipe Works
- No yeast = faster prep. Baking powder provides the perfect lift without long rise times.
- Resting the dough improves texture. Relaxed dough rolls thinner and fries more evenly.
- Right oil temperature ensures crispiness. Frying at 350–375°F guarantees golden brown, non-greasy results.
- Adaptable base recipe. Sweet or savory, breakfast or dinner—this bread can do it all.
Final Thoughts
There’s something truly special about old fashioned Indian fry bread. It’s simple, comforting, and deeply rooted in tradition — the kind of recipe that doesn’t need to be complicated to be unforgettable. When the dough is just right and the oil is hot, this fry bread comes together with crisp edges, soft centers, and those beautiful golden bubbles that make it so satisfying.
This version was created to be reliable and forgiving, so you can focus on the process instead of fighting sticky dough. It’s the kind of recipe you’ll make once, then come back to again and again — for family dinners, cozy weekends, and everything in between.
Whether you serve it sweet with honey or savory alongside your favorite meals, this old fashioned Indian fry bread is meant to be shared, enjoyed, and remembered. Simple ingredients. Timeless technique. And a little bit of kitchen magic every time.
Love international food? Try some of my favorites:
Authentic Indian Butter Chicken
Delicious Gluten Free Enchiladas
Arizona Navajo Fry Bread
Ingredients
Equipment
Method
- In a large bowl, whisk together the flour, baking powder, salt, and sugar.
- Pour in 1 ½ cups of the warm milk, then add in the butter. Stir with a wooden spoon or fork until a shaggy dough forms. Don’t rush this step — the dough will look rough at first, and that’s exactly what you want.
- Turn the dough out onto a lightly floured surface and knead just 1–2 minutes. This isn’t bread dough — you’re not developing gluten here. You’re simply bringing it together until it’s soft and smooth.
- What you’re looking for: Soft and pliable, Smooth on the surface, Not sticky to the touch.
- If the dough feels sticky, add flour 1 tablespoon at a time. If it feels dry, sprinkle in milk 1 teaspoon at a time. Trust your hands more than the measurements here.
- Cover the dough with a clean kitchen towel and let it rest for 20–30 minutes. This step matters. Resting allows the flour to fully hydrate and relaxes the dough, making it easy to roll and helping those beautiful bubbles form in the oil.
- While the dough rests, heat 1½–2 inches of oil in a deep skillet or heavy pot to 350–365°F. The oil should be hot enough that the bread bubbles immediately, but not so hot that it browns too quickly.
- Divide the rested dough into about 5-6 equal balls. Working one at a time, gently flatten each piece into a thin round, about ¼- ⅛ inch thick (depending on preference) Use your fingers or a rolling pin — no need to be perfect. Poke a small hole in the center to help it cook evenly.
- Carefully place the dough into the hot oil. Fry for 30–45 seconds per side, flipping once large bubbles form and the underside turns golden brown. The bread should puff up, blister, and crisp beautifully.
- Transfer to a paper towel–lined plate and repeat with remaining dough.
Notes
- Start with less milk. This dough should be soft and smooth, never sticky. Begin with 1¼ cups milk and add more only if needed, a teaspoon at a time.
- Potato flakes are optional but recommended. They make the fry bread extra tender and fluffy on the inside, but they do increase absorption, so reducing the liquid is key.
- Do not over-knead. This is not yeast bread. Knead just until the dough comes together — overworking will make the fry bread tough.
- Resting the dough matters. A 20–30 minute rest allows the flour to hydrate and the dough to relax, making it easier to shape and helping those signature bubbles form
Related
Looking for other recipes like this? Try these:

Pin on Pinterest