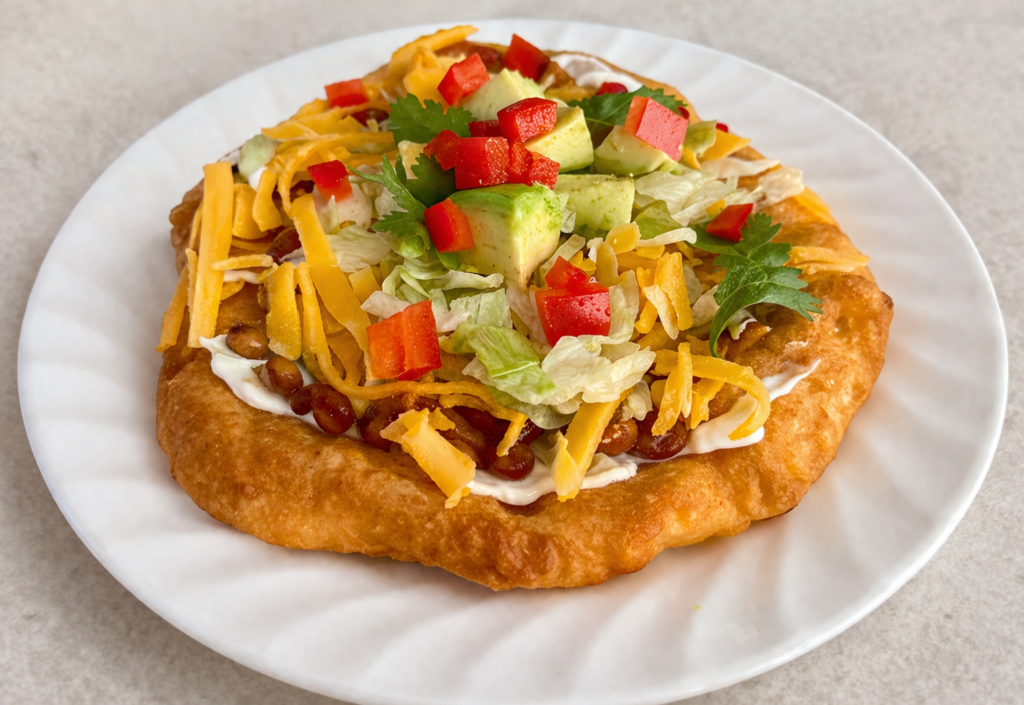
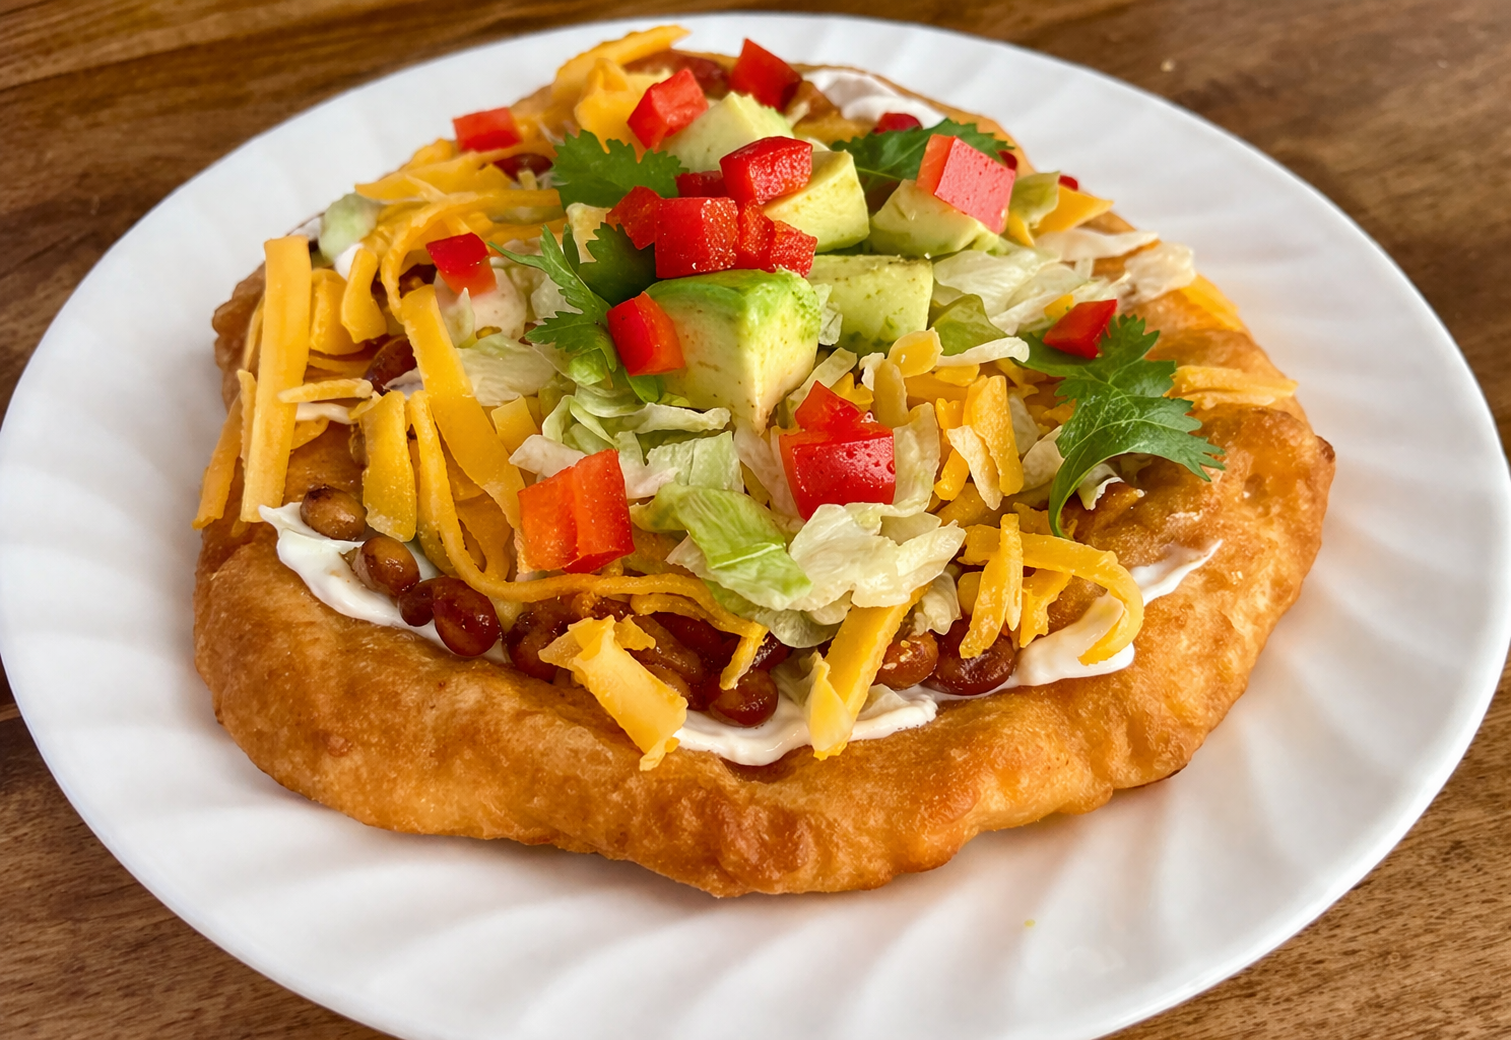
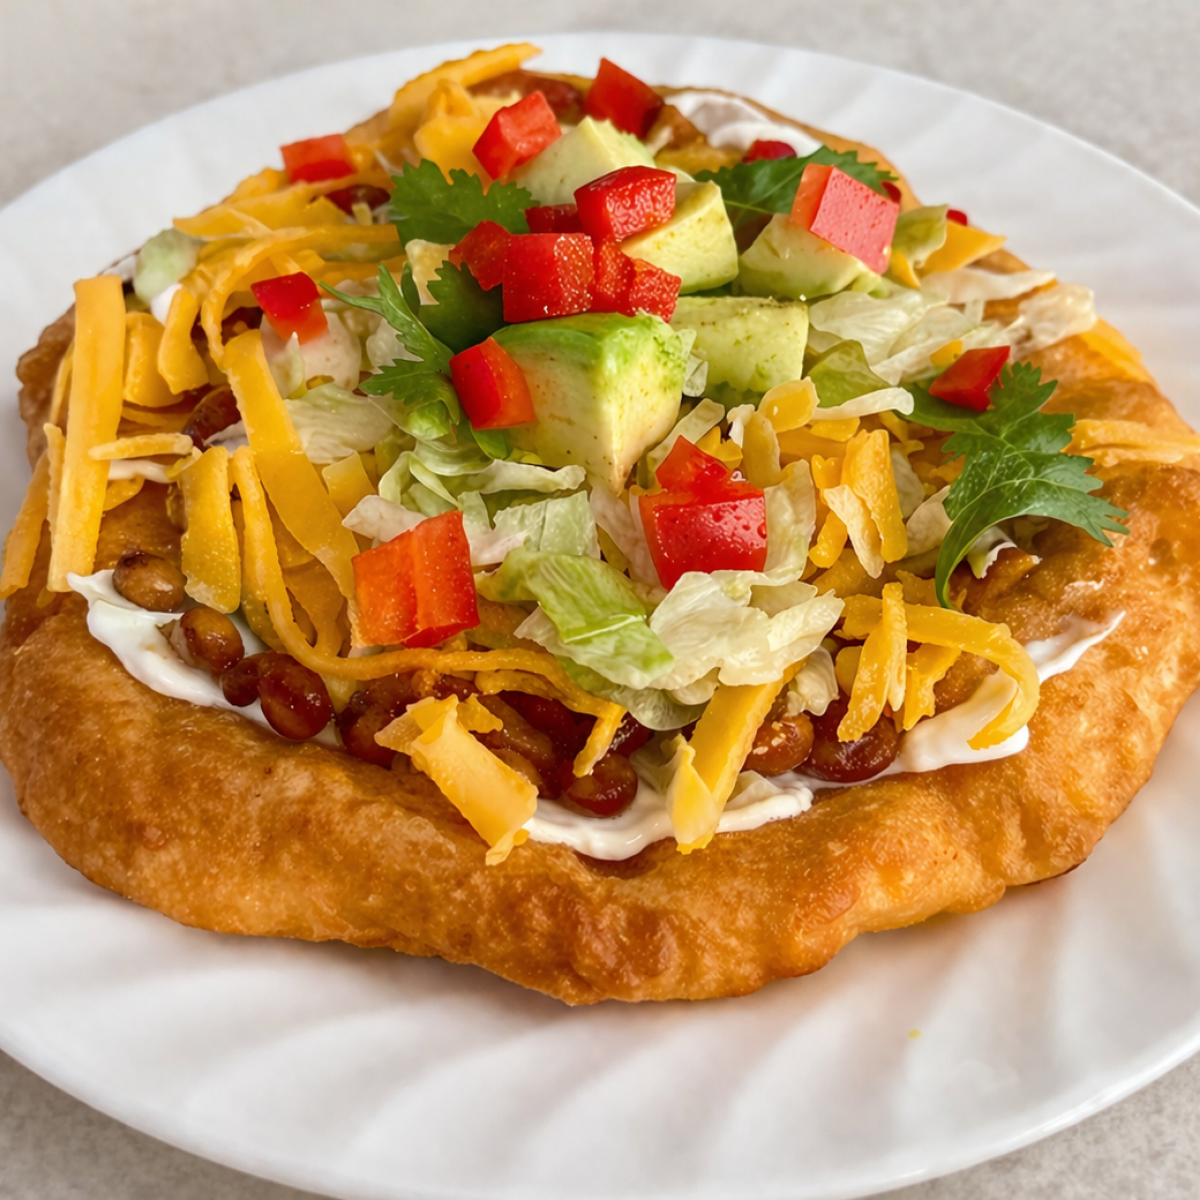
There’s something truly special about Navajo fry bread—a humble, golden fried dough that carries a rich history and a deep cultural significance. Crispy on the outside, soft and pillowy on the inside, fry bread is comfort food at its finest. Whether enjoyed plain, topped with honey and powdered sugar, or piled high with savory toppings, it’s a versatile treat that brings people together.
Made with everyday pantry ingredients and a few thoughtful adjustments, this old fashioned Indian fry bread is dependable, forgiving, and meant to be enjoyed fresh and hot. Whether you serve it sweet with honey or savory alongside your favorite meals, this is the kind of recipe that feels like home from the very first bite.
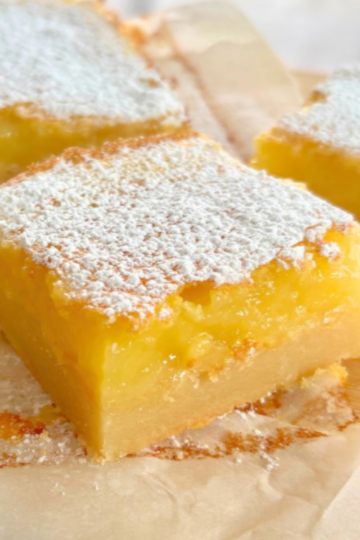
If you love bold, comforting flavors, this pairs beautifully with dishes like my Authentic Indian Butter Chicken for a rich and satisfying meal.
Jump to:
Guaranteed You’ll Love This Navajo Fry Bread Recipe
- Quick dough: Just a short rest—no yeast or rise time required.
- Unbeatable texture: Potato flakes give the bread just the right chew and softness.
- Versatile: Equally good piled high with taco toppings, served with breakfast fillings, or turned into a sweet dessert with honey and powdered sugar.
- Crowd-pleaser: A single batch makes plenty, and people always come back for seconds.
- Tradition + comfort: Humble ingredients that turn into something unforgettable.
Ingredient Breakdown
All-Purpose Flour
This is the foundation of the dough and gives fry bread its soft, pillowy interior with a slightly crisp exterior. You can add a little extra if needed to get the right dough consistency—soft but not sticky.
Baking Powder
This is what creates that signature light, airy texture. It helps the dough puff up as it fries, giving you those beautiful bubbles and a tender bite.
Salt
A small but important ingredient that enhances the overall flavor and keeps the dough from tasting flat.
Sugar
Just a touch of sugar balances the savory elements and helps the bread develop a light golden color as it fries.
Melted Butter
Adds richness and flavor while also helping create a softer, more tender dough.
Warm Milk
Brings the dough together and adds a subtle richness that makes the fry bread extra soft and flavorful. The warmth also helps activate the baking powder for better texture.
Neutral Oil (for frying)
Using a neutral oil like vegetable or canola allows the flavor of the fry bread to shine while ensuring an even, golden fry without overpowering the taste.
If you need to adjust ingredients, my baking ingredient substitutions guide can help you make simple swaps while still getting great results.
Instructions
- Step 1: Mix all dry ingredients well.
- Step 2: Add in milk and oil and mix until shaggy dough begins to form.
- Step 3: Pour dough out onto a floured surface and knead for 1-2 minutes, adding more milk our flour as needed to reach a good consistency.
- Step 4: Allow dough to rest for 30 minutes before frying the dough. Bring oil to temperature and cook for about 30-45 seconds per side.
Step-by-Step: How to Make Indian Fry Bread
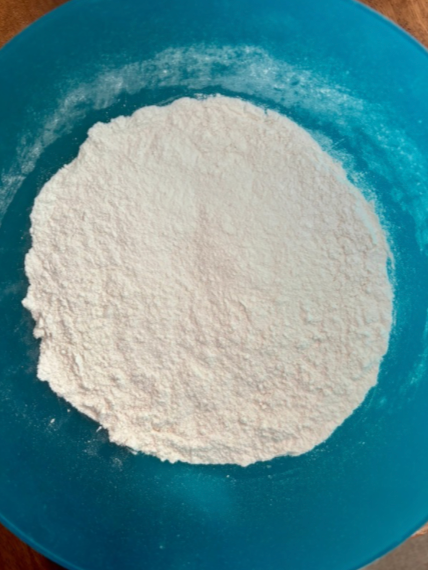
Step 1: Whisk the dry ingredients
Start by adding the flour, baking powder, salt, and sugar to a large bowl. Whisk well to evenly distribute everything. This simple step ensures the fry bread cooks up light and fluffy instead of dense or uneven.
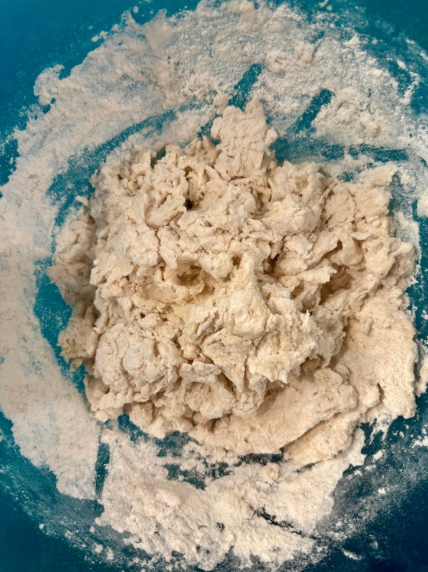
Step 2: Add the milk and oil
Drizzle in the oil, then pour in 1¼ cups of warm milk to start. Stir gently with a wooden spoon or fork until the dough comes together in a shaggy mass. It won’t look perfect yet — that’s exactly what you want.
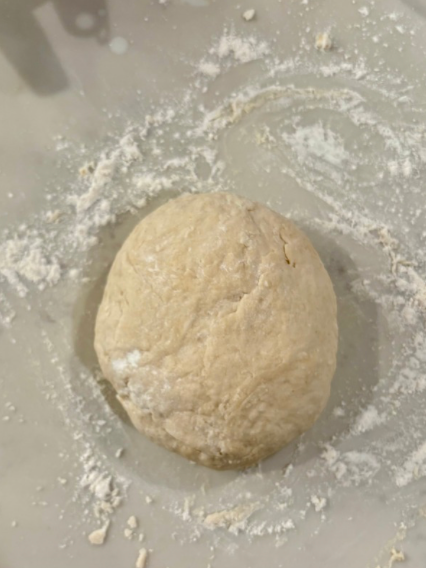
Step 3: Bring the dough together
Turn the dough out onto a lightly floured surface and knead for just 1–2 minutes. You’re not developing gluten here, only smoothing the dough.
The dough should feel:
- Soft and pliable
- Smooth on the outside
- Not sticky to the touch
If it sticks, add flour one tablespoon at a time. If it feels dry, add milk one teaspoon at a time. Trust your hands.
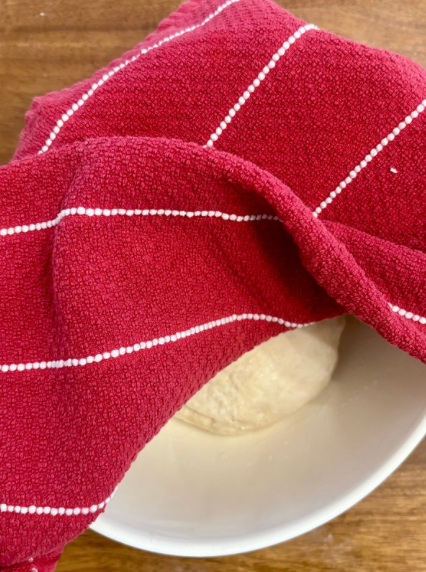
Step 4: Rest the dough
Cover the dough with a clean kitchen towel and let it rest for 20–30 minutes. This short rest allows the flour to fully hydrate and relaxes the dough, making it easier to roll and helping those classic bubbles form when frying.
Step 5: Heat the oil
While the dough rests, heat 1½–2 inches of oil in a heavy skillet or deep pot to 350–365°F. Proper oil temperature is the difference between greasy fry bread and perfectly crisp, golden bread.
Step 6: Shape the fry bread
Divide the rested dough into 5-6 equal pieces. Gently flatten each piece into a thin round, I like to make them as thin as I can, that way they bubble up more. Don’t worry about perfect circles — rustic is part of the charm. Poke a small hole in the center to help the bread cook evenly.
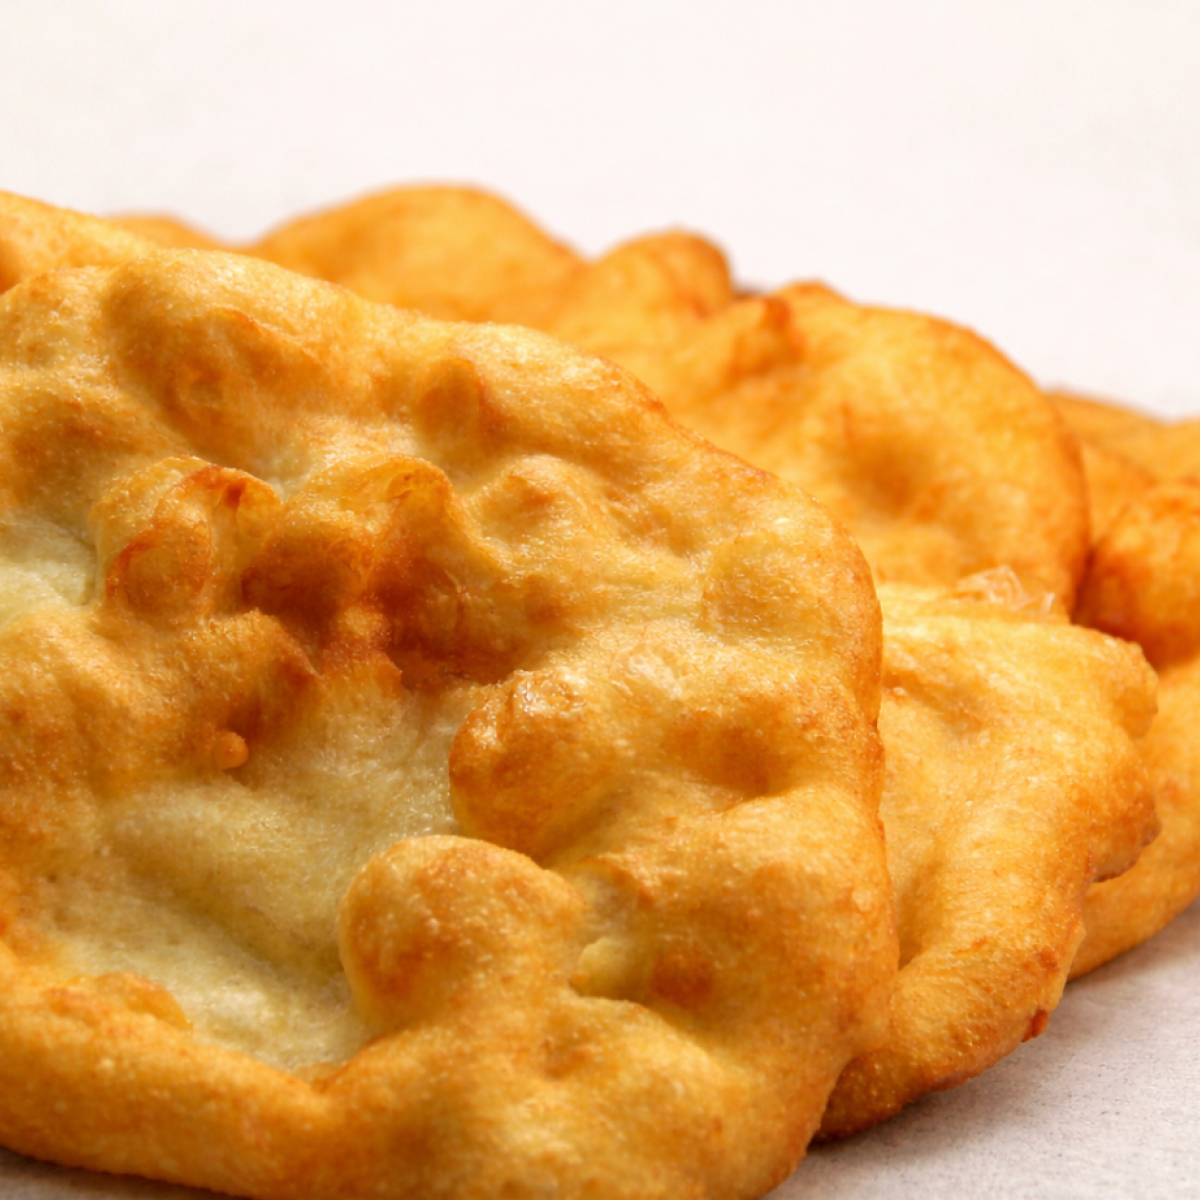
Step 7: Fry until golden
Carefully slide the dough into the hot oil. Fry for 30–45 seconds per side, flipping once large bubbles form and the bottom is golden brown. The bread should puff, blister, and crisp beautifully.
Transfer to a paper towel–lined plate and repeat with the remaining dough.
Pro Tips
- Roll thin for the perfect puff and balance of crisp + chewy.
- Drain on paper towels to keep the exterior crisp.
- For make-ahead tacos, slightly undercook the bread, then finish crisping when reheating.
Variations
This recipe is endlessly versatile:
- Classic Fry Bread Tacos (a.k.a. Indian Tacos): Top with seasoned ground beef, lettuce, tomatoes, cheese, sour cream, and a dash of hot sauce.
- Breakfast Fry Bread: Fill with scrambled eggs, chorizo, and cheese.
- Sweet Fry Bread: Dust with powdered sugar and drizzle with honey.
- Snack Version: Spread with refried beans and top with pickled jalapeños.
- Cinnamon Sugar Twist: Brush with melted butter and coat in cinnamon sugar for a dessert-like version.
Since fry bread tacos are perfect for serving a crowd, you can use my taco bar portions guide to plan toppings and portions with confidence.
Serving Suggestions
This fry bread is a blank canvas for creativity. Try serving it:
- As tacos: The classic—savory toppings piled onto warm, puffy bread.
- With soups or stews: Perfect alongside chili, pozole, or beef stew.
- As a sweet treat: Honey, jam, Nutella, or even a scoop of ice cream on top.
- Party platter: Set out fry bread rounds and a toppings bar so everyone can build their own.
If you’re serving this for a gathering, my party food planning guide will help you figure out exactly how much to make and how to build a balanced menu.
Storage
- Cool completely first: Storing while warm traps steam and makes them soggy.
- Wrap in paper towels: Helps absorb any leftover oil.
- Store in an airtight container or zip-top bag at room temperature.
To reheat:
- Oven: 350°F for 5–7 minutes.
- Skillet: Medium heat, no oil, until warmed through.
- Avoid the microwave—it makes them chewy.
If you have leftovers, my food storage guide walks you through the best way to store fry bread and toppings so everything stays fresh.
FAQ
What is Indian fry bread?
Indian fry bread is a soft, pillowy dough that’s fried until golden and slightly crisp on the outside. It’s traditionally served as both a savory base for tacos or a sweet treat with toppings like honey or powdered sugar.
Why didn’t my fry bread puff up?
Fry bread may not puff if the oil isn’t hot enough or the dough is too dense. Make sure your oil is properly heated and your dough is soft and slightly elastic before frying.
What is the best oil for frying fry bread?
A neutral oil like vegetable or canola oil works best. It allows the flavor of the bread to shine while giving you an even, golden crust.
Can I make fry bread dough ahead of time?
Yes. You can prepare the dough a few hours in advance and keep it covered at room temperature or in the refrigerator. Let it come back to room temperature before frying for the best texture.
How do you keep fry bread from getting greasy?
Make sure the oil is hot enough before frying. If the oil is too cool, the dough will absorb more oil. Drain the fry bread on paper towels immediately after frying.
Why This Recipe Works
- No yeast = faster prep. Baking powder provides the perfect lift without long rise times.
- Resting the dough improves texture. Relaxed dough rolls thinner and fries more evenly.
- Right oil temperature ensures crispiness. Frying at 350–375°F guarantees golden brown, non-greasy results.
- Adaptable base recipe. Sweet or savory, breakfast or dinner—this bread can do it all.
Final Thoughts
Indian fry bread is one of those recipes that feels both simple and special at the same time. With just a handful of ingredients, you get something incredibly satisfying—crispy on the outside, soft and pillowy on the inside, and versatile enough to serve in so many different ways.
What makes this recipe truly stand out is how easily it fits into real life. You can keep it classic, turn it into hearty fry bread tacos, or even go the sweet route with a drizzle of honey or a dusting of powdered sugar. It’s the kind of comfort food that works for everything from casual family dinners to relaxed gatherings with friends.
If you’re planning to serve this for a crowd, don’t forget to check out my party food planning guide and taco bar portions guide to help you build a full, balanced spread without the guesswork.
At the end of the day, this is one of those classic recipes with a twist that you’ll find yourself coming back to again and again. It’s reliable, crowd-pleasing, and exactly the kind of homemade recipe that brings people together around the table.
Arizona Navajo Fry Bread
Ingredients
Equipment
Method
- In a large bowl, whisk together the flour, baking powder, salt, and sugar.
- Pour in 1 ½ cups of the warm milk, then add in the butter. Stir with a wooden spoon or fork until a shaggy dough forms. Don’t rush this step — the dough will look rough at first, and that’s exactly what you want.
- Turn the dough out onto a lightly floured surface and knead just 1–2 minutes. This isn’t bread dough — you’re not developing gluten here. You’re simply bringing it together until it’s soft and smooth.
- What you’re looking for: Soft and pliable, Smooth on the surface, Not sticky to the touch.
- If the dough feels sticky, add flour 1 tablespoon at a time. If it feels dry, sprinkle in milk 1 teaspoon at a time. Trust your hands more than the measurements here.
- Cover the dough with a clean kitchen towel and let it rest for 20–30 minutes. This step matters. Resting allows the flour to fully hydrate and relaxes the dough, making it easy to roll and helping those beautiful bubbles form in the oil.
- While the dough rests, heat 1½–2 inches of oil in a deep skillet or heavy pot to 350–365°F. The oil should be hot enough that the bread bubbles immediately, but not so hot that it browns too quickly.
- Divide the rested dough into about 5-6 equal balls. Working one at a time, gently flatten each piece into a thin round, about ¼- ⅛ inch thick (depending on preference) Use your fingers or a rolling pin — no need to be perfect. Poke a small hole in the center to help it cook evenly.
- Carefully place the dough into the hot oil. Fry for 30–45 seconds per side, flipping once large bubbles form and the underside turns golden brown. The bread should puff up, blister, and crisp beautifully.
- Transfer to a paper towel–lined plate and repeat with remaining dough.
Notes
- Oil temperature matters: Keep the oil around 350°F for best results. If it’s too cool, the bread will absorb oil and turn greasy. If it’s too hot, it will brown too quickly without cooking through.
- Dough consistency is key: The dough should be soft and slightly tacky, but not sticky. Add a little extra flour if needed, but avoid overworking the dough.
- Don’t overcrowd the pan: Fry one piece at a time (or two max) to maintain consistent oil temperature and even cooking.
- Use your hands to shape: Gently stretch the dough instead of rolling it out. This helps create those classic bubbles and soft texture.
- Serve immediately for best texture: Fry bread is best enjoyed warm while the outside is still slightly crisp and the inside is soft.
Related
Looking for other recipes like this? Try these:


Pin on Pinterest